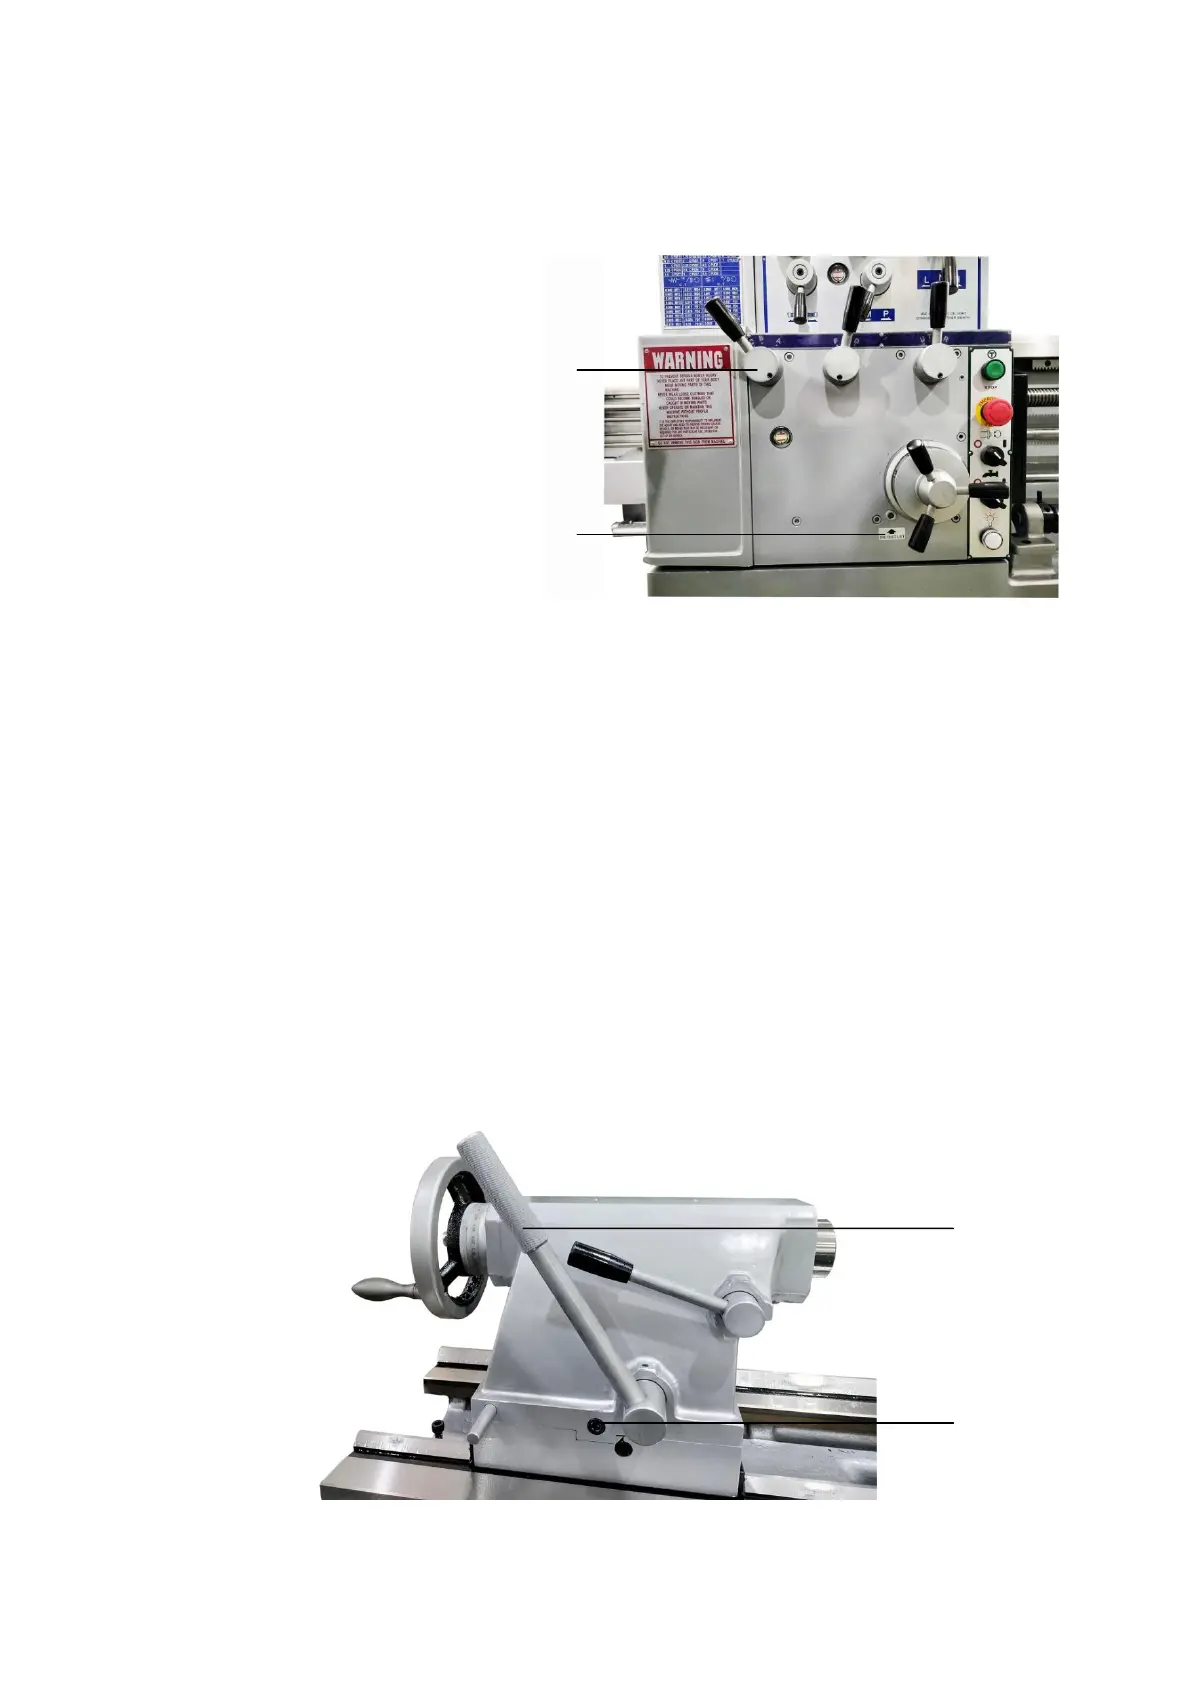
28
7-3 Gear Box
1. Lubrication location: Below the top cover of the apron, take off the top cover to
find the oil plug marked “OIL”, the oil inlet hole.
2. Drain hole: On the left bottom
side of the 10-step feed
selection dial. The screw with
hexagon nut is the oil drain
hole as arrow ○
B
shown on
figure 7-3.
3. Oil brand and oil exchange
time: Use Shell Tellus No. 220
and exchange the oil half a
year.
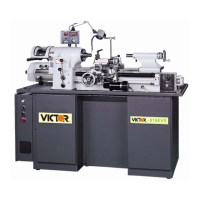
7-4 Tailstock Center Line Adjustment
First, unclamp the tailstock body clamping lever, and then loosen the 2 hexagon
head screw on both right and left sides which lock the tailstock body and base
together. Determine the direction and amount of the misalignment for adjustment by
positioning a test bar between two dead centers. Slacken the rear ‘location screw’ (say
one half turn). Then alternatively slacken one set-over screw and tighten the other
until the required setting is achieved, (correct alignment). Carefully retighten the rear
‘location screw’ and the set over screw which was slackened before and recheck
alignment. Retighten the two hexagon head screw carefully and re-clamp the tailstock
(Fig. 7-4).
If still can not operate the handwheel easily after the tailstock quill is fixed, it is
caused by the reason that the clamping block can not be loosened. To solve it, just
push the tailstock body clamping lever forward one time for recovering.