Watching TV
CH
Search
(Channel search)
Channel
auto
search makes
the
1V
look
for
all
channels viewable
in
the
set area.
8
When
"Air" is
selected
in
Antenna
setting:
Press
~~~
to
select "Start", and then press
ENTER.
When
"Cable"
is
selected
in Antenna setting:
G)
Press
Jt.
/
"Y
to
select "Analog
&
Digital Search
Start" to search both
analog
and
digital
broadcasts, or
to
select "Analog Search Start"
to
search only analog
broadcasts, and then press
ENTER.
Cancel
•
The
Channel
search
will start
automatically.
•
To exit the
Channel
search screen,
select
"Cancel",
and then press
ENTER.
@The
Channel
search
results
may
include
scrambled channels
or
channels
that are not
viewable
in
the set
area.
Press
~
~
~
to
select
"Yes",
and then press
ENTER
to
remove
scrambled channels.
Network
When you connect
to
the
Internet
on
the
1V,
select
the
desired connection m
ethod
and
follow
the
instructions
shown
on
th
e
display.
• Wireless
LAN connection is
possible
only
when
the
WPS
(push button)
method
is used.
If
any
other
method
is
used,
ma
ke
settings
by
Initial
Setup
>
Internet
Setup
>
Network
Setup. (See pages
44
to
45.)
9
Press
<01111
/
~
to
select "Yes",
and
the
n press
ENTER.
10
Press
11../T
to
sel
ect
"Wired"
or
"Wireless",
and
then press
ENTER.
Connection using an ETHERNET
cable:
G)
Select "Wired"
and press
ENTER.
@Confirm that the
1V
is
properly
connected
with the router, and then p
ress
"Next". Follow
the instructions on
th
e
display
to
perform
th
e
connection test.
Wireless LAN connection by the
WPS
method:
G)
Select "Wireless" and press
ENTER.
@Follow
the instructions on the
displ
ay,
and
fina
li
ze
the connecti
on
after testing its
viab
il
ity.
•
When you change the network settings, refer to
Initi
al
Setup
>
Internet Setup
>
Network Setup.
(See
pages
44
to
45.)
Completed
11
The
settings confinmation screen is
displayed.
Confirm
the
infonmation
di
sp
la
yed
on
the
screen,
and
then press
ENTER
.
Examples
of
the settings confirmation screen
When one
or
more
channel
is received after
"Antenna
&
Cable"
was
selected
in step
6
and a
search was carried out.
Language :
Enghsn
Location
&
Time
United States/EST/Auto
TV
Location
:
Home
An
tenna
&
Cable
/STB
: Antenna
&
Cable
Ale/C
able
:
Aic
Search
Res
u
~
: Digital 4ch
Analog 7ch
Network
Co
nn
ect
i
On
:
No
t
comp
leted
Pces
s
the
INPUT
bu
tt
on.
then the r
ight
arrow
• •
to see t
he
li
st
of
chann
els
fo
un
d.
When
no
channel
is received after "Antenna
&
Cable"
was
selected
in
step
6
and a search was
carried out.
ED
Language
Lo
c
ation
&
Ti
me
TV
Locat
ion
Antenna
&
Cabl
e!
STB
Air/C
ab
le
Search
Resu
~
Netw
ork
Conn
ection
:E
nglish
:
Un
ite
d States/EST/Auto
:H
o
me
:
An
tenna
&
Ca
ble
:Cab
le
:N
o chann
el
.
Not compleled
Channel
no
t tound.
Antenn
a/
Cable are n
ot
properly connected
or Air/
Cabl
e
se
tup
is
Inco
rr
ect.
Please check
yo
ur Antenna/Cable
con
nection
and Air/
Cabl
e setup.
• If no
channel
is found, confirm the type
of
connection
made with your
1V
and try
"EZ Setup"
again.
(See
page 26.)
•
To
see
the
list
of
channels
found during
Channel
search, press
INPUT,
and then press
~
.
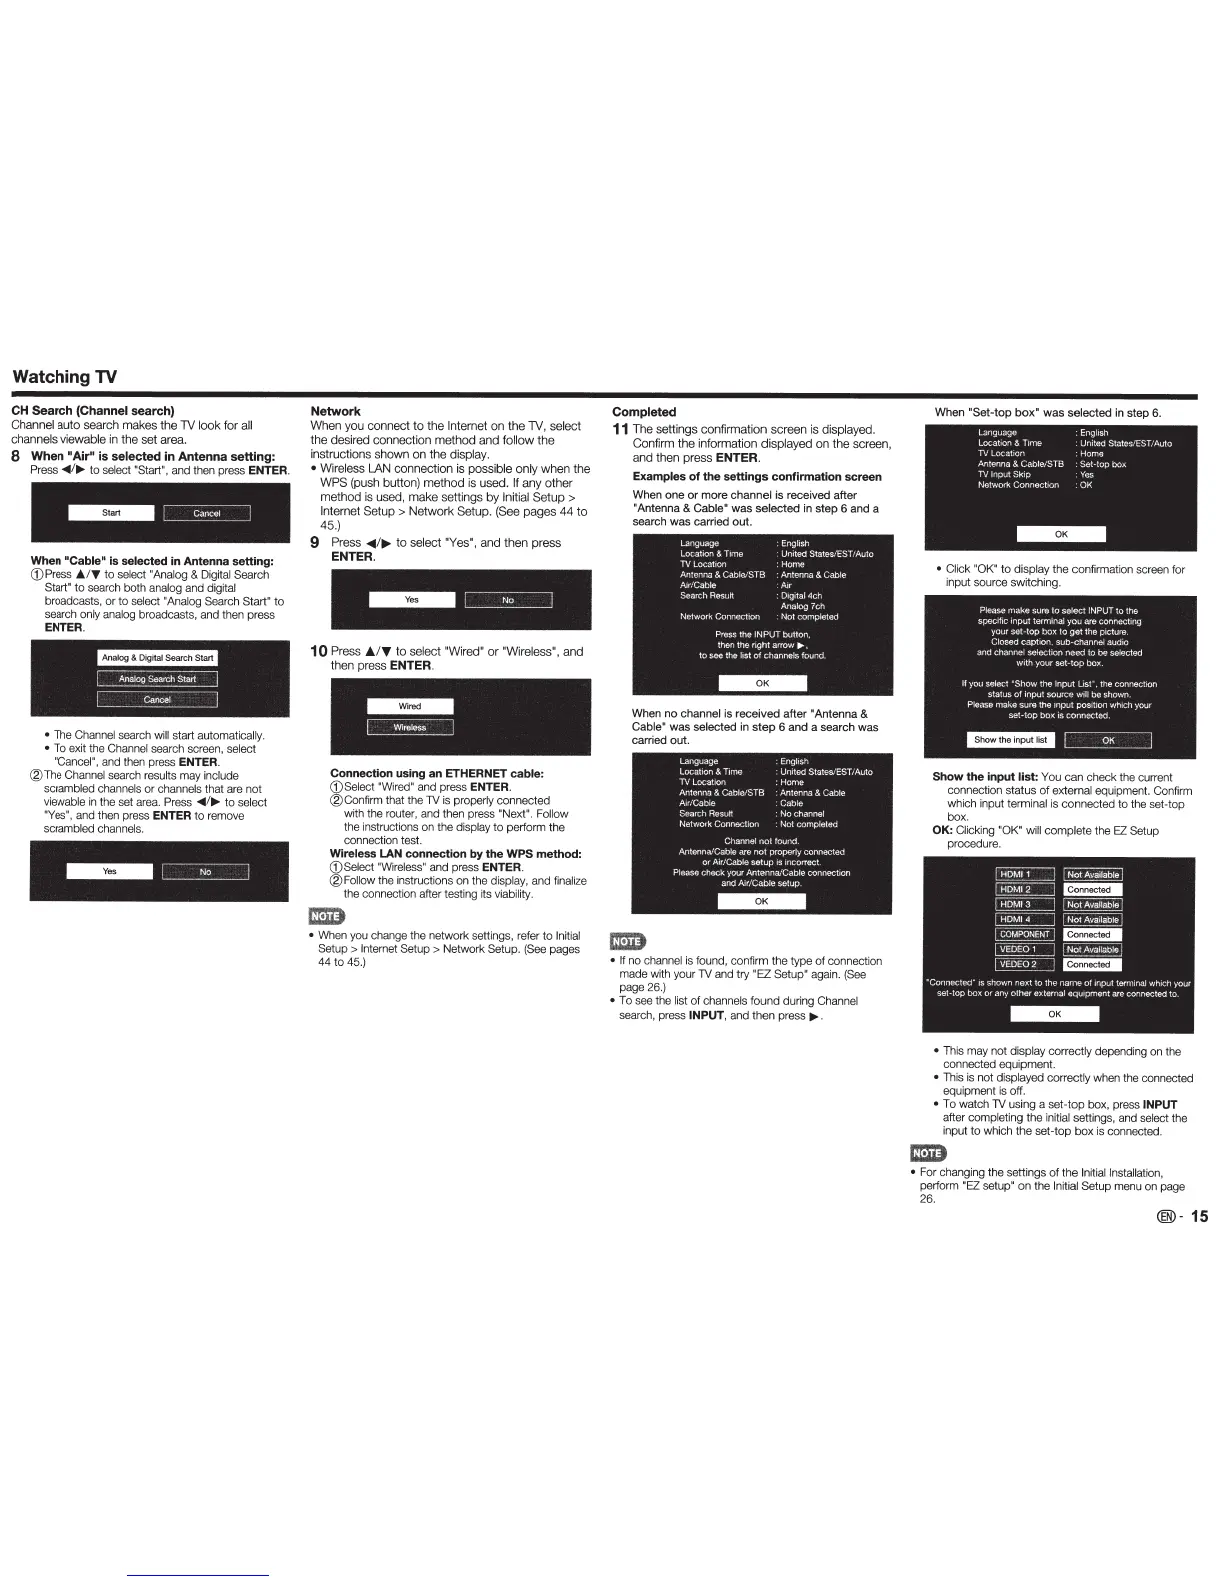
When
"Set-top
box
"
was
selected
in step 6.
• Click "OK"
to
di
sp
lay
the confirmation screen for
input source switchi
ng
.
Plea
se
make sure
to
select
IN
PUT
to the
speci
f
ic
input termi
na
l you
are
connect
i
ng
your
set-top box to get
th
e pi
cture
.
Cl
os
ed cap
tion
.
s
u
b~chan
n
el
au
dio
and channel selection need
to
be
selected
with
you
r
s
et
~
top
bm<.
If
you sele
ct
'Show
the
I
np
ut List".
the
connect1
on
st
atus
of
in
put
source
will
be s
hown
.
Ple
as
e
make sure the 1nput
pos
itiOn
wh
1ch
you
r
set-top
box.
is
connecte
d.
OK
Show
the input
list:
You can check t
he
current
connection status of external
eq
ui
pment. Co
nfi
rm
which input
terminal
is
co
nnected
to
the
se
t-t
op
box.
OK:
C
li
cking "OK" w
ill
c
omp
lete
the
EZ
Se
tup
procedure.
•
This may not
display correctly
depending on
th
e
connected equipment.
•
This
is
not
displayed
correctly
when the connected
equipment is off.
•
To watch
1V
using a set-t
op
box,
pr
ess INPUT
after
completing
the
initial settings
, and
select
the
input to which the se
t-top
box
is
connected.
•
For changing the settings
of
the
Initial Installation,
perfonm
"EZ
setup"
on the
Initial Setup
menu on page
26.
@)-
15
 Loading...