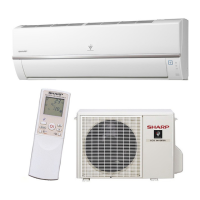
AYXP9LSR
5 – 5
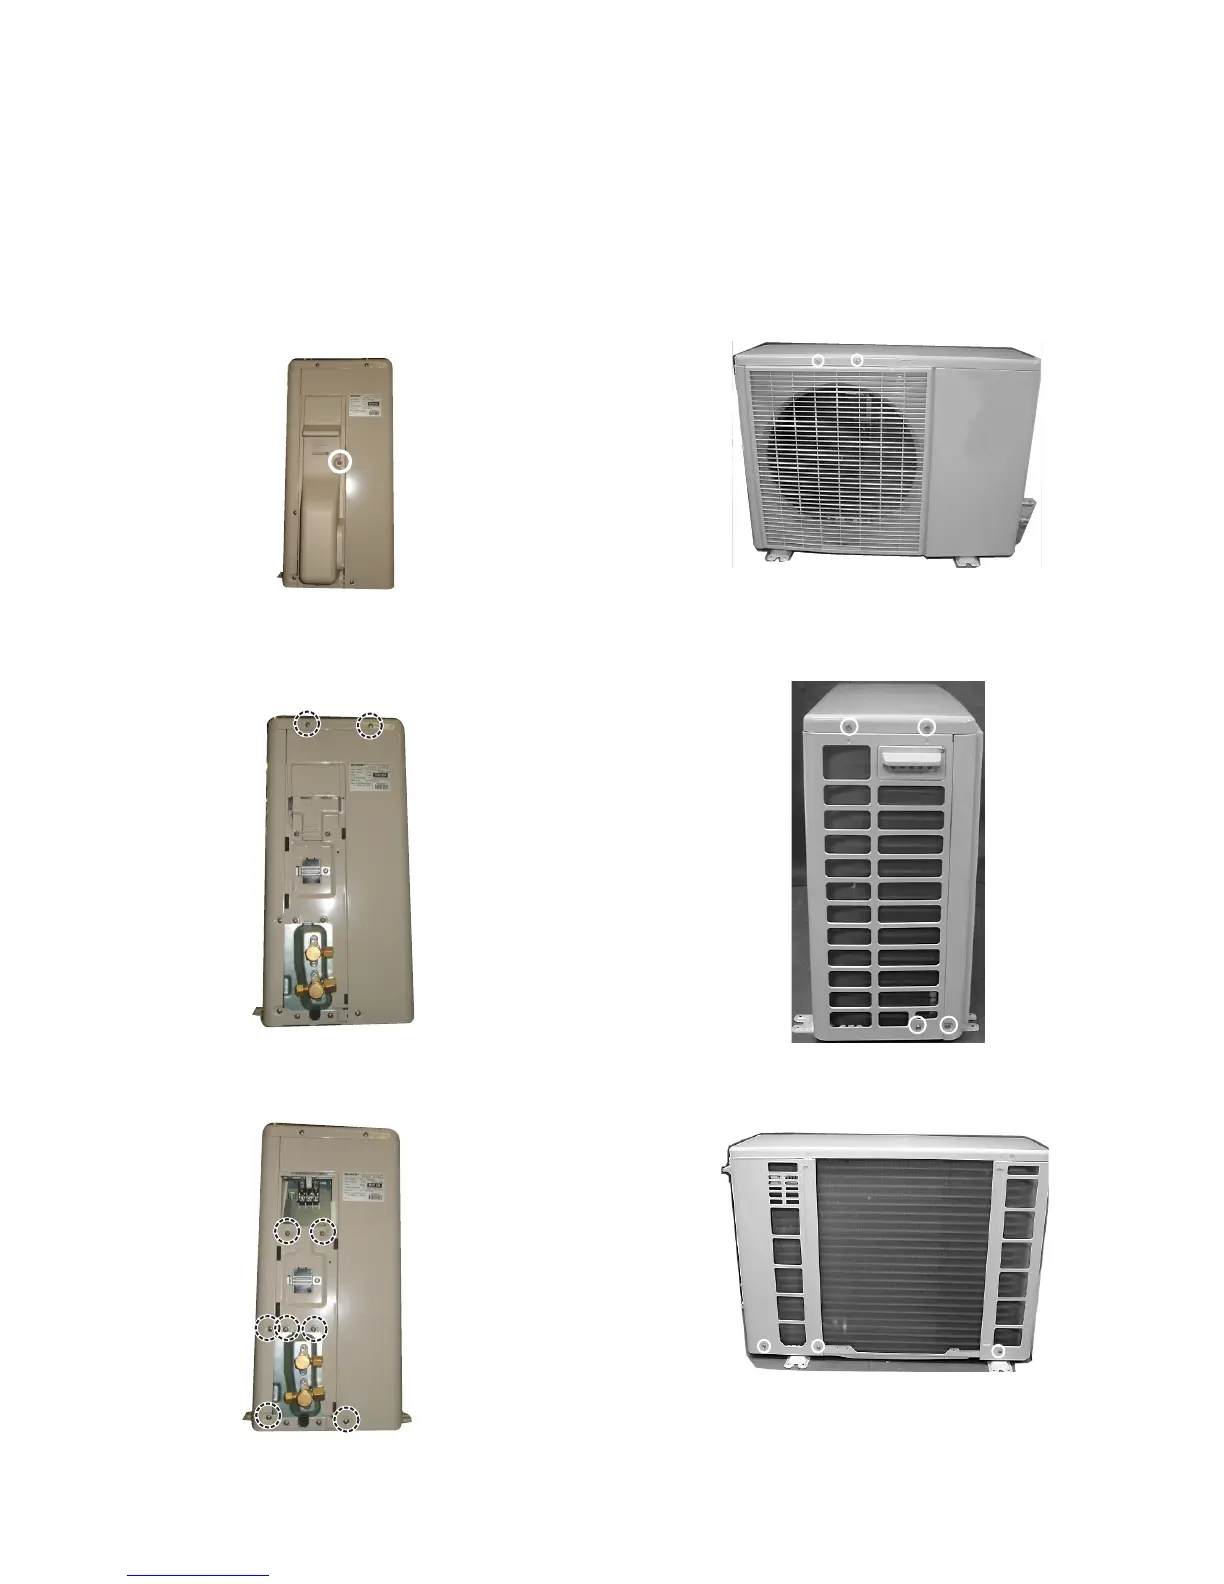
[3] DISASSEMBLY OF OUTDOOR UNIT
1. AU-X13LY/LV, AUX-10LY/LV
Be sure to disconnect the power cord from the AC power outlet before starting the disassembly procedure. When reassembling the unit after repair-
ing, be sure to install screws to their original positions.
The screws used are not the same in specifications such as corrosion-resistant treatment, tip shape and length.
After the air conditioner is repaired or parts are replaced, measure insulation resistance of the equipment using an insulation resistance meter. If the
measured resistance is lower than 1 MΩ, inspect parts and repair or replace defective parts.
1) Remove a screws fixing the cover.
2) Remove the 2 screws fixing the terminal cover.
3) Remove the 7 screws. [top plate(2),terminal base(2), side cover
R(3), front panel(2)]
4) Remove the 2 colored screws.
5) Remove the 4 screws. [top plate(2), side cover L(1)front panel(1)]
6) Remove the 3 screws. [side cover R(2),side cover L(1)]
Remove the top plate.