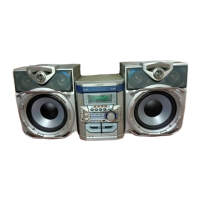
1
Press the CD button.
2
Press the DISC 1 button to open the disc tray 1.
3
Place the CD on the disc tray 1, label side up.
4
Press the DISC 1 button to close the disc tray 1.
5
You can place discs on the trays 2 - 6 by following steps 2 - 4.
6
Press the button to start playback.
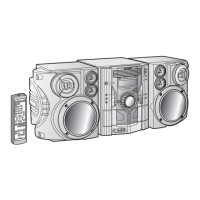
Listening to a CD (CDs)
12 cm (5”)
8 cm (3”)
Total number of tracks
Means "disc
inside"
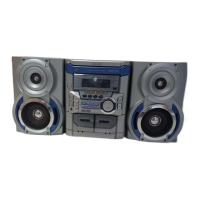
Turn on your System
The first time the unit is plugged in,
the unit will enter the demonstration
mode. You will see words scroll.
2
1
Press the DEMO
button to cancel
the demonstration
mode.
Press the ON/STAND-
BY button to turn the
power on.
4
4
Total playing time
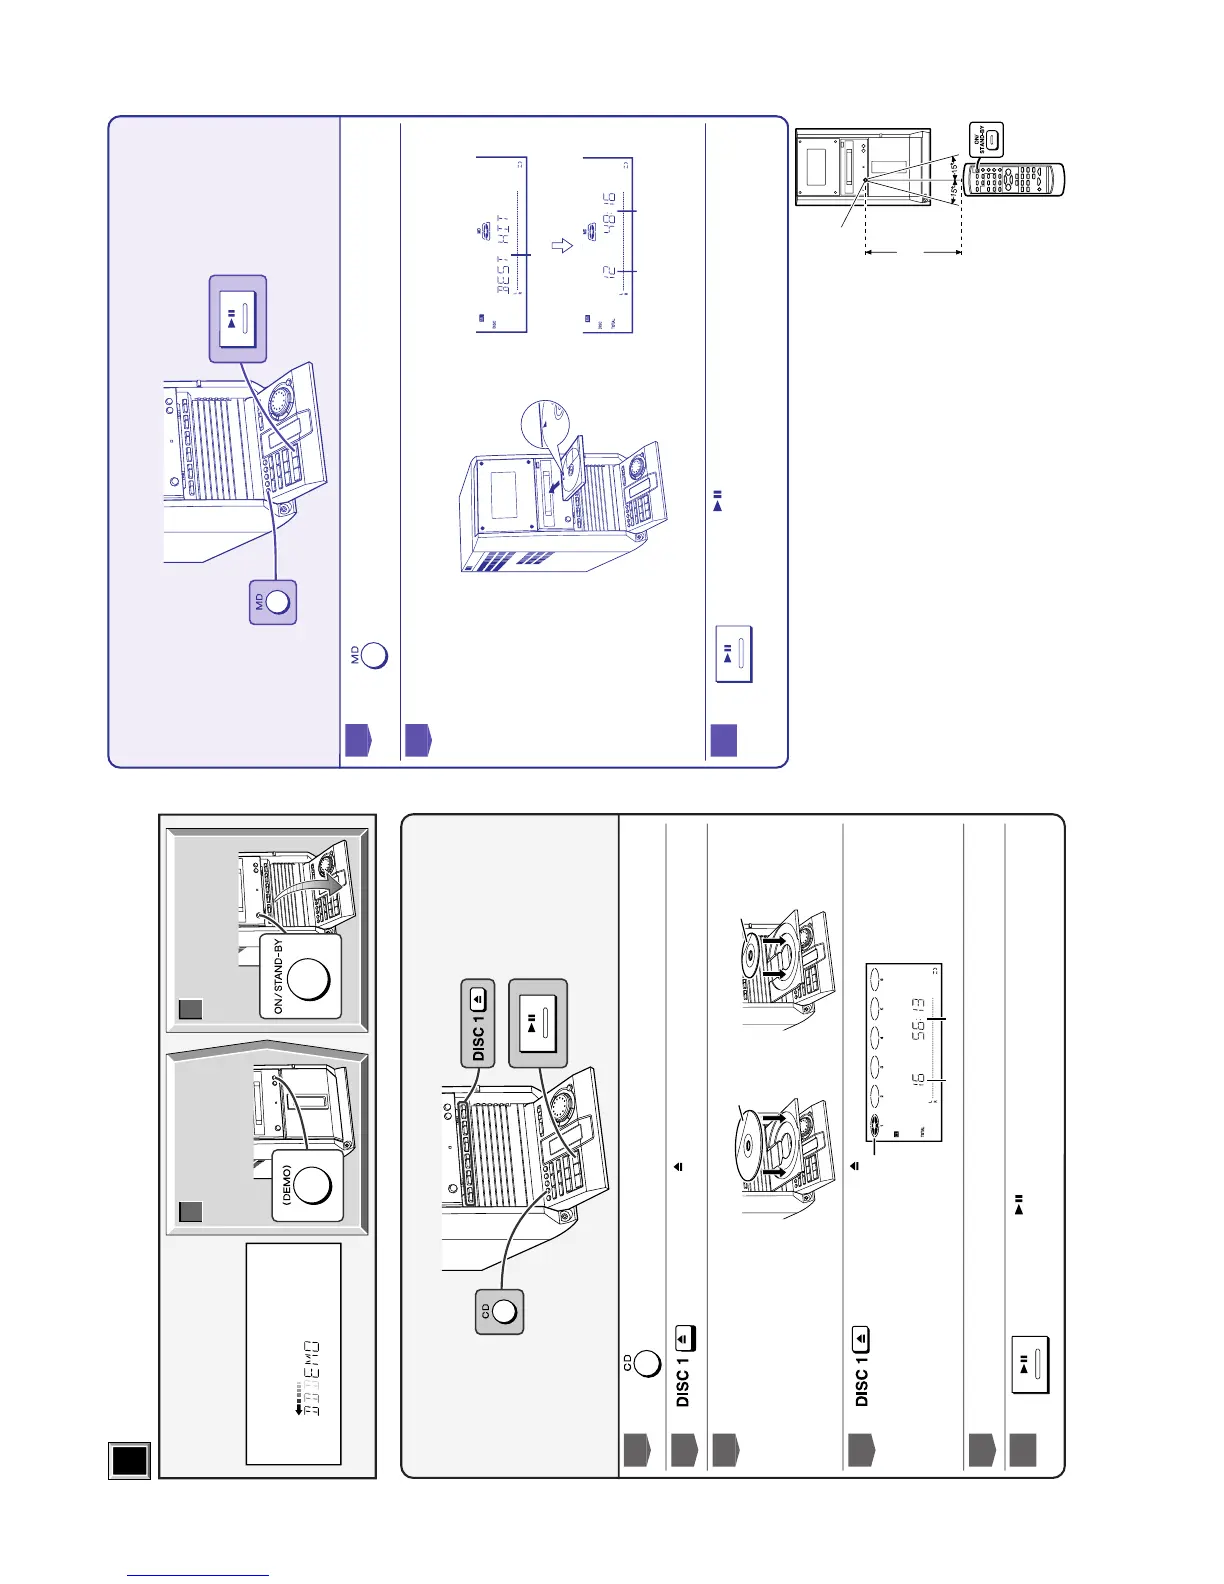
Listening to a MiniDisc
1
Press the MD button.
2
Load a MiniDisc into the MD compartment, label side up.
3
Press the button to start playback.
Total number
of tracks
Total playing
time
Disc name
■
Test of the remote control
Face the remote control directly to the remote sensor on the unit.
The remote control can be used within the range shown below:
Press the ON/STAND-BY button. Does the power turn on?
Now, you can enjoy the music.
0.2 m - 6 m
(8" - 20')
Remote sensor