EasyManuals Logo

Sharp ER-A320 Installation Manual

Sharp ER-A320
6 pages
To Next Page IconTo Next Page
To Previous Page IconTo Previous Page
Page #3 background imageLoading...
Page #3 background image
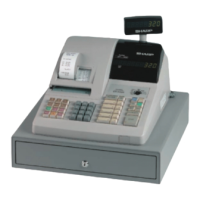
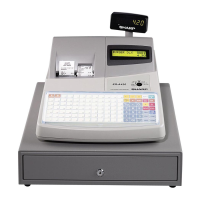
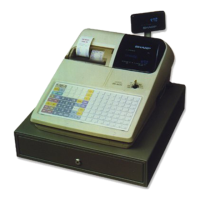
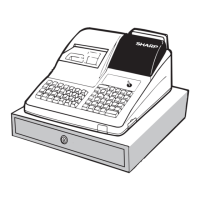
CHAPTER 3. REMOVING THE TOP
CABINET
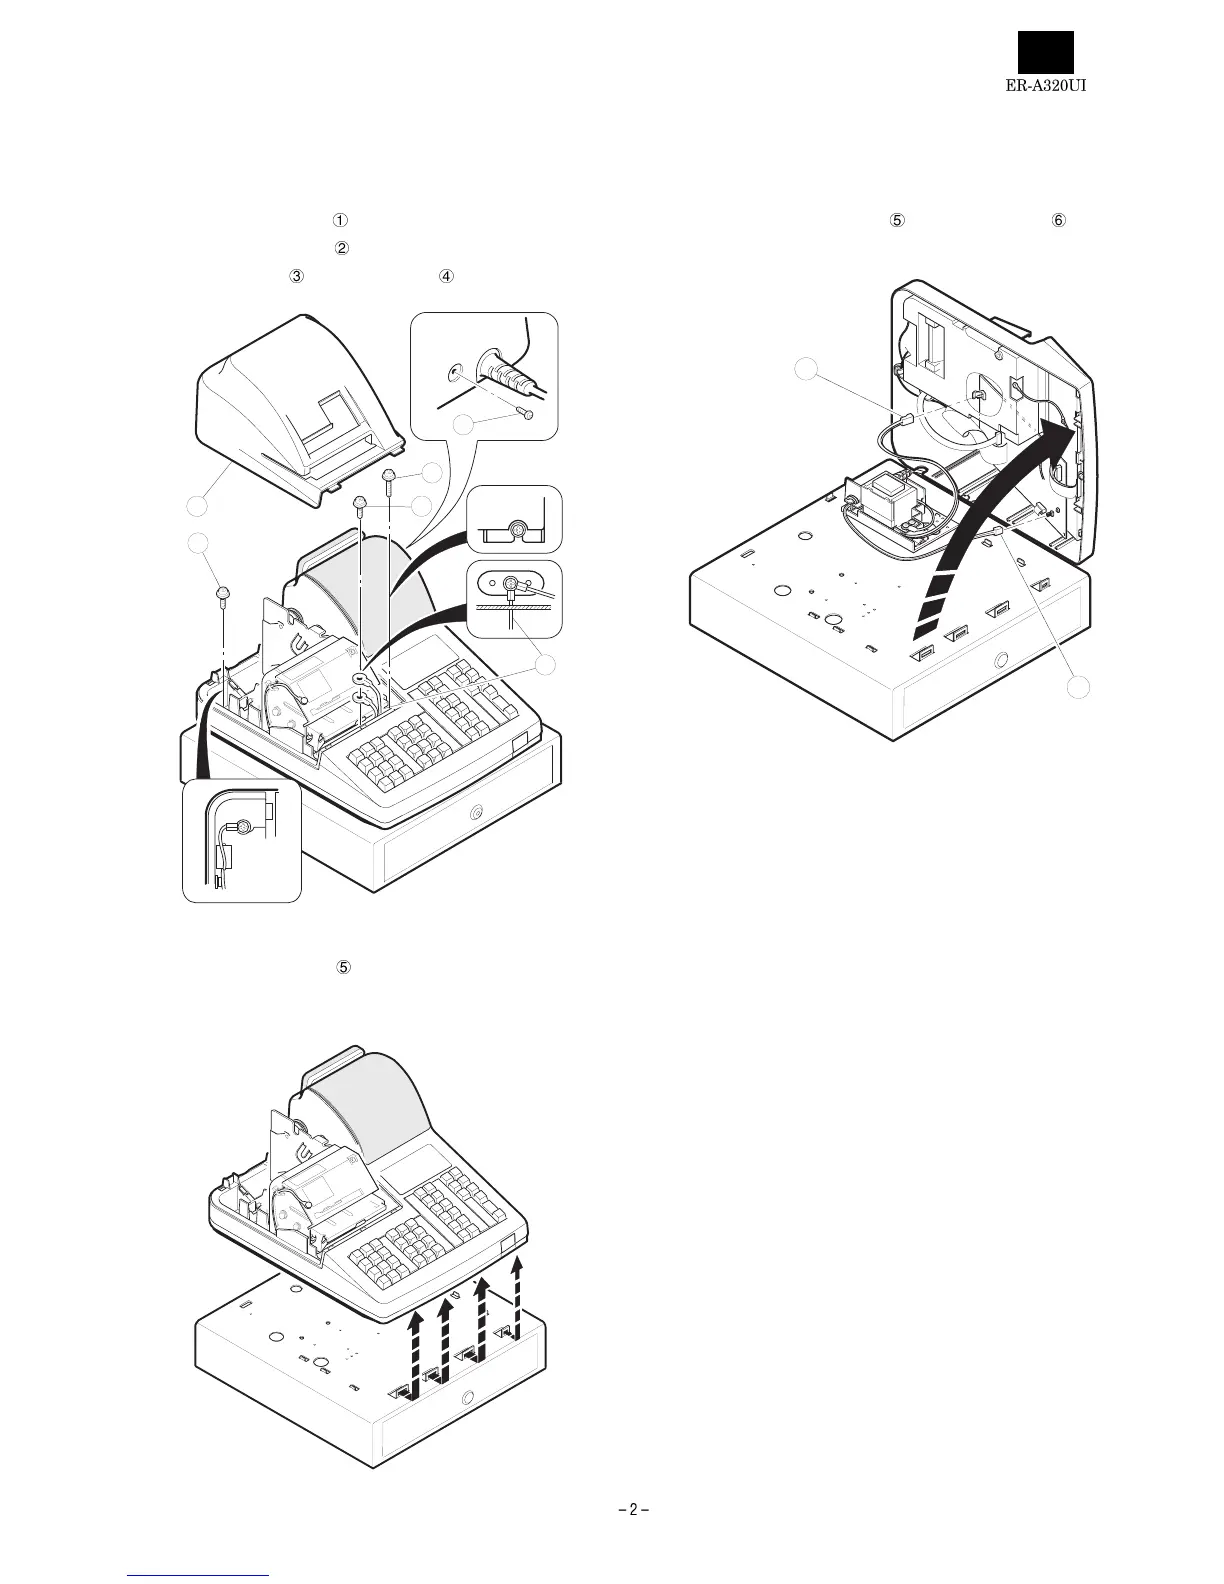
1) Remove the printer cover .
2) Remove the three screws
.
3) Remove the screw
and grounding wire .
4) Separate the top cabinet and the drawer unit.
Note: Transformer cable
and the drawer cable on the drawer
unit are connected to the main PWB on the top cabinet.
Be careful when separating them from the drawer unit.
5) Remove the transformer cable
and the drawer cable from the
main PWB.
1
3
4
2
2
2
5
6

Other manuals for Sharp ER-A320

Questions and Answers:

Question and Answer IconNeed help?

Do you have a question about the Sharp ER-A320 and is the answer not in the manual?

Sharp ER-A320 Specifications

General IconGeneral
TypeElectronic Cash Register
Departments99
Paper Width58mm
DisplayLCD
PrinterThermal Printer
Memory BackupBattery Backup

Related product manuals