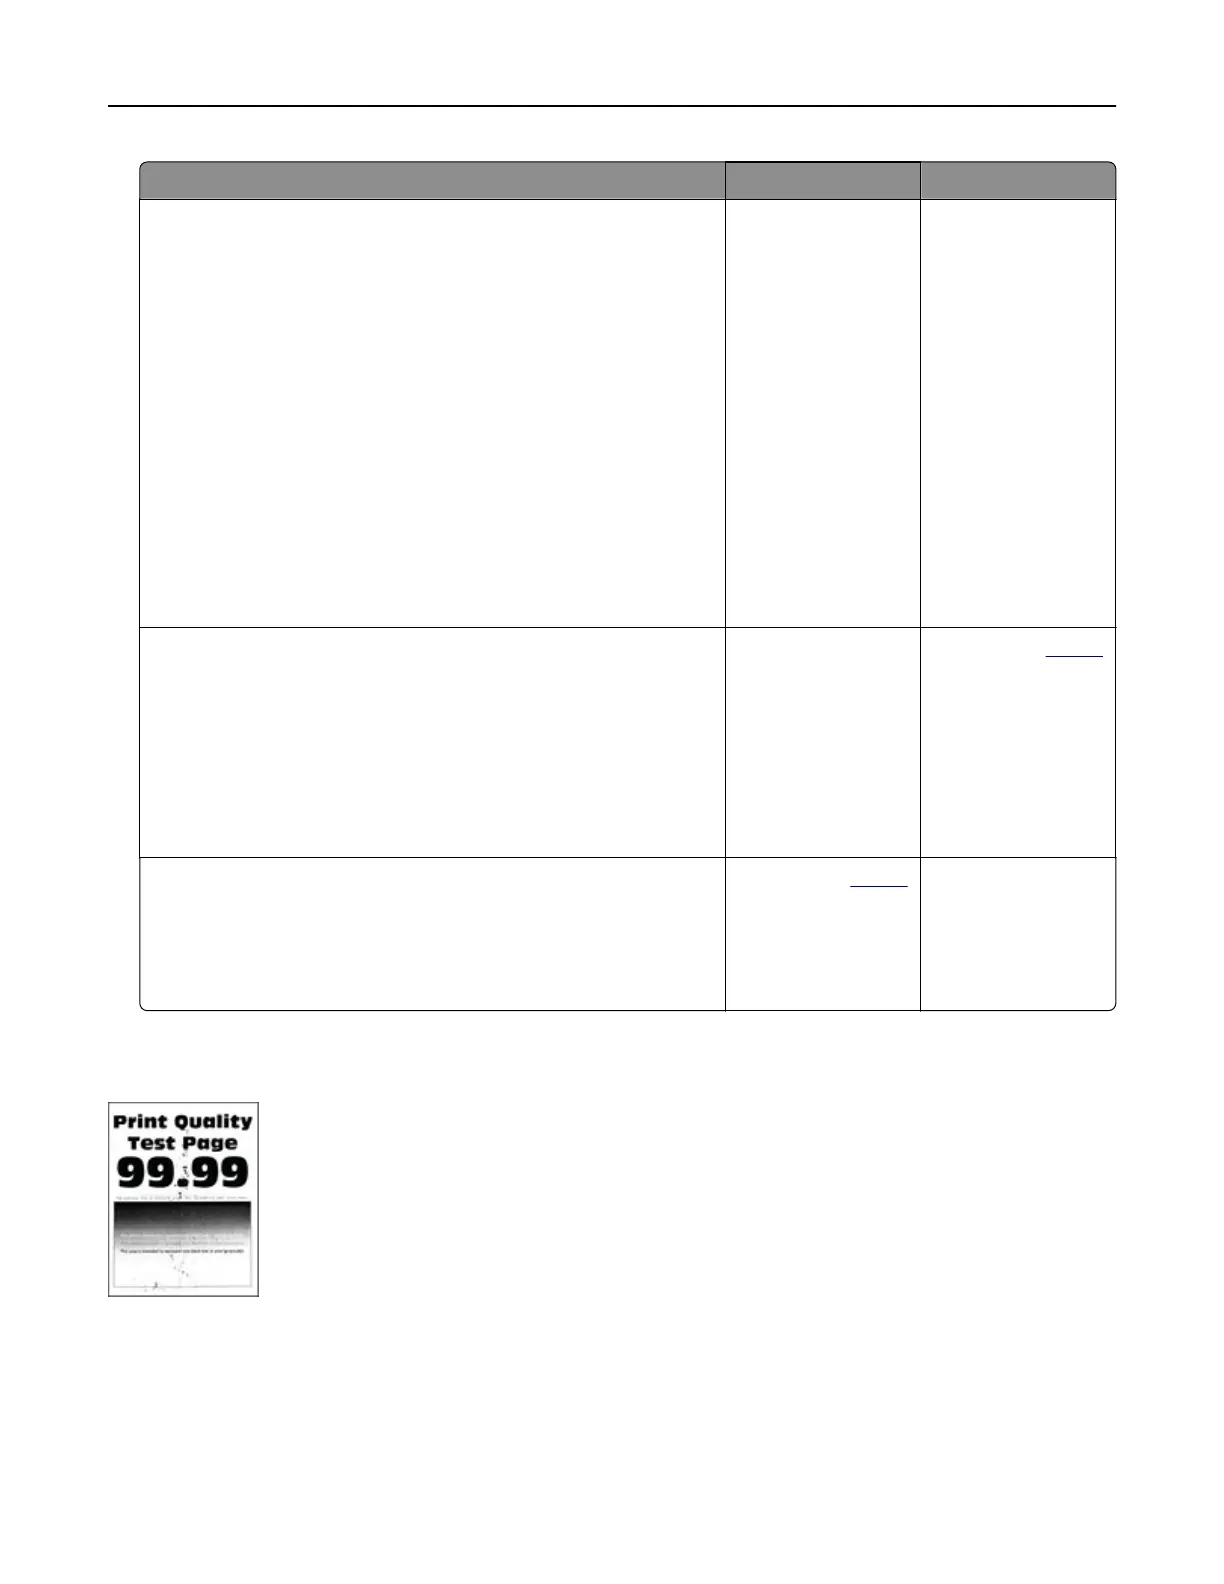
Action Yes No
Step 5
a Remove the imaging unit.
Warning—Potential Damage: Do not expose the imaging unit
to direct light. Extended exposure to light can cause print
quality problems.
Warning—Potential Damage: Do not touch the
photoconductor drum. Doing so may aect the quality of
future print jobs.
b Firmly shake the imaging unit to redistribute the toner.
c Insert the imaging unit.
d Turn o the printer, wait for 10 seconds, and then turn on the
printer.
e Print the document.
Is the print light?
Go to step 6. The problem is
solved.
Step 6
a Check the status of the toner cartridge.
From the home screen, touch Settings > Reports > Device >
Device Statistics.
b From the Supply Information section of the pages printed,
check the status of the toner cartridge.
Is the toner cartridge near end of life?
Go to step 7. Contact your
dealer.
Step 7
a Replace the toner cartridge.
b Print the document.
Is the print light?
Contact your
dealer. The problem is
solved.
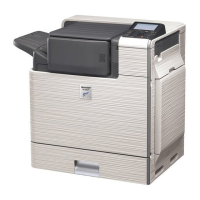
Mottled print and dots
Note: Before solving the problem, print the Print Quality Test Pages. From the home screen, touch Settings >
Troubleshooting > Print Quality Test Pages.
Troubleshoot a problem 115