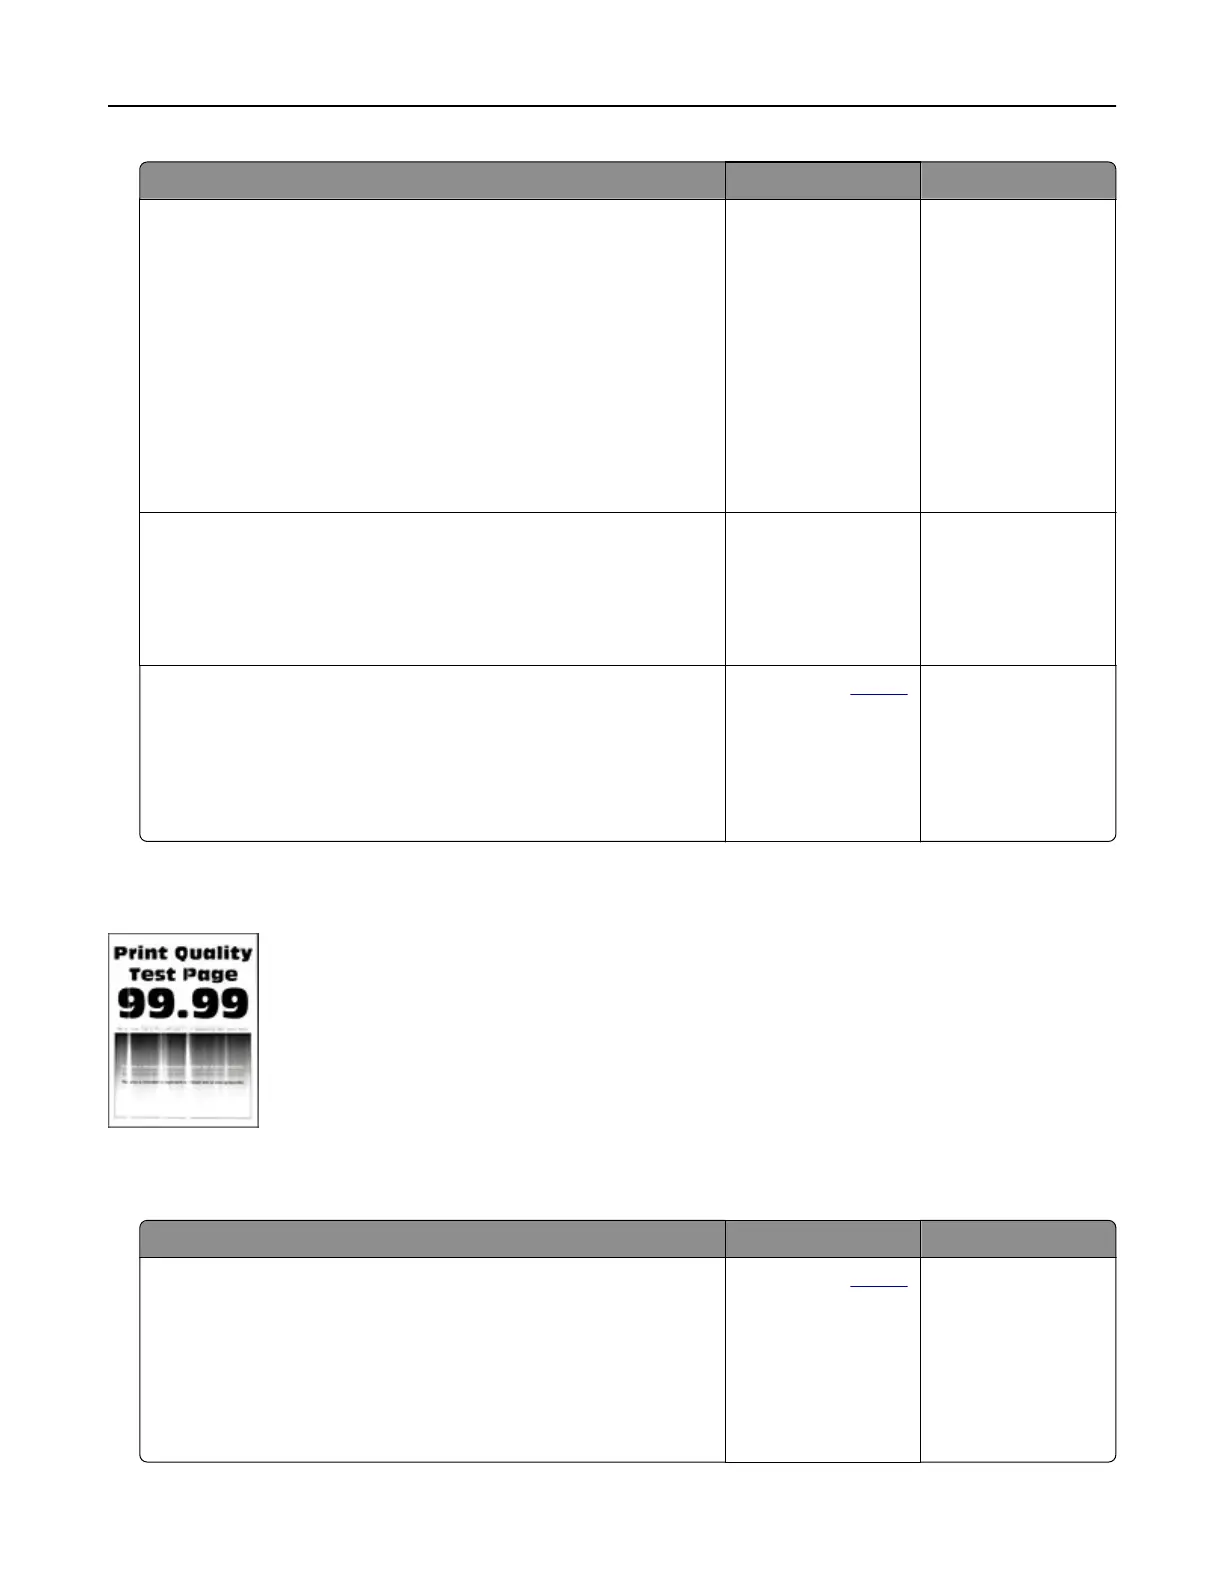
Action Yes No
Step 2
a Remove, and then insert the imaging unit.
Warning—Potential Damage: Do not expose the imaging unit
to direct light. Extended exposure to light may cause print
quality problems.
Warning—Potential Damage: Do not touch the
photoconductor drum. Doing so may aect the quality of
future print jobs.
b Print the document.
Do horizontal light bands appear on prints?
Go to step 3. The problem is
solved.
Step 3
a Replace the imaging unit.
b Print the document.
Do horizontal light bands appear on prints?
Go to step 4. The problem is
solved.
Step 4
a Turn o the printer, wait for 10 seconds, and then turn on the
printer.
b Print the document.
Do horizontal light bands appear on prints?
Contact your
dealer. The problem is
solved.
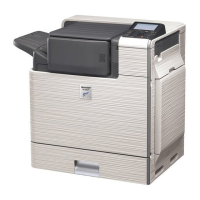
Vertical light bands
Note: Before solving the problem, print the Print Quality Test Pages. From the home screen, touch Settings >
Troubleshooting > Print Quality Test Pages.
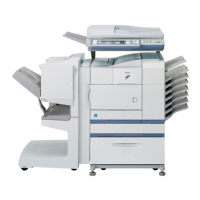
Action Yes No
a Check if the printer is using a genuine and supported toner
cartridge.
Note: If the cartridge is not supported, then install a
supported one.
b Print the document.
Do vertical light bands appear on prints?
Contact your
dealer. The problem is
solved.
Troubleshoot a problem 122