54
Setting Up the Projector Network Environment (“Network” Menu)
Menu operation n Page 40
SCRSIG PRJ1 PRJ2
SEL./ADJ. ENTER END
Pict. Network
Password Disable
DHCP Client Off
Restart Network
Reset Network Setting
TCP/IP
IP Address
XX X. XXX .X XX.XX X
MAC Address
XX : XX : XX : X X : X X : X X
Projector
XX -X XXX
Link
Disconnected
6
4
2
3
1
5
1
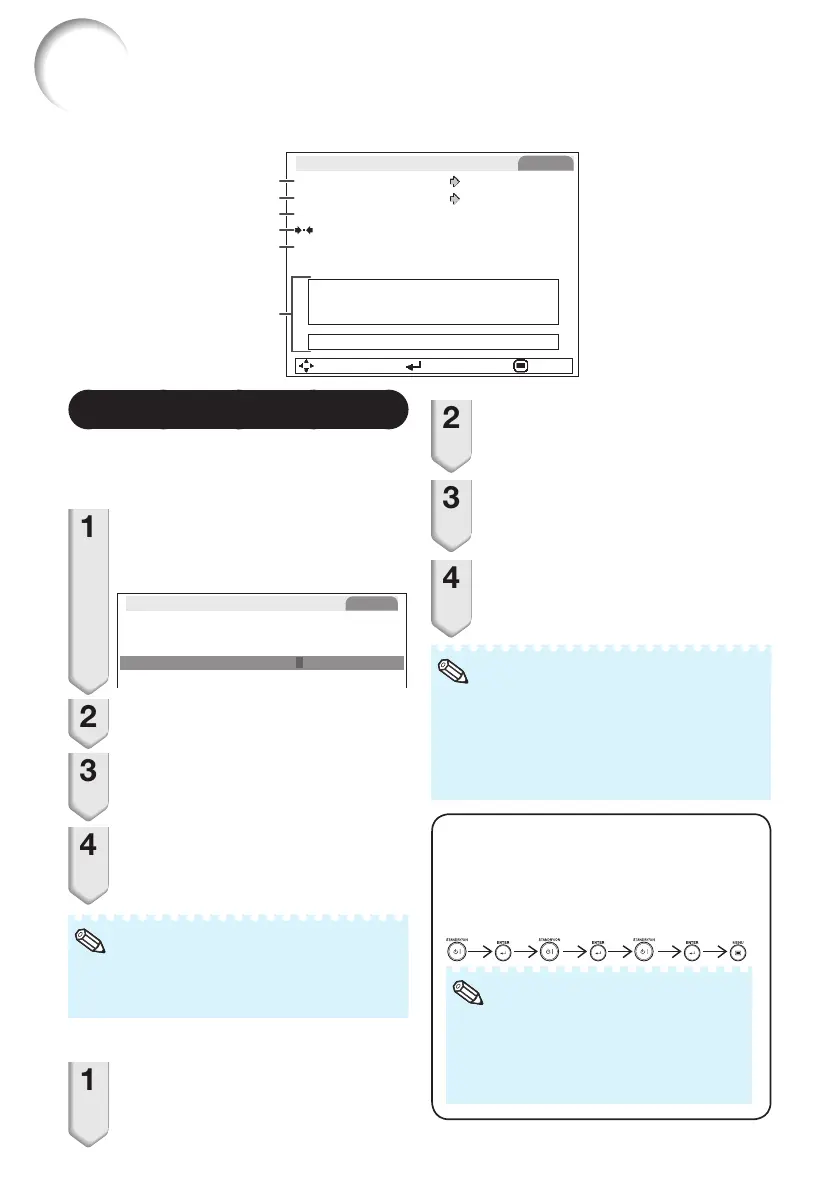
Setting a Password
If you do not want others to change the setting
for the “Network” menu, set a password.
a
Setting a Password
1
Select “Password”, then press
ENTER or Q.
• The screen for entering the password
appears.
Setting the Password
Old Password
New Password
Reconfirm
–
– – ––
– – –
– – – –
Network
2
Press P or R to set the first digit
in “New Password”, then press Q.
3
Enter the remaining 3 digits, then
press ENTER.
• To return to the previous digit, press O.
4
Enter the same password in
“Reconfirm”, then press ENTER.
• The status for “Password” changes to
“Enable”.
• Once the password is set, you must enter the
password to change the “Network” menu
settings.
a
Changing the Password
1
Select “Password”, then press
ENTER or Q.
• The screen for entering the password
appears.
2
Enter the password in “Old
Password” using P, R, Q and O,
then press ENTER.
3
Enter the password in “New
Password” using P, R, Q and O,
then press ENTER.
4
Enter the same password again
in “Reconfirm” using P, R, Q and
O, then press ENTER.
• If you do not need the password protection
for the “Network” menu settings anymore,
press ENTER without entering the new
password in steps 3 and 4.
• To cancel the password settings, press
RETURN.
If you forget the password
If you forget the password, perform the
following procedure to delete it, then set a
new password.
On the projector, press
.
• If ENTER is held down for more than 5
seconds, the operation buttons on the
projector will be locked. (See page 50.)
• You cannot use the buttons on the
remote control to delete the password.