10
AUTOMATIC OPERATION
Notes for Automatic Operation
1. Wipe off any moisture from the outside of
cooking containers and the interior of the oven
with a dry cloth or paper towel prior to cooking
on SENSOR COOK.
2. After oven is plugged in, wait 2 minutes before
using SENSOR COOK.
3. When cooking small quantities of food on
SENSOR COOK, the food may be cooked
without displaying any remaining cooking time.
4. When using the automatic features, carefully
follow the instructions provided in each GUIDE to
achieve the best result. If the instructions are not
followed carefully, the food may be overcooked
or undercooked or “ERROR” may be displayed.
5. Food weighing more or less than the quantity or
weight listed in each GUIDE, cook manually.
Refer to manual cooking charts on pages 23-26.
6. To change the final cooking or defrosting result
from the standard setting, press LESS(
) or
MORE(
) prior to pressing each automatic
operation key. Refer to page 12.
7. The final cooking result will vary according to the
food condition (e.g.initial temperature, shape,
quality). Check the food after cooking and if
necessary continue cooking manually.
8. To avoid children's misuse, each AUTO MENU
key can be used only within 3 minutes of a
preceding operation.
9. “ERROR” will be displayed if:
(a) more or less than the quantity or weight of
foods suggested in the SENSOR COOK
GUIDE are programmed when START is
pressed.
(b) the door is opened or STOP/CLEAR is
pressed until the cooking time is displayed.
To clear, press STOP/CLEAR and cook manually.
Refer to manual cooking charts on pages 23-26.
10. When entering the weight of the food, round
off the weight to the nearest 0.1kg(100g). For
example, 1.65kg would become 1.7kg. When
entering up to 0.3kg(300g), round off the weight
to the nearest 0.05kg(50g).
11. After cooking, the cooling fan will continue to
operate. “NOW COOLING” may be displayed
when the door is opened or STOP/CLEAR is
pressed while fan is operating.
Auto Menu
The AUTO MENUS have been pre-programmed with
a cook mode and cook time, offering convenience at
meal times. There are 8 popular AUTO MENUS which
have been listed below. See AUTO MENU GUIDE
on pages 18-19 for information on how to use these
menus.
- Boiled Potato - Chicken Drumsticks
- Potato Chips - Pumpkin Risotto
- Roast Chicken - Cake
- Roast Pork - Pizza
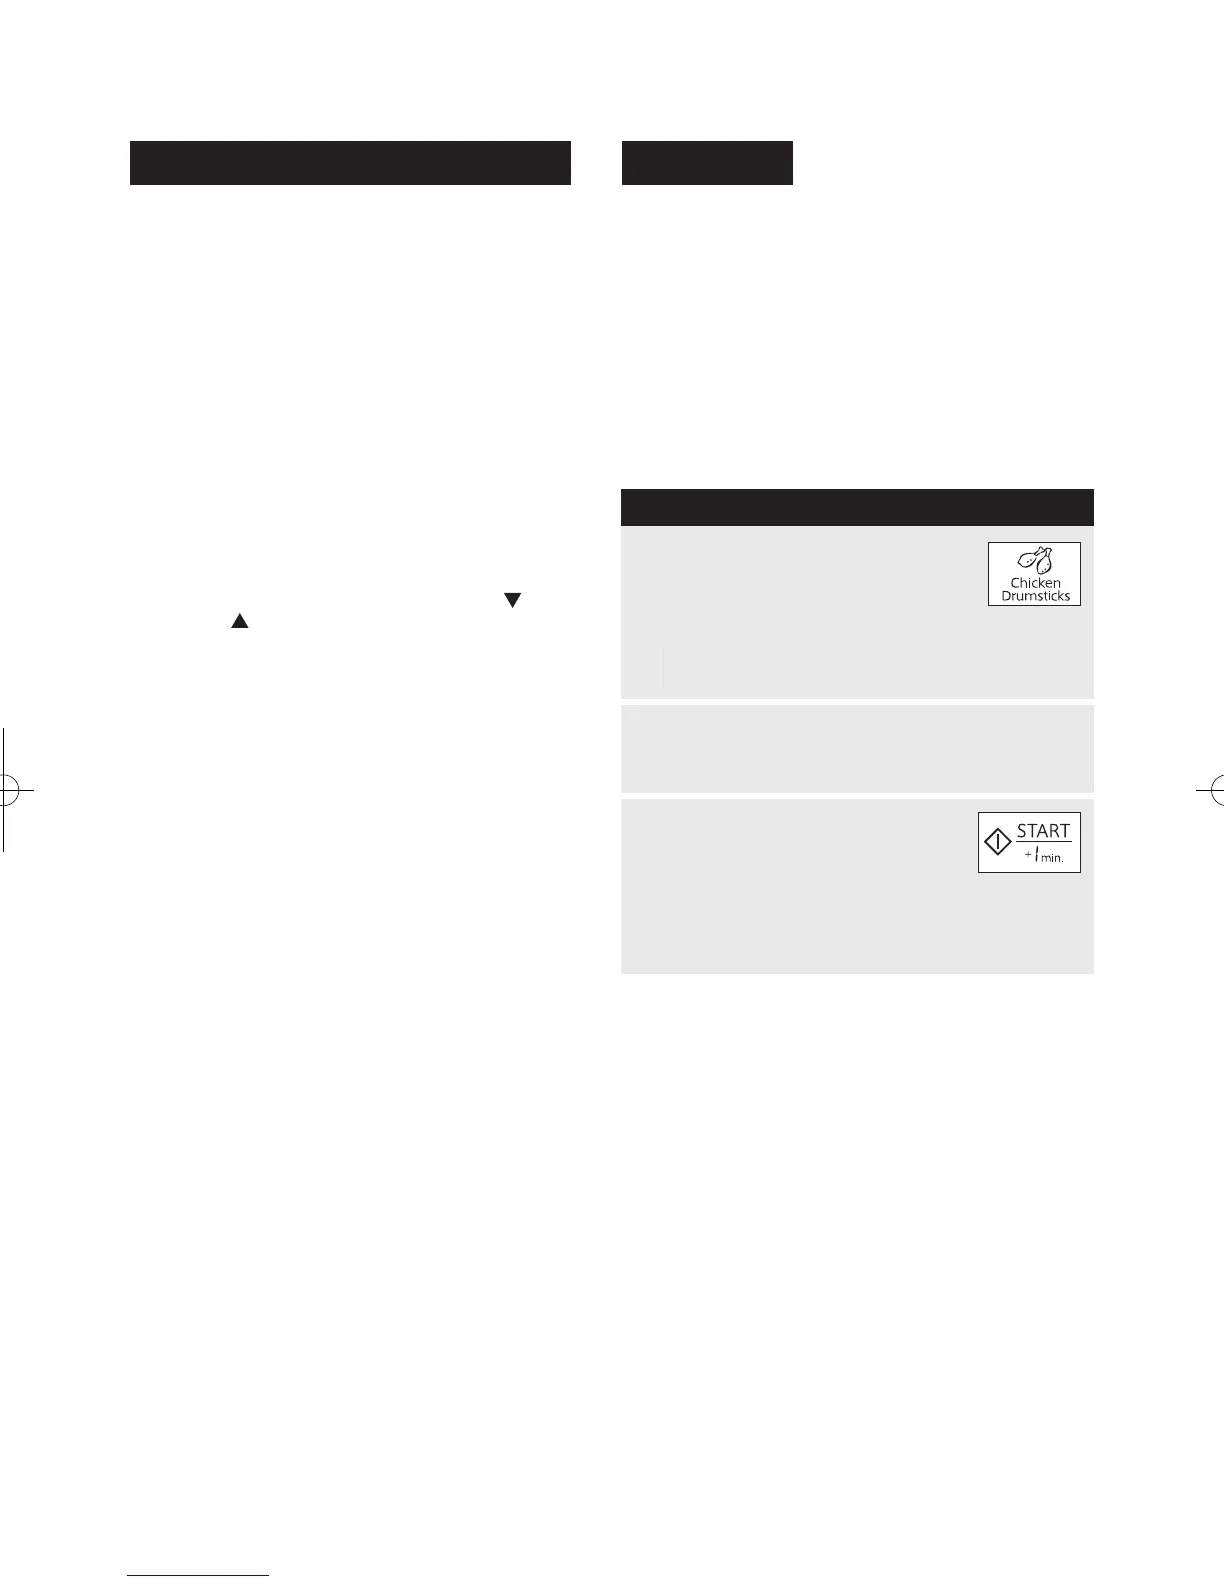
* Suppose you want to cook 0.5 kg Chicken Drumsticks.
P R O C E D U R E
1
Press Chicken Drumsticks until the
desired quantity is displayed.
For 0.5kg, press 5 times.
(within 3 minutes of closing the
door)
x 5
After about 2 seconds, the timer will begin to
count down.
The oven will stop. COOK indicator will go off and
“TURN OVER” will be displayed. Open the door.
Turn over the chicken drumsticks. Close the door.
2
Press START.
The cooking time will begin counting to zero,
when it reaches zero, the oven will "beep".
“STAND” will be displayed.
WARNING:
The oven door, outer cabinet, oven cavity, accessories
and dishes will become hot. Use thick oven gloves
when adding or removing foods to prevent burns.
NOTE:
When using Potato Chips key, press once for Thin
chips, press twice for Thick chips.
R-995D(W).indd 10 2016/10/19 17:33:30