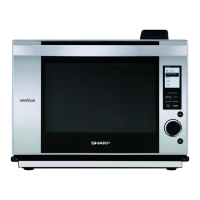
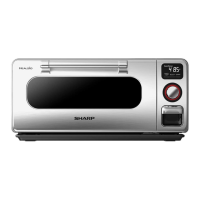
SSC3088AS
35
[23] Drip pan SW
1. Remove the side cover R, the side cover L, the exhaust cover and
the cabinet. [3] Reference
2. Remove the left/right reinforcing AG and the rear plate. [17] Refer-
ence
3. Remove the AC cord. [15] Reference
4. Remove the bottom plate cover. [21] Reference
5. Remove the bottom plate. [22] Reference
6. Remove the harness from the drip pan SW.
7. Remove the screws (2x) which fix the SW holder onto the heat in-
sulating plate bottom..
8. Remove the claws (3x) of the SW holder from the heat insulating
plate bottom and take out the SW holder.
9. Expand the 2 claws which retain the drip pan SW and remove the
drip pan SW.
[24] Relay board
1. Remove the side cover R, the side cover L, the exhaust cover and
the cabinet. [3] Reference
2. Remove the left/right reinforcing AG and the rear plate. [17] Refer-
ence
3. Remove the AC cord. [15] Reference
4. Remove the bottom plate cover. [21] Reference
5. Remove the bottom plate. [22] Reference
6. Remove the harness from the relay board.
7. Remove the screw (1x) which fixes the relay board onto the heat
insulating plate bottom..
8. Remove the screws (6x) which fix the relay board onto the board
holder.
9. Remove the relay board from the board holder. (2 claws)
Screw
Screw
Screw
Grounding screw
Relay substrate
Screw (wire presser and joint)
[25] Filter board
1. Remove the side cover R, the side cover L, the exhaust cover and
the cabinet. [3] Reference
2. Remove the left/right reinforcing AG and the rear plate. [17] Refer-
ence
3. Remove the AC cord. [15] Reference
4. Remove the bottom plate cover. [21] Reference
5. Remove the bottom plate. [22] Reference
6. Remove the harness from the filter board.
7. Remove the screw (1x) which fixes the filter board onto the filter
TOAG.
8. Remove the filter board from the filter TOAG.
[26] Sirocco motor (left)
1. Remove the side cover R, the side cover L, the exhaust cover and
the cabinet. [3] Reference
2. Remove the left/right reinforcing AG and the rear plate. [17] Refer-
ence
3. Remove the AC cord. [15] Reference
4. Remove the bottom plate cover. [21] Reference
5. Remove the bottom plate. [22] Reference
6. Remove the controlling harness from the harness of the sirocco motor (left).
7. Remove the intake duct cover. (2 screws)
8. Remove the screw (1 screw) which fixes the sirocco motor (left) to
the bottom of the intake duct.
9. Remove the sirocco motor (left) from the bottom of the intake duct.
Sirocco
motor (left)
Controlling
harness
Harness of
the sirocco
motor (left)
Screw
Lower
suction
duct
cover
Screw
 Loading...
