For more information, please refer to the instruction manual.
To view video demonstrations, please visit www.sharp-register.com
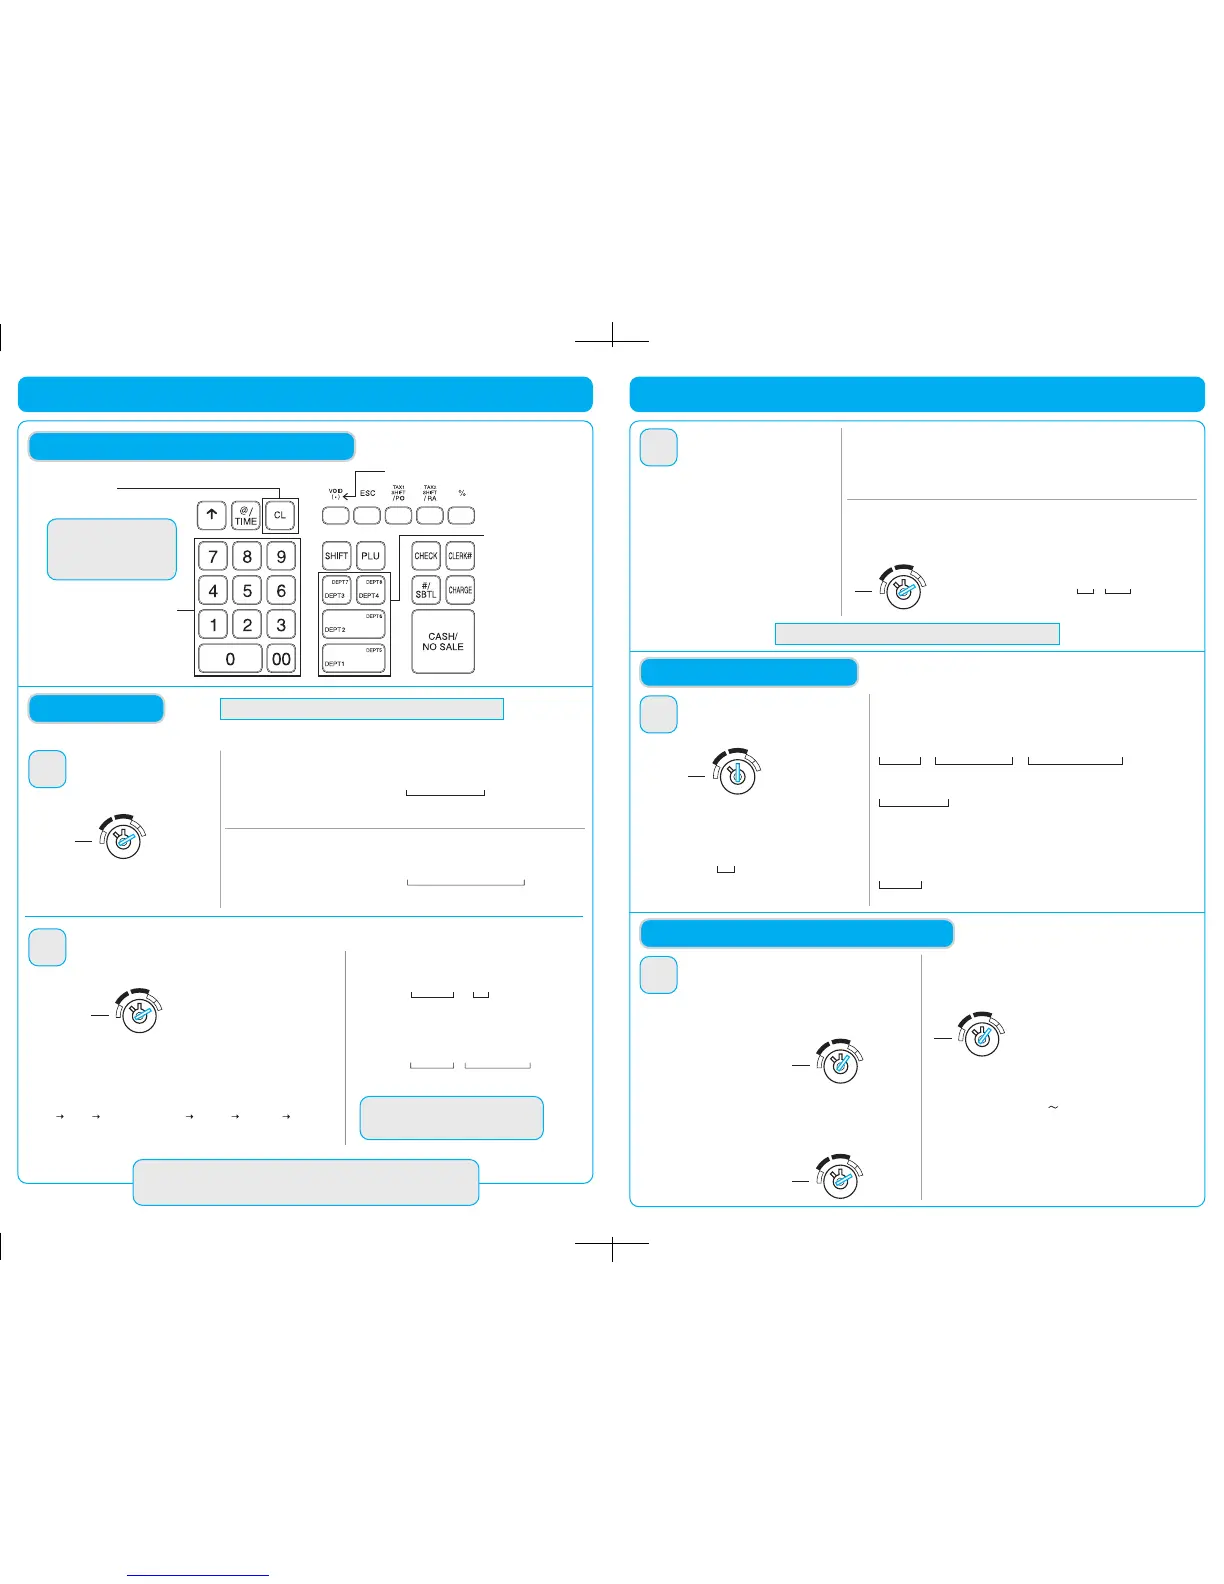
Numeric keys
Clear key
(Used for cancel entry)
Department keys
Decimal point for tax setting
KEYBOARD LAYOUT FOR PROGRAMMING
PROGRAMMING
u
REG
X/Flash
Z/PGM
VOID
OFF
Turn the modes switch to the
Z/PGM position.
At the end of each step, the settings that were selected are printed on a receipt.
4
Setting Time and Date
EXAMPLE:
Setting the Time
Time (2:30 p.m.)
EXAMPLE:
Setting the Date
STEP
Enter the time in 4 digits (“hhmm”
format) using the 24 hour format.
Then, press the
u
key.
1 4 3 0
0 3 2 5 1 3
u
Enter the date in 6 digits using the
month-day-year format. Then, press
the
u
key.
Date (March 25, 2013)
Tax rate 7% for Tax 1
Tax rate 4.25% for Tax 2
Tax 1
Tax 2
Tax rate (7%)
Tax rate (4.25%)
EXAMPLE 1:
EXAMPLE 2:
9u 1Q 7 A
9u 2Q 4v25 A
NOTE
Only when setting a tax rate (%), a decimal
point can be entered by pressing the
v
key.
NOTE
When you make an error in key
operation, press
l and make
a correct entry from the
beginning.
Setting Tax Rates (%)
5
STEP
9 u
Q
TAX RATE
A
Tax rate number
(enter tax rate 1,2,3 or 4)
Specify a tax rate (%) for calculation of tax on each taxable subtotal
using the following sequence. Up to 4 tax rates can be stored using
tax rate number locations 1 through 4.
Before starting, turn mode switch to Z/PGM position.
REG
X/Flash
Z/PGM
VOID
OFF
LET’S START PROGRAMMING!
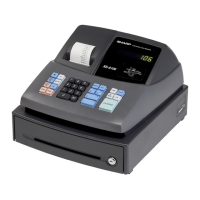
XE-A107 Quick Set-up Guide
View Video Demonstrations at www.sharp-register.com
Assigning Tax Rate
to Departments
6
STEP
Default department/tax assignments
In order for taxes to be applied properly,
they must be associated with a specific
department. The cash register has default
tax/department configuration and
changes may NOT need to be made for
MOST users, see default departments
(right side above) before proceeding.
Department 1, 2, 5, 6 use TAX 1
Department 3, 7 are NON-TAX
Department 4, 8 are NEGATIVE DEPARTMENT, TAX 1
(Negative Department is used for refund, see the Instruction manual for more information.)
Assigning tax rate 1 to department 4.
EXAMPLE 1:
REG
X/Flash
Z/PGM
VOID
OFF
Changing the default assignments
Turn the mode switch to the Z/PGM position, and press the
U
key to change
the default assignments.
Tax rate
number
Department
number
U 1 $
Clerk
code
X/Flash
Z/PGM
VOID
OFF
Enter a Transaction
Clerk code
Clerk code
Price and department
Price and department
Amount tendered
EXAMPLE 1: When a customer pays by cash.
Customer purchases a $5.00 (Department 1) item and a $8.00 item
(Department 7) and pays with $20.00 cash.
EXAMPLE 2: When a customer pays by credit card.
Customer purchases one item for $12.96 and pays with a credit card.
7
STEP
ENTERING TRANSACTIONS
Enter a clerk code and press
L
. (Once the
clerk code is entered, re-entry of the clerk code
is not needed until the clerk is changed.)
Turn the mode switch to the REG position.
1 L
1L 500! 800H# u
1L 1296
! u c
2000 A
REG
X/Flash
Z/PGM
VOID
OFF
REG
X/Flash
Z/PGM
VOID
OFF
Printing a Sales Reports
8
STEP
SALES REPORTS: READING/RESETTING
Turn the mode switch to the X/Flash position.
Flash Reports (displayed but not printed)
The cash register allows for 2 types of reports:
1. X Reports print or display sales data without clearing
memory. These reports are often used within the
business day.
Turn the mode switch to
the X/Flash position,
and press
A
key.
2. Z Reports print sales data and clear memory. Z reports
are often used at the end of the sales day view sales data
and clear the memory for the next sales day.
Turn the mode switch to
the Z/PGM position,
and press
A
key.
Then press one of the following keys for the type of report you
wants:
Press department key (
! $) for department sales report.
Press
u for sales total report.
Press
c for cash-in-drawer report.
REG
X/Flash
Z/PGM
VOID
OFF
PROGRAMMING IS COMPLETE!
 Loading...