1.
2.
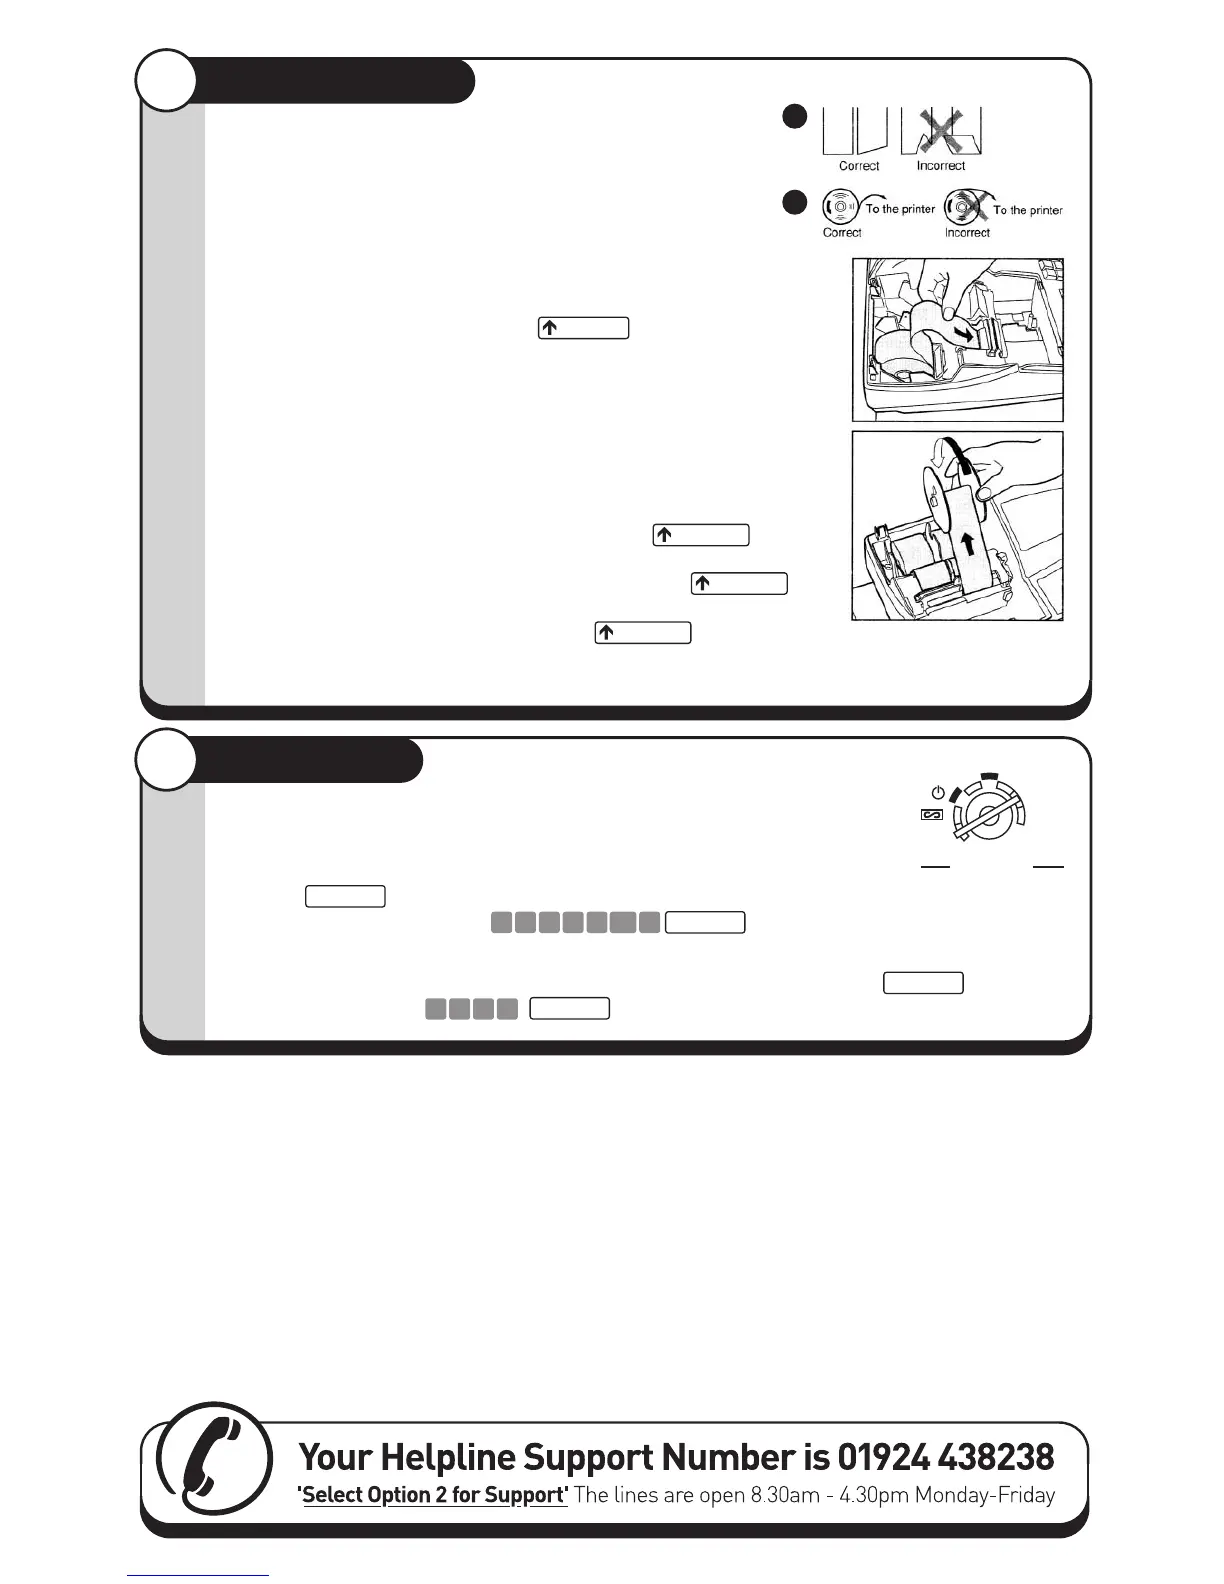
• Cut off approximately one revolution of each paper roll.
Make sure the paper end is cut as illustrated below.
For receipt paper installation
• Set a paper roll in the paper cradle of the receipt
side (left side) as illustrated below.
• Insert the end of the paper into the paper chute until
it is caught by the printer auto-feed and comes out
the top of the printer. If the printer does not catch the
paper, feed the paper while pressing .
• Cut off the excess paper with the paper cutter.
RECEIPT
Insert the manager (MA) key and turn to the PGM position.
Setting the Date
Enter the date in 8 digits using the day-month-year (DD-MM-YYYY) format.
Then press
#/TM/ST
.
Example: Date (26 August, 2003)
2 6 0 8 2 00 3
#/TM/ST
Setting the Time
Enter the time in 4 digits ("hhmm", format) using the 24 hour system. Then press
#/TM/ST
.
Example: Time (2:30 pm)
1 4 3 0
#/TM/ST
.
For journal paper installation
• Set a paper roll in the paper cradle of the journal side.
• Insert the end of the paper into the paper chute until it is caught by the
printer auto-feed and comes out the top of the printer. If the printer does
not catch the paper, feed the paper while pressing
.
• Insert the end of the paper into the slit in the take-up spool and wind the
paper two or three turns around the spool shaft. (Press to
feed more paper if required.)
• Set the spool on the bearing, and press the key to take up
excess slack in the paper.
• Replace the printer cover.
4
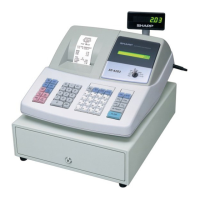
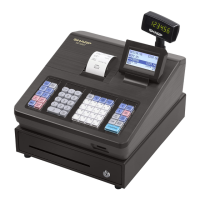
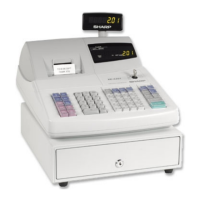
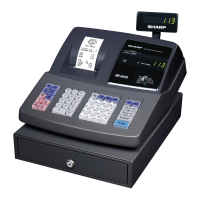
Installing The Paper Rolls
JOURNAL
JOURNAL
JOURNAL
5
Basic Programming
PGM
MGROPX/Z
REG
X2/Z2
X1/Z1
Mode Lock