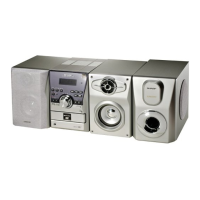
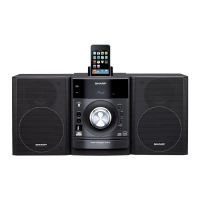
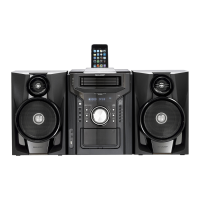
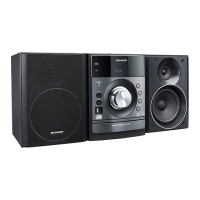
XL-DV60
2 – 3
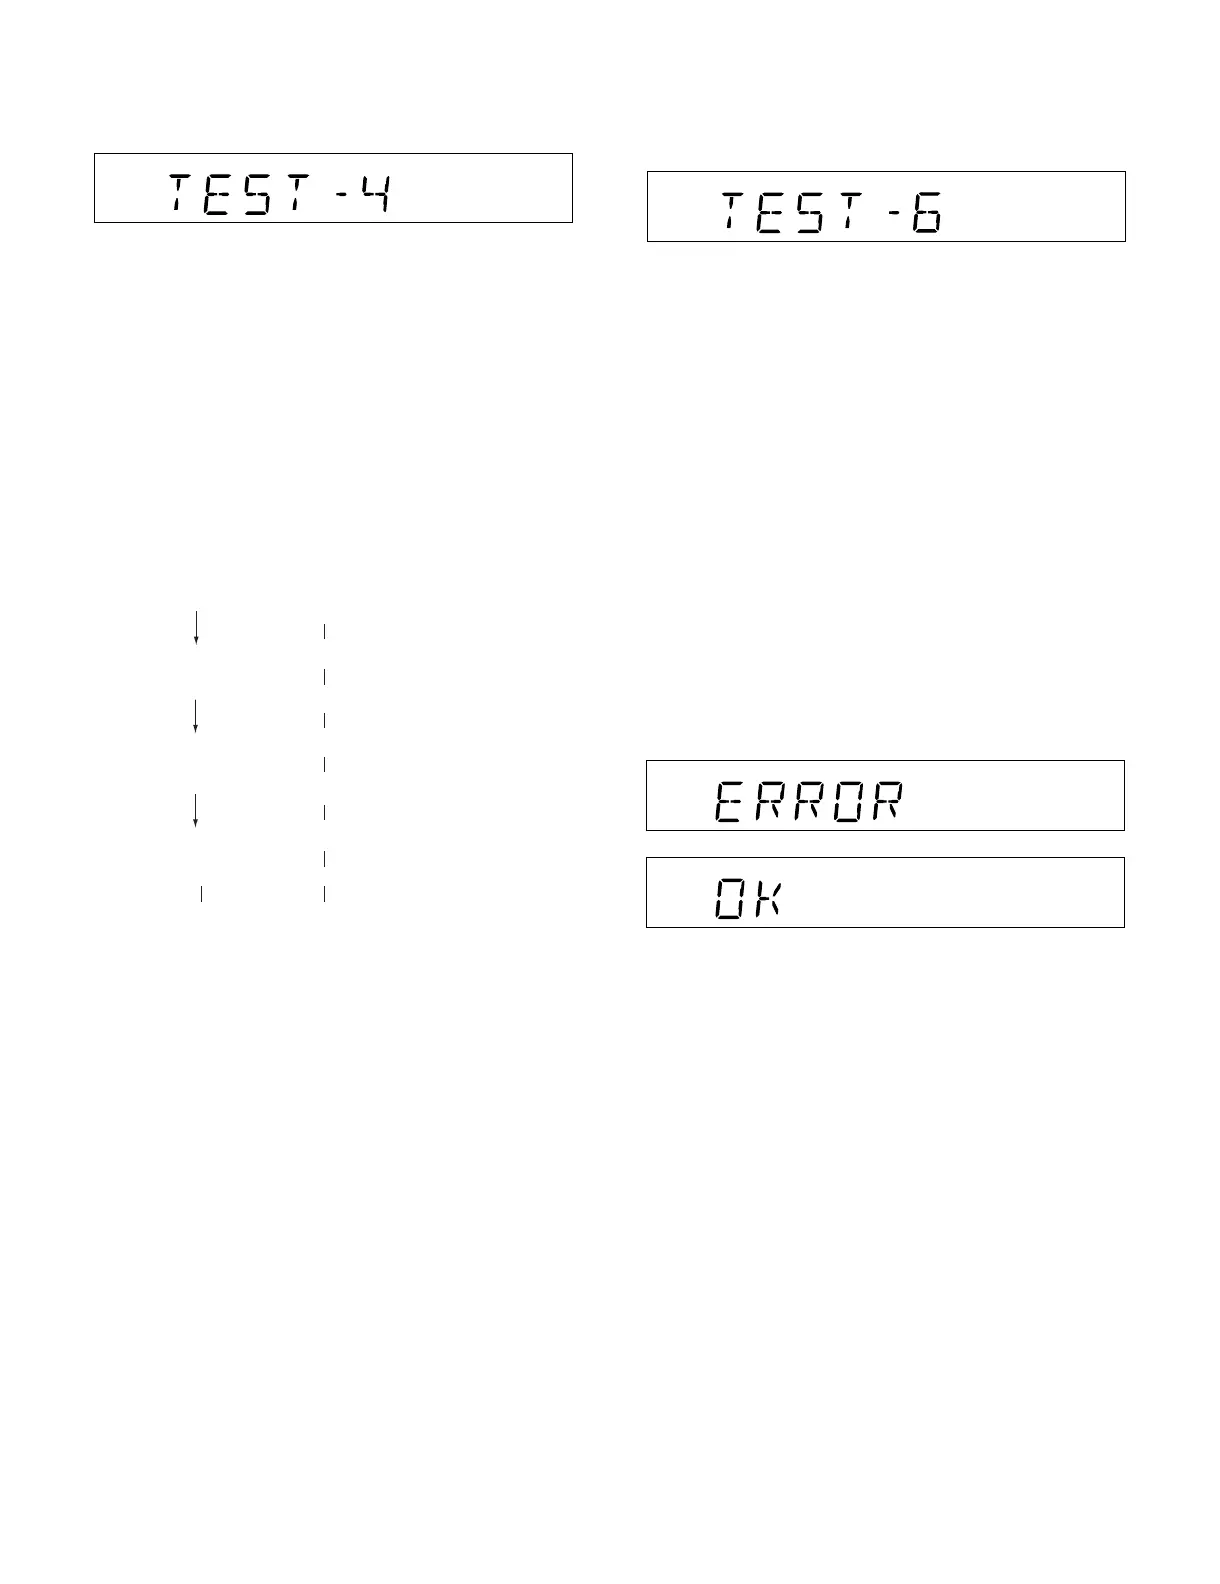
4. Timer test Mode (TEST 4)
When this test mode is obtained, the following display lights for one
second.
Set the current time and timer time according to the following proce-
dure to reproduce the timer.
1. Set the current time to 1:00, the timer to ON time 1:05, the function
to DVD/CD, and volume to STEP 12, respectively. One minute is
counted as one second, and the timer is reproduced. The fade-in
(when playback is started) is executed at a rate of one step for 1
sec. After completion of fade-in, the fade-out is executed at a rate
of one step for 1 sec (WAIT 1 sec inserted).
After completion of fade-out, the power is turned off (after WAIT 1
sec), and the mode is shifted to the standby.
The display during operation is the same as that of ordinary timer
operation.
5. FL Test Mode (TEST 5)
When the FL test mode is obtained, all the FL segments are lighted.
Then pressing the "PLAY" button switches display as below.
6. Button input diagnosis Test Mode (TEST 6)
When the test mode is obtained, the following is displayed.
(STAND-BY AND DEMO OFF STATUS)
This test mode is intended to check whether all the main unit buttons
can be detected. Accordingly, in this test mode, it is checked whether
the "POWER ON/STAND BY" button was pressed after all the buttons
shown below were pressed. If the result is OK, OK is displayed. If any
one of keys was not pressed, an error is displayed. In both cases of
OK termination or error termination, the mode is shifted to the standby
mode if the "POWER ON/STAND BY" button is pressed subsequently.
All models using this type of microcomputer are not always provided
with the same buttons. Since the buttons used are different depending
on models, types of buttons to be used are determined by whether
SURROUND, and an electric lid are available at the initial setting by
MODEL port.
The order of buttons to be pressed is not determined. Accordingly, it is
checked whether all buttons have been pressed.
1. PU-IN buttons: REW/PRESET DOWN + STOP
Since this model is provided with SURROUND (HAVE OR NOT),
and electric DVD/CD lid, the following 10 buttons are detected as
all buttons.
PLAY, X-BASS/DEMO, FUNCTION, VOLUME UP/DOWN, MEM-
ORY/SET, REW, FF, STOP, DVD/CD-OPEN/CLOSE
The OK/ERROR display of test result is as follows.
————–
Lighting of all segments
Lighting of odd segments
Lighting of even segments
__________