

L
Lindsey MaxwellAug 17, 2025
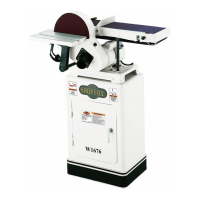
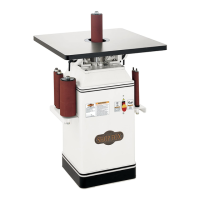
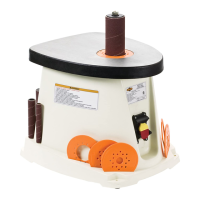
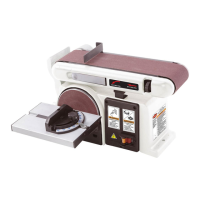
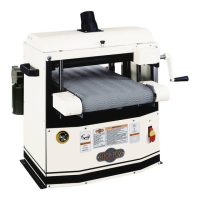
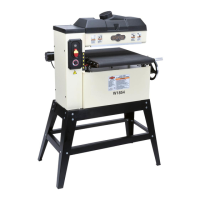
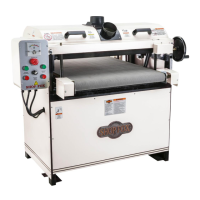
What to do if Shop Fox Sander drums will not start?
- Nnathan06Aug 17, 2025
If the sanding drums on your Shop Fox Sander won't start, the thermal protection circuit breaker may be tripped. To resolve this, unplug the sander, open the main power panel, and push the reset button. Also, the main power emergency stop button may be pushed in, or it could be faulty. Try twisting and pulling the main power emergency stop button, or test and replace the switch if necessary. Another potential cause is that the power supply is insufficient or the circuit breaker or fuse is tripped, so repair the power supply.