Setup and Operation
Follow the directions below, as they pertain to your preferred operation mode.
Before plugging the unit in, always make sure that the power supply matches the product specification
voltage.
Setup
Setup Net-2 Panel with Laptop/PC
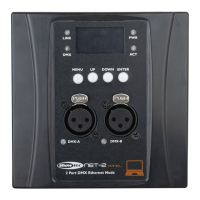
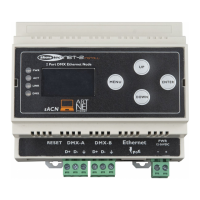
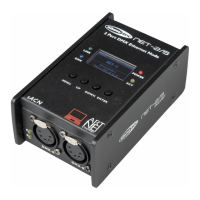
01) Connect the Net-2 Panel to the DMX inputs on the fixtures, using an XLR cable.
02) Connect the Net-2 Panel to a network switch using a CAT5/CAT6 cable.
03) Connect the network switch to a laptop/PC using a CAT5/CAT6 cable. If no network is required, you
can connect the Net-2 Panel directly to the laptop/PC, using a CAT5/CAT6 cable.
04) Supply electric power.
The Net-2 Panel can be powered via the 2-pin Phoenix terminal or via the Ethernet connection using
PoE. Do not supply power before the whole system is set up and connected properly.
05) Set the IP address of the lighting controller. The default IP address of the Net-2 Panel is 2.0.0.1. To
change the IP address of the Net-2 Panel, see 2. IP Mode on page 15. Refer to Connecting to a
Network on page 10 for the correct network settings.