4
English
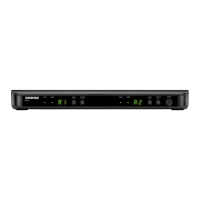
Multiple System Setup
Up to 12 systems can operate
simultaneously
(band and RF environment dependent).
Important:
Set
up each system one-at-a-time.
Once
a receiver and transmitter are tuned to the same group and channel,
leave
the transmitter powered on. Otherwise, scans from the other receivers
will
not detect that channel as occupied. For
the BLX88, be sure to setup both transmitters before progressing to the next receiver.
Turn
on
any other equipment that
could cause interference during the performance so it
will
be detected during the group
and channel
scans
in
the
following
steps.
Before you begin system set up, turn all
receivers
ON
and
all
transmitters
OFF.
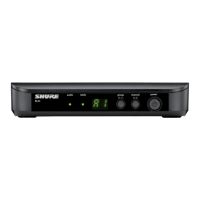
For the first receiver:
1 . Perform a group scan.
This finds the group with the most
clear channels.
Note:
For the BLX88, the group scan sets up both receivers at the same time.
2.
Turn
on
the first transmitter and change the group and
channel
to match receiver.
3. Leave the transmitter
on
and continue with the additional systems.
Note:
If
the selected group does not contain enough open channels,
manually select group
"d"
when setting up
larger
systems.
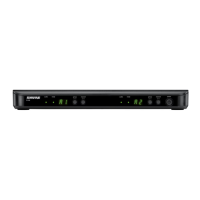
For each additional receiver:
1.
Use
manual
setup to change the receiver to match the group setting of the first receiver.
Recall
that each time the
group setting is changed, a
channel scan is
automatically
done.
2.
Turn
on
the transmitter and change the group and channel
to match the receiver.
3. Leave the transmitter
on
and continue to the next system.
4.
Once all
receivers are set up, perform
an
audio check
on
all
microphones.
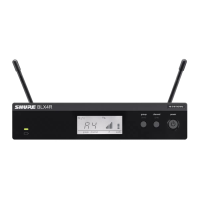
Manually
Setting Receiver Group and
Channel
The receiver group may need to be changed as part of a
multiple
system setup.
Group (letter)
1.
Hold
the
group
button
on
the receiver
until
the
display
begins to
flash.
2.
While
the
display
is flashing, press the
group
button again to advance to the next group.
Note:
Only
the group setting
will
be displayed
during the
manual
setup.
3.
Once
the desired group is reached,
release the
group
button. The receiver automatically performs a channel
scan.
Channel
(number)
Always
use a
channel selected by the
channel scan. However, if necessary, the
channel
can be set
manually. Follow the
same steps above using the
channel
button instead of the
group
button.
Locking and
Unlocking Controls
Lock system controls to prevent accidental setting changes or power oft.
Transmitter
(lock/unlock)
Turn the transmitter on.
Hold
the
group
button, then press
the
channel
button for approximately 2 seconds. The
LED indicator rapidly flashes
red when locked.
Receiver
(lock/unlock)
Turn the receiver on.
Simultaneously hold
the
group
and
channel
button. The
display flashes
rapidly.
•
When
locked,
the
display flashes rapidly if any key is
pressed.
•
The BLX88
locks
on both sides when
locked
from
either side.

 Loading...