Quickstart Instructions
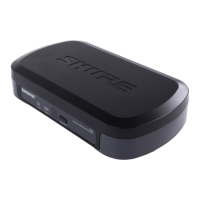
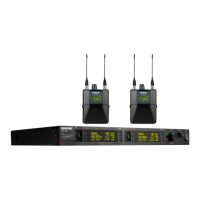
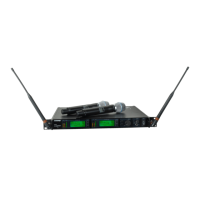
Rack Mount Transmitter
1. Connect to a power outlet using the supplied power cable.
2. Attach the supplied antennas to the antenna out BNC
connectors.
3. Connect the audio source, such as the output of a mixer, to the
audio inputs. You can use both input jacks or choose either one
for a mono source.
4. Switch RF off and power on.
5. For mono (one input), access the Audio menu and select Mono.
Set the input sensitivity to match the source using the Util >
Audio > INPUT setting.
6. Adjust the audio source level so that, for the average input signal
level, the top two yellow LEDs flicker and the lower LEDs are
solid. If the red clip LED illuminates and a warning appears on the
LCD, the inputs are overdriven. Decrease the audio input level to
+4 dBu from the Audio menu. If the signal level is too low, change
the input sensitivity to –10 dBV
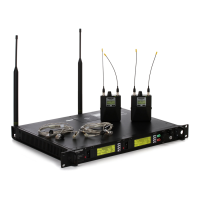
Bodypack
Open by pressing the latches on both sides and pulling. Insert the
batteries or battery pack and attach antennas. Turn on using the vol-
ume knob. The battery light illuminates.
Scan and Sync
1. On the bodypack, press the scan button. The display flashes
SYNC NOW....
2. Align the IR windows on the bodypack and rack unit, the IR win-
dow on the transmitter illuminates. Press the sync button on the
transmitter. The rack unit Level LEDs flash, and the screen dis-
plays SYNC SUCCESS.
3. Turn the RF switch on. The blue RF LED illuminates on the
bodypack to indicate that it is detecting the transmitter. The
bodypack also displays the RF signal strength (RF).
4. Important: Turn bodypack volume down before plugging in
earphones.
5. Insert the earphones and slowly turn up the volume.
Important: Remove the protective film from the face of the transmit-
ter or the IR sync may not work.
3
 Loading...