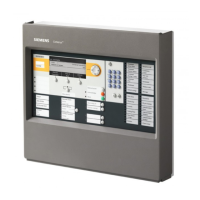
PXL Conventional Fire Alarm Control Panel
Installation
34
Wiring to the PRM-4
Refer to Table 12. Dress the field wiring that will be going to the
PRM-4 terminals. Strip the insulation from the wiring and connect the
wires to the appropriate screw terminals.
TABLE 12
WIRING TO THE OPTIONAL PRM-4
Screw Terminal Application
TB1 Relays 1-2
TB2 Relays 3-4
STEP 15Install All System Labels
Make sure that all System labels are filled out on the appropriate
printed circuit boards. The following modules require labels:
PCM-1 PZE-4B
- zone label - zone label
- terminal block label - terminal block label
Install the PXL Connection Diagram, P/N 575-294138, and the PXL
Alarm Verification Label, P/N 575-294201, on the inside front cover
of the enclosure.
STEP 16Install the Door to the Backbox
Replace the door on the hinges of the backbox.
STEP 17Power-up the PXL
Turn on the AC power to the System. The power light on the PCM-1
display turns on and the System displays the following message:
DO YOU WANT TO
CONFIGURE THE
SYSTEM NOW ?
<NO YES>
To configure the System and program the PXL, refer to Chapter 4,
Programming the PXL Control Panel.
Technical Manuals Online! - http://www.tech-man.com
 Loading...