en Cleaning and servicing
72
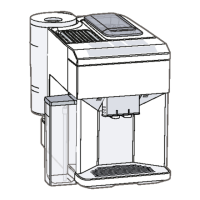
3. Remove the milk system by pulling
straight forwards.
→Fig.
8
4. Take the top and bottom section of
the milk system apart.
→Fig.
9
5. Detach the milk tube from the suc-
tion pipe.
6. Clean the components with deter-
gent solution and a soft cloth.
→Fig.
10
7. Rinse all components with clean
water and dry.
→Fig.
11
8. Any detergent residues in the milk
system must be completely re-
moved following the rinsing pro-
cess.
9. Assemble the top and bottom sec-
tion of the milk system.
→Fig.
12
10.Fit the milk tube.
11.Slide the outlet system right down.
12.Place the milk system back in the
appliance from the front, making
sure it is straight.
→Fig.
13
13.Replace the cover.
14.Slide the outlet system all the way
up.
→Fig.
14
Cleaning brewing unit
In addition to the automatic rinsing
process, regularly remove and clean
the brewing unit.
WARNING
Risk of burns!
Some parts of the appliance become
very hot.
▶
Never touch hot appliance parts.
▶
Allow hot appliance parts to cool
down before touching them.
ATTENTION!
The appliance may be damaged by
improper cleaning.
▶
Do not use washing-up liquid.
▶
Do not use cleaning agents con-
taining vinegar or acids.
▶
Do not clean in the dishwasher.
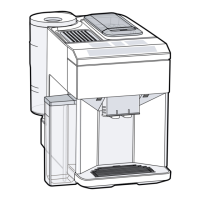
1. Detach the milk tube from the out-
let system.
→Fig.
7
2. Press to switch the appliance
off.
3. Open the door of the brewing
chamber.
→Fig.
15
4. Remove the drip tray with the cof-
fee dregs container.
→Fig.
16
5. Push the red lever upwards.
6. Hold the brewing unit by the
handle and carefully pull forwards
and out.
→Fig.
17
7. Clean the brewing unit thoroughly
under warm running water.
→Fig.
18
8. Clean the appliance interior with a
damp cloth and remove any coffee
residues.
9. Leave the brewing unit and the ap-
pliance interior to dry.
10.Hold the brewing unit by the
handle.
11.Push the red lever upwards.
12.Position the brewing unit under the
lever and slide it back as far as it
will go.
→Fig.
19
a The lever will click into place.
13.Insert the drip tray with the coffee
dregs container.
→Fig.
20
14.Close the door.
→Fig.
21
 Loading...