Section 6: Minor Replacements and Adjustments, Page 6—5
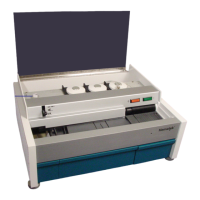
3. Loosen the two thumbscrews that are inserted through the notches in the back of the
circuit board cover.
Figure 6-3. Location of Thumbscrews
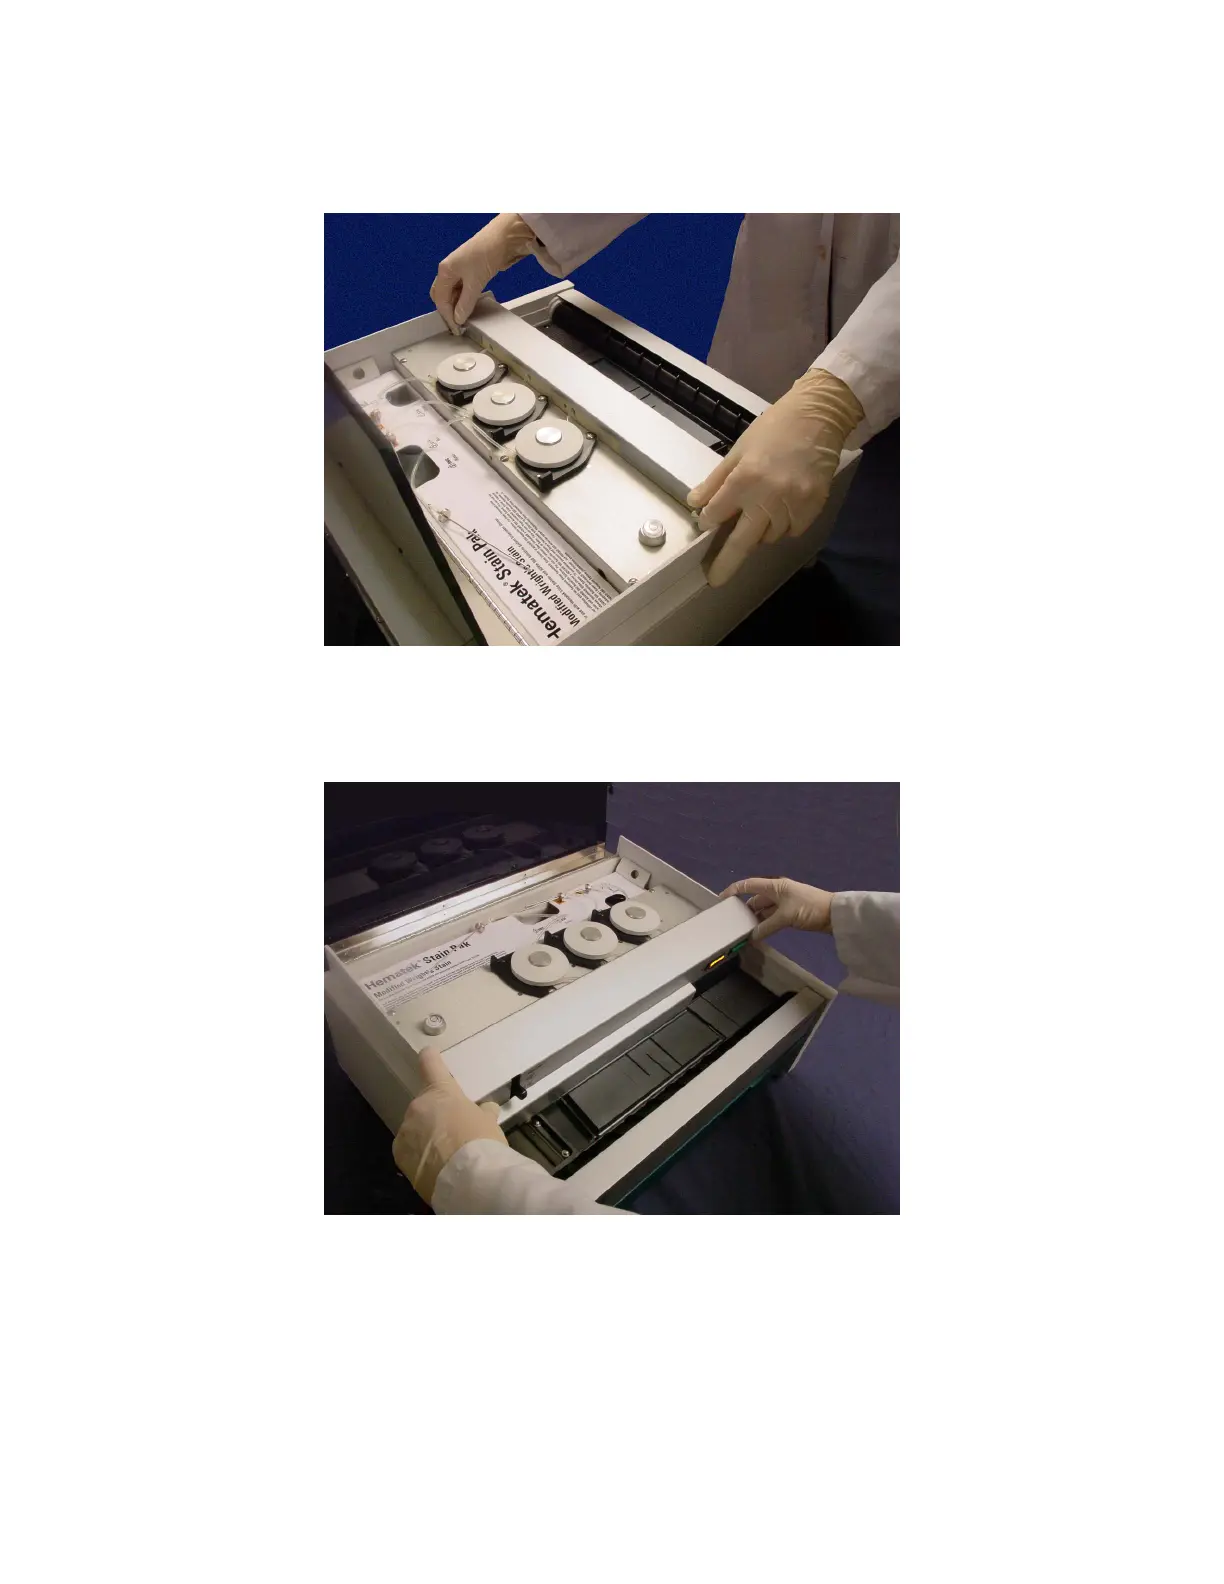
4. Lift the panel from the front wall, exposing the printed circuit board and the
connectors for the
LOW STAIN and POWER lights.
Figure 6-4. Raising the Circuit Board Cover