3.7.3 Returning Samples to the Process Stream ............................................................................33
3.8 Final Analyzer Connections ...................................................................................................34
3.8.1 IO Wiring ................................................................................................................................35
3.8.2 Tubing Connections ...............................................................................................................35
4 Initial Startup Procedures ...........................................................................................................................37
4.1 Inspect the Electronics Cabinet..............................................................................................37
4.2 Preparing and Inspecting the Oven........................................................................................38
4.3 Establish Utility Gas Flows.....................................................................................................40
4.4 Enable Power to the Maxum II ...............................................................................................40
4.5 Leak Check the Column Oven Connections ..........................................................................40
4.6 Check Operation of Oven Heaters .........................................................................................41
4.7 Check Flows and Pressures at Operating Temperature ........................................................42
4.8 Prepare Flame Detectors if Present.......................................................................................43
4.9 Establish Sample Flow to the Maxum II .................................................................................43
4.10 Establish Communications with GCP.....................................................................................44
4.11 Run Chromatograms and Make Method Adjustments if Necessary ......................................45
4.12 Calibrate the Maxum II ...........................................................................................................45
4.13 Run the Maxum II on Process Fluid .......................................................................................47
4.14 Check for Proper Reporting of Results ..................................................................................47
A Appendix A - PECM LED Interpretation .....................................................................................................49
B Appendix B - Change Log ..........................................................................................................................51
B.1 December 2019 Changes ......................................................................................................51
Tables
Table 3-1 Regulator Assemblies .................................................................................................................30
Figures
Figure 2-1 Typical analyzer shelter.................................................................................................................9
Figure 3-1 Crated analyzer...........................................................................................................................14
Figure 3-2 Uncrating Details.........................................................................................................................15
Figure 3-3 Using a lift to install an analyzer..................................................................................................16
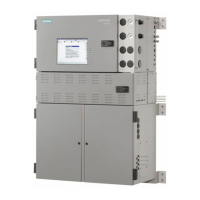
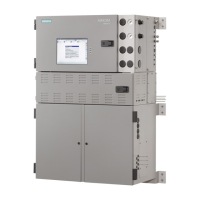
Figure 3-4 Example Maxum II outline drawing (Air-bath or Airless Oven on left and Modular Oven on
right) ............................................................................................................................................18
Figure 3-5 Simplified cable connection diagram - no APU ...........................................................................19
Figure 3-6 Simplified cable connection diagram - with APU.........................................................................19
Figure 3-7 Protective earth ground symbol...................................................................................................20
Table of contents
Installation Manual
4 Installation Manual, 12/2019, 2000595 Rev 1
 Loading...