Do you have a question about the Siemens RWF50.3 and is the answer not in the manual?
Provides essential guidelines for safe and effective use of the controller.
Explains symbols and text formatting used in the manual for clarity.
Introduces the controller's primary function and features in heating/cooling systems.
Illustrates the controller's internal structure and connectivity of inputs/outputs.
Describes the information found on the controller's type field label.
Lists the items included with the controller upon purchase.
Specifies suitable locations and environmental conditions for controller installation.
Provides the physical dimensions of the controller and panel cutout requirements.
Details spacing requirements when mounting multiple controllers adjacently.
Explains the procedure for fitting the controller into a control panel cutout.
Describes the correct steps for safely removing the controller from its mounting.
Provides instructions on how to clean the controller's front panel safely.
Offers crucial safety and procedural notes for electrical connections.
Details test voltages and isolation between different electrical circuits.
Shows the terminal assignments for outputs and connection diagrams.
Describes the low-fire operation mode and its thermostat function.
Details the high-fire operation, including dynamic tests and burner control.
Describes modulating burner control using an analog output.
Explains 2-stage burner control with a 3-position output.
Describes 2-stage burner control using an analog output.
Explains the automatic burner shutdown triggered by sensor failure.
Details how to set and change the controller's setpoint using contacts.
Defines the response threshold for switching to high-fire operation.
Describes the cold start function for faster control response.
Explains the thermal shock protection feature and its ramp function.
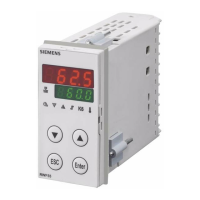
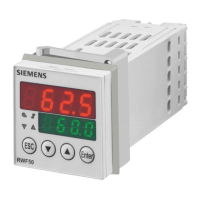
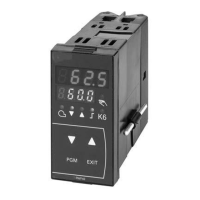
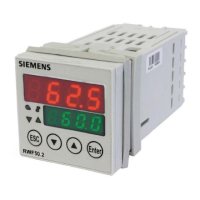
Explains the controller's displays, buttons, and their functions.
Describes the default display state showing actual value and setpoint.
Explains how to access and change setpoints and view other values.
Details how to manually control the modulating burner via relays or output.
Explains manual control for 2-stage burners using relays or analog output.
Guides on initiating the automatic controller self-setting function.
Explains how to view the controller's software version and perform segment tests.
Configures the analog input type, correction, scale, and temperature unit.
Sets controller type, operating action, setpoint limits, and self-optimization.
Configures thermal shock protection function, ramp slope, and limit values.
Configures binary and analog outputs, including signal type and scaling.
Defines the use of the binary input for setpoint changeover or mode selection.
Configures display settings, decimal points, and level locking.
Details the self-setting process specific to high-fire operation.
Provides methods to check and verify controller parameter adjustments.
Highlights safety precautions when using the ACS411 software.
Emphasizes the OEM's responsibility for correct system parameter settings.
Advises on checking parameters after changes made via software or unit.
Specifies that the software is for on-site use only, not remote control.
Refers to the end-user license agreement for the software.
Instructs on how to order the ACS411 software and updates.
Mentions available languages for the ACS411 software.
Lists compatible operating systems for the ACS411 software.
Specifies hardware requirements (disk memory, RAM) for ACS411.
Guides through the installation process of the PC software ACS411.
Covers additional topics related to the software, like USB port usage.
Explains the purpose and temporary use of the USB port for configuration.
Details powering the controller via the USB port and associated notes.
Lists alarm messages, their causes, and recommended remedies.
Addresses other operational issues, such as USB connection status.
Details technical data for resistance thermometers and input signals.
Provides measuring ranges, accuracy, and ambient impact for thermometers.
Lists specifications for voltage and current input signals.
Details potential-free contact functions for binary input D1.
Describes how the controller monitors circuits for errors like short-circuits.
Details specifications for relay and analog outputs.
Provides general information about the controller type and structure.
Lists power supply, electrical safety, and electromagnetic compatibility data.
Describes the housing material, color, dimensions, and protection ratings.
Specifies storage, transport, and operation conditions (climatic, temperature, humidity).
Details the height, color, and range of the controller's segment display.
Lists relevant standards and certifications the controller complies with.
| Brand | Siemens |
|---|---|
| Model | RWF50.3 |
| Category | Controller |
| Language | English |