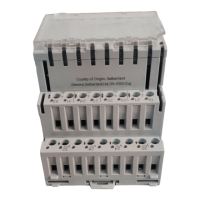
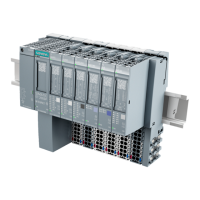
I/O Module Assembly
1 Standard DIN mounting rail (not included)
2 Terminal base (plug-in base for the I/O module)
3 Plug-in module (the functioning component of the I/O module assembly)
4 Local override facility (not applicable to all types)
5 LCD display (not applicable to all types)
6 Detachable label holder
7 Module label (not included – print module labels from System Profile)
8 Address key with mechanically encoded module address
9 Plug-in contacts between the terminal base and the plug-in module
10 Electrical contact between terminal base and plug-in module
11 Terminal screws
12 Test pickups (test points)
13 Slide fitting to lock assembly into position on standard mounting rail
14 Bus connector
15 Bus connector cover (provided with P1 BIM, Power Supply, and Bus
Connection Module)
16 Module lock
17 Module disengage catch
18 Module release catch
Separating a Module from Its Terminal Base
Caution:
Swing the address key away from the
I/O module before disengaging an I/O
module from its terminal base.
To ‘park’ a module – Squeeze module sides above the disengage catch (17)
and pull up slightly to disengage the I/O module from the terminal base. The I/O
module is retained in the terminal base (‘parked’), but all wiring connections are
now floating.
To remove a module – Squeeze module sides above the release catch (18) and
pull up to remove the I/O module from the terminal base.
Siemens Building Technologies, Inc 5

 Loading...