MA503 Datum 08.01.2001 Art.Nr. 79539 Z.Nr. 8664078 Änd.Stand 2/01 1 1
ENGLISH
1. Safety information
In order to carry out installation correctly, we
strongly recommend this document is read very
carefully. This will ensure your own safety and
the operating reliability of the device.
• Your device has been quality controlled, te-
sted and is ready for use. Please respect all
warnings and information which are marked
either directly on the device or in this document.
• Warranty can only be claimed for components
supplied by SIKO GmbH. If electronic display
MA503 is used together with other products, the
warranty for the complete system is invalid.
• Repairs should be carried out only at our
works. If any information is missing or unclear,
please contact the SIKO sales staff.
2. Identification
Magnetic strip: identification by printing on the
strip.
Example: Magnetic strip "MB"
MB MB5
accuracy 0.1/0.05 0.1
pole pitch 5 5
strip width 10 5
User Information
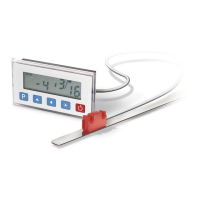
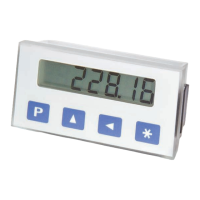
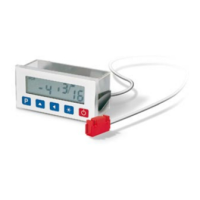
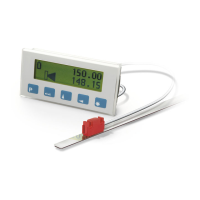
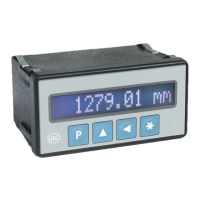
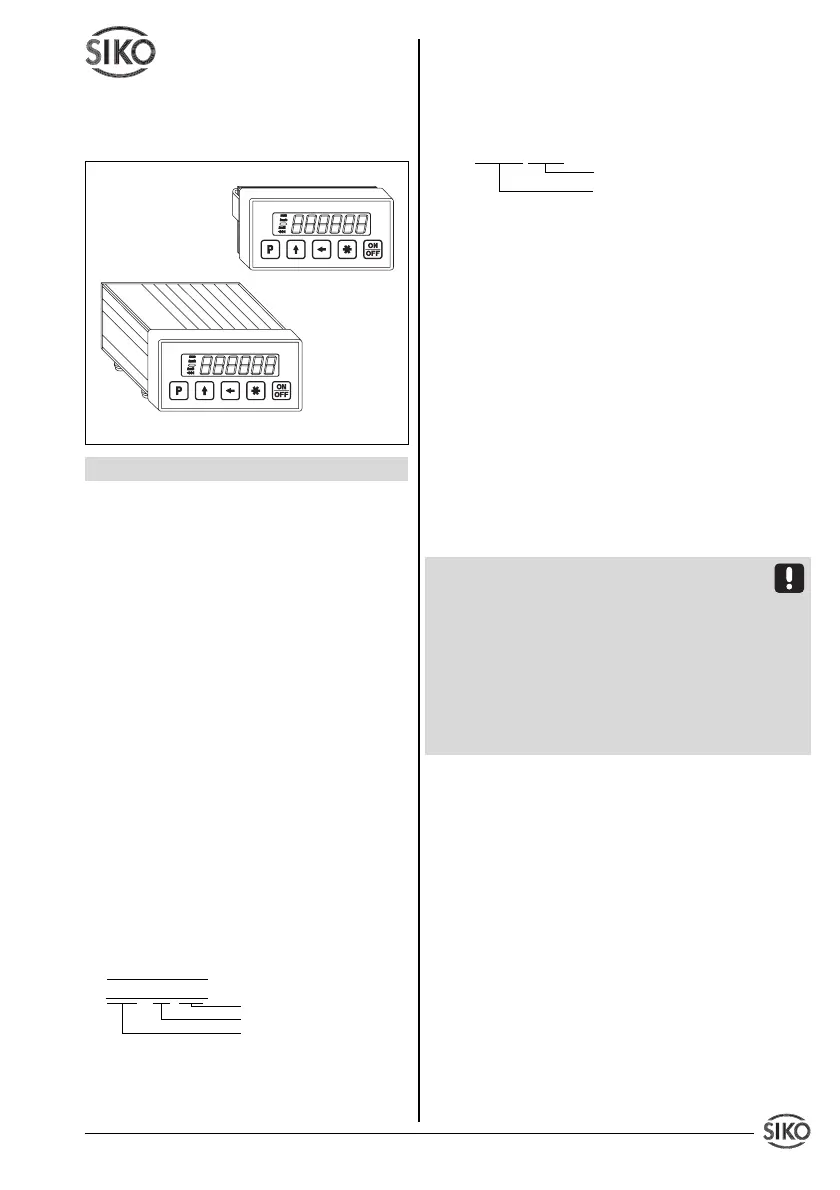
MA503
Electronic Display
Electronic display: The particular type of unit
and type number can be seen from the identifi-
cation plate. Type number and the correspon-
ding variations are indicated in the delivery
documentation.
e.g. MA503-0023
type number
type of unit
3. Installation
The unit sshould only be used according to the
protection level provided. Protect the system, if
necessary, against environmental influences
such as sprayed water, dust, knocks, extreme
temperatures, solvents.
3.1 Mounting the magnetic strip
The mounting surface / measuring track must be
flat. Buckles or bumps will lead to measuring
inaccuracies.
For applications which do not allow properly glueing of the
magnetic strip, it can be inserted into a profile rail (accessory)
- eg. rail type PS thus forming a compact mounting unit.
For technical reasons the strip should be approx.
25mm longer than the actual measuring di-
stance.
Attention! To guarantee optimal adhesion oil,
grease dust etc. must be removed by using
cleansing agents which evaporate without lea-
ving residues. Suitable cleansing agents are eg.
ketones (acetone) or alcohols; Messrs. Loctite
and 3M can both supply such cleansing liquid.
Make sure that the surface to be glued is dry and
apply the strip with maximum pressure. Glueing
should preferably be undertaken at tempera-
tures between 20 to 30° C and in dry atmosphere.
Advice! When applying long pieces of magnetic
strip do not immediately remove the complete
protective foil, but rather peel back a short part
from the end sufficient to fix the strip. Now align
the strip. As the protective strip is then peeled
back and out press the tape firmly onto the
mounting surface. A wall paper roller wheel could
be used to assist in applying pressure onto the
magnetic strip when fixing it in position.
Mounting steps (see fig. 1)
• Clean mounting surface (1) carefully.
• Remove protective foil (2) from the adhesive
side of the magnetic strip (3).
• Stick down the magnetic strip (4).
• Clean surface of magnetic strip carefully.
• Remove protective foil (6) from adhesive tape
on the cover strip (5).
pole pitch: 5mm
accuracy: 0.1mm
serial number
1
0
NNNN 5000
TF+TS
EG10
 Loading...