SECM 12 B4
GB
│
MT
│
35 ■
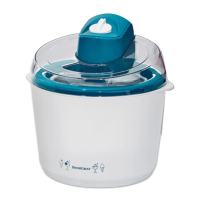
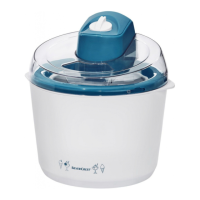
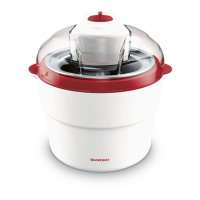
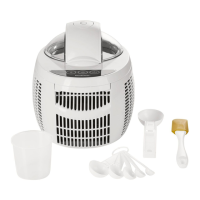
Assembly
Use the diagrams on the fold-out page as a guide
for assembly!
1) Remove all packaging materials and any
stickers from the appliance.
2) Clean the appliance as described in the
section "Cleaning and Care".
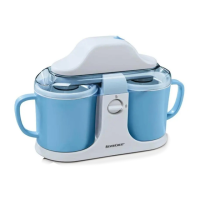
3) Place the base 0 on a flat surface.
4) Insert the drive shaft 6 into the corresponding
recess on the ice scraper 7 until the ice
scraper 7 clicks into place.
5) Insert the other end of the drive shaft 6 into
the corresponding drive shaft socket 3.
6) Put the lid 5 on the freezer bowl 9. Ensure
that the
symbol on the lid 5 points at the
symbol on the freezer bowl 9. Turn the lid 5
clockwise until it clicks into place. The
symbol
on the lid 5 points at the symbol on the
freezer bowl 9.
7) Insert the plug into a mains power socket.
The appliance is now ready for use.
Preparation
♦ Place the freezer bowl 9 in the deep freeze
for about 24 hours at a temperature of no more
than –18 °C.
TIPS
► Keep the freezer bowl 9 upright in the
freezer.
► Ensure that the beakers 9 are completely
dry before you place them in the freezer.
► Store the fruit, milk and cream in the refrigera-
tor before processing. This ensures that the
fruit is already cold and thus the ice cream
mixture will not require so long to cool down.
► Place a plastic bag, for instance a freezer
bag, in the freezer bowl 9 before freezing.
♦ Puree the fruit with a hand blender and mix all
the ingredients as described in the recipe.
♦ Allow the mixture to cool down for approx.
4 hours.
Making ice cream
CAUTION! PROPERTY DAMAGE!
► Start the appliance first and then add ingre-
dients. Otherwise, the ice mixture will freeze
onto the sides of the freezer bowl 9 and
block the ice scraper 7. This will cause the
motor to overheat!
► Do not stop the appliance during processing!
Otherwise, the ice mixture will freeze onto
the sides of the freezer bowl 9 and the ice
scraper 7 will be blocked when you switch
the appliance back on. This will cause the
motor to overheat!
1) Remove the freezer bowl 9 from the freezer
and place it in the base 0.
2) Assemble the appliance as described in the
chapter titled "Assembly”.
3) Switch the appliance on by moving the On/
Off switch 1 to the position I. The whisk 7
starts to turn.
4) Now, fill the prepared ice mixture into the
freezer bowl 9 through the filling opening 4.
Ideally, use a bowl with a spout. Never add
more than 1000 ml. During processing, the
mixture increases in volume!
5) Allow the appliance to continue running until
you are satisfied with the consistency of the
mixture. The ice cream is ready after 40 min-
utes at the most.
6) Switch the appliance off at the On/Off switch
1 and pull the mains power plug out of the
socket.
7) Turn the lid 5 until you can take it off.
8) Pull the ice scraper 7 out of the ice cream.
If the ice cream sticks to it, scrape it off with a
plastic spoon or similar tool.