P
Pamela RobinsonAug 15, 2025
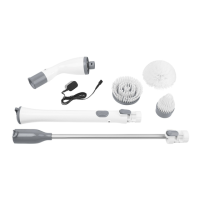
What to do if my Silvercrest Vacuum Cleaner won't switch on?
- Bbrenda98Aug 16, 2025
If your Silvercrest Vacuum Cleaner won't switch on, there are several possible reasons. First, ensure the appliance is properly connected to the power supply and switched on by pressing the hard floor or carpet switch. Check that the plug is fully inserted into the mains power socket and that the mains socket is supplying power by checking the house mains fuse. Also, empty the waste water tank if it is full. If none of these steps work, the appliance may be defective, and you should switch it off, pull out the mains plug, and contact Customer Service.