■ 10
│
GB
│
IE
│
NI
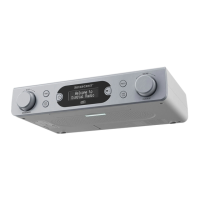
SKR 800 B2
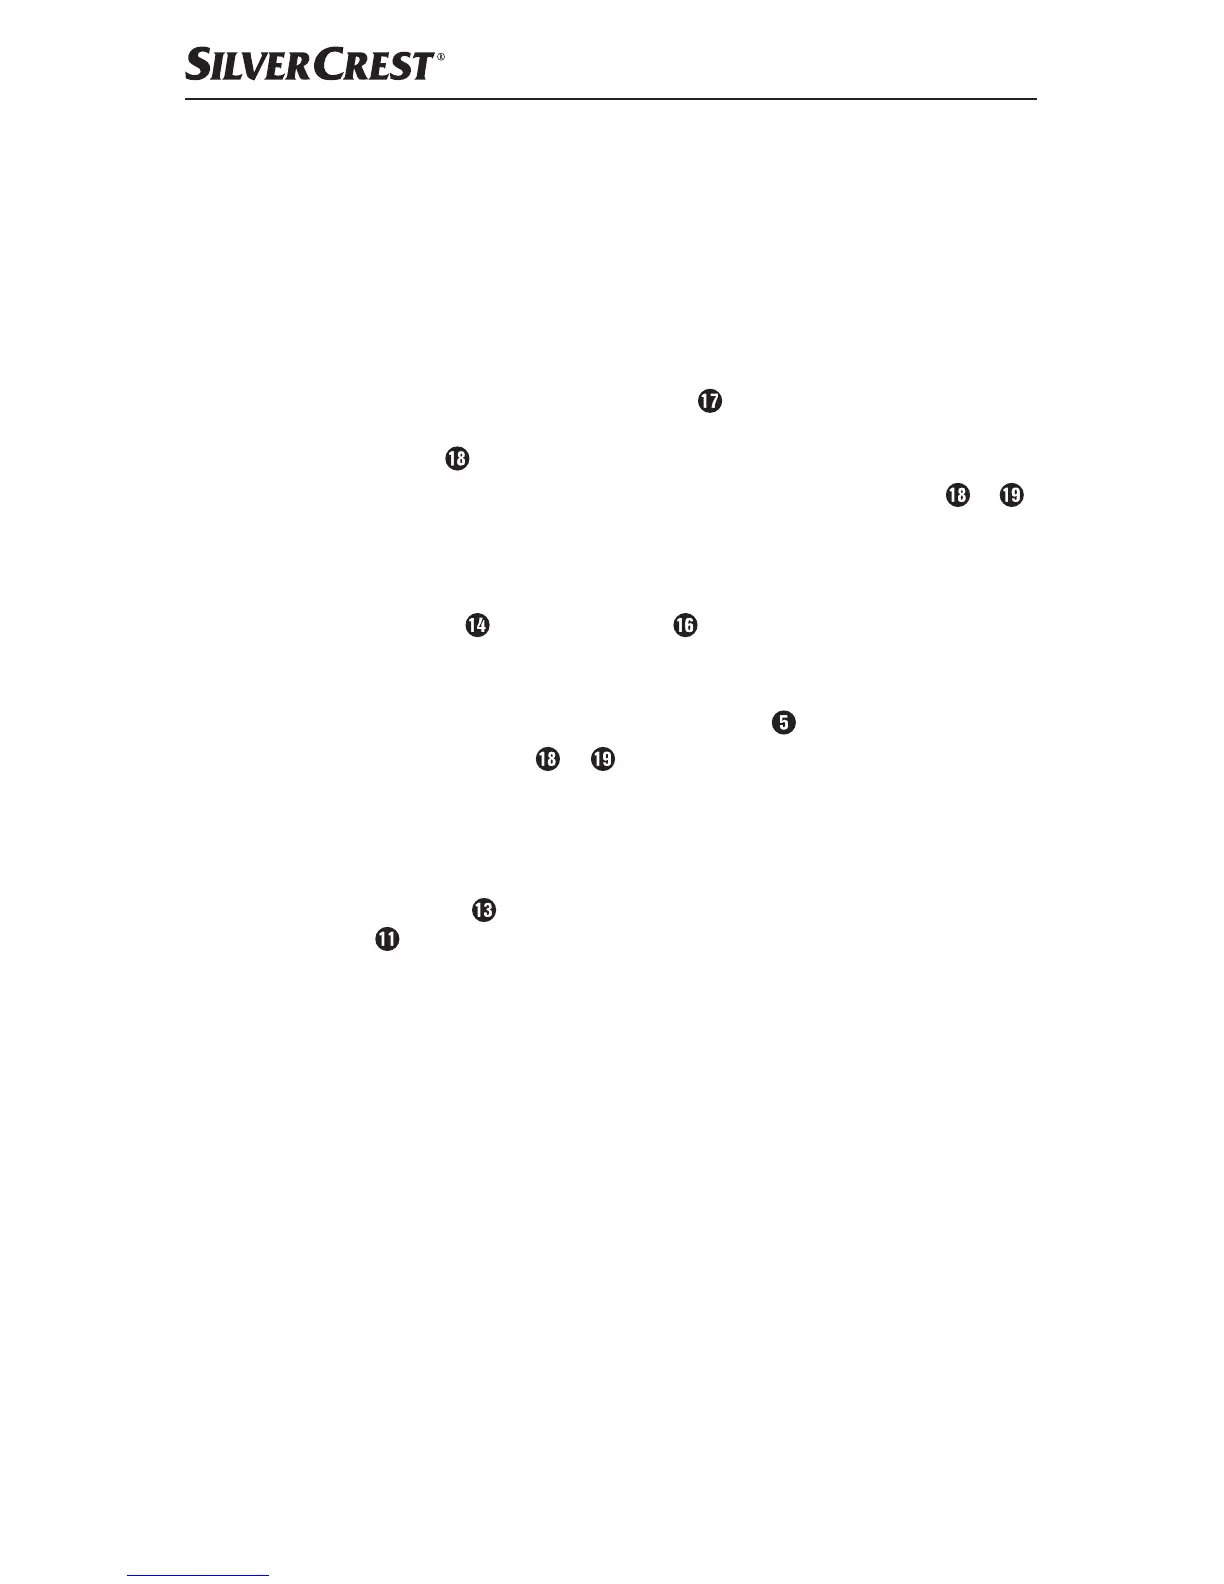
♦ Hold the mounting plate under the installation location. Ensure that the front
edge of the mounting plate is approx. 3.1cm behind the front of the cup-
board so that the device is connects flush with the cupboard after instal-
lation. The side edges of the mounting plate must spaced approx. 6.3cm
away from adjacent cabinets or walls.
♦ Mark the 4 mounting points with a pencil.
♦ Using a pin or nail, make a small depression at the respective marking
points.
♦ If required, place the supplied spacers
between the cupboard and the
mounting plate. If you are using the spacers, you will need the long mount-
ing screws
.
♦ Screw the mounting plate tight using the mounting screws provided (
or ).
♦ With the top of the device against the mounting plate, push the device back
until it clicks into place.
♦ Check to ensure that the device is firmly in position and safely route the
power cable
and the wire aerial .
Dismantling
♦ Pull the device forwards off the mounting plate .
♦ Unscrew the screws (
or ) on the mounting plate and remove the
mounting plate from the wall cupboard.
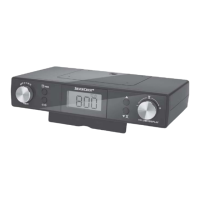
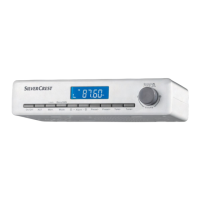
Setting up the device
You can also set up the device on a level surface. So not to cover the ventilation
slots and speakers
on the bottom of the device, you must fold out the adjusta-
ble foot
of the device:
♦ Reach into the recess on the side of the adjustable foot and pull it out as far
as it will go.
♦ Select a suitable location for the device (also see the section "Set-up location
requirements").
 Loading...