10
GB
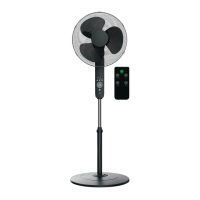
12. Push the connecting screw18 through
the two holes and screw on the nut17
from the back. Make sure that the edg-
es of the two protective grids1 and5
are exactly on top of each other.
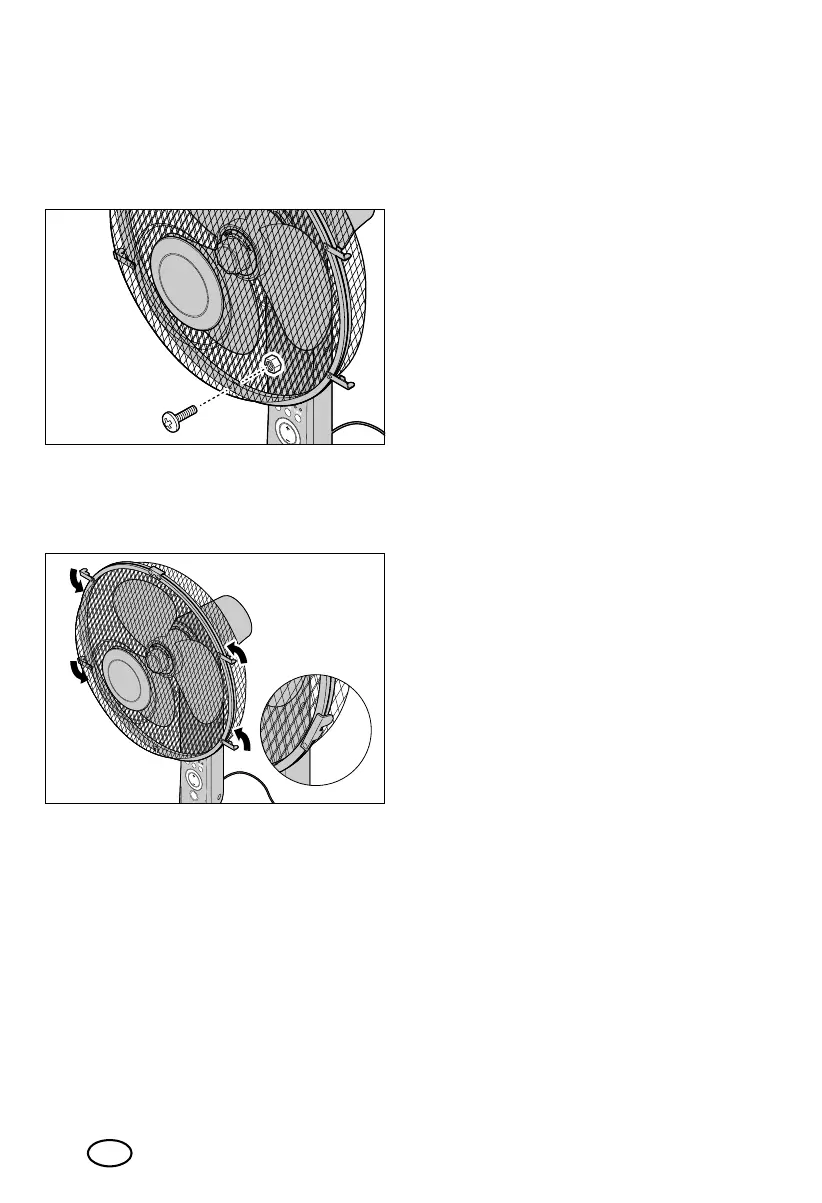
13. Fold the hinged connections on the front
protective grid1 so that the two protec-
tive grids1 and5 are firmly connected
to each other.
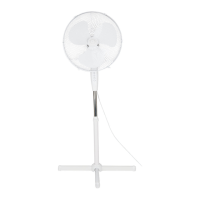
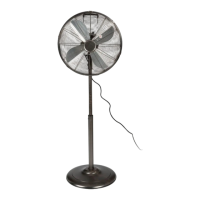
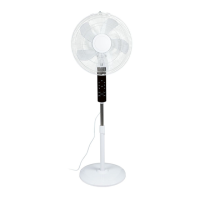
6. Preparations
6.1 Setting up the device
Place the device in a suitable location. This
location must comply with the safety infor-
mation (see “Safety information” on
page 4). Ensure that it is stable.
6.2 Adjusting the height
1. Unscrew the circlip12 a little (anti-
clockwise).
2. Pull the inner pole11 out of the pedes-
tal13 or push it in until the desired
height is reached.
3. Screw the circlip12 back on (clock-
wise).
6.3 Adjusting the tilt angle
The tilt angle of the fan can be adjusted in
steps. To do this, tilt the fan motor7 to the
desired angle.
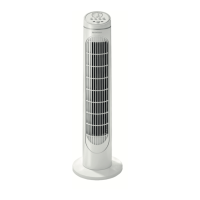
6.4 Connecting the device
Insert the mains plug9 into a wall socket
corresponding to the technical data. A
acoustic signal sounds.
__353132_2007_StandVentRC_B6.book Seite 10 Dienstag, 26. Januar 2021 1:26 13
 Loading...