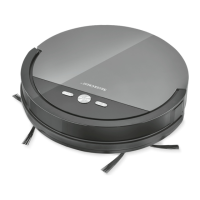
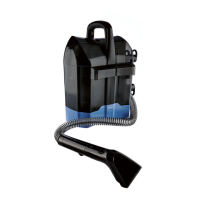
20 GB/IE/NI
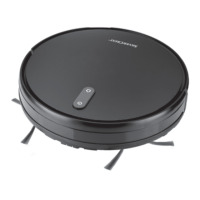
Using the mop function
(Fig.H)
NOTES:
o For hygienic reasons, remove the water
tank
[] from the product immediately after
using the mop function.
o You can use the mop function together with
any of the 3cleaning modes (see “Cleaning
modes”).
1. Remove the floor cloth
[] at the bottom side
of the water tank
[].
2. Open the rubber cover
[].
3. Fill the water tank
[] with water.
4. Close the rubber cover
[].
5. Reinstall the floor cloth
[] at the bottom side
of the water tank
[].
6. Install the water tank
[] at the bottom of
the product. Place the 2pins
[] into the
matching 2holes on the product.
7. After using the mop function, remove the
water tank
[] from the product.
8. Open the rubber cover
[]. Pour out the
remaining water.
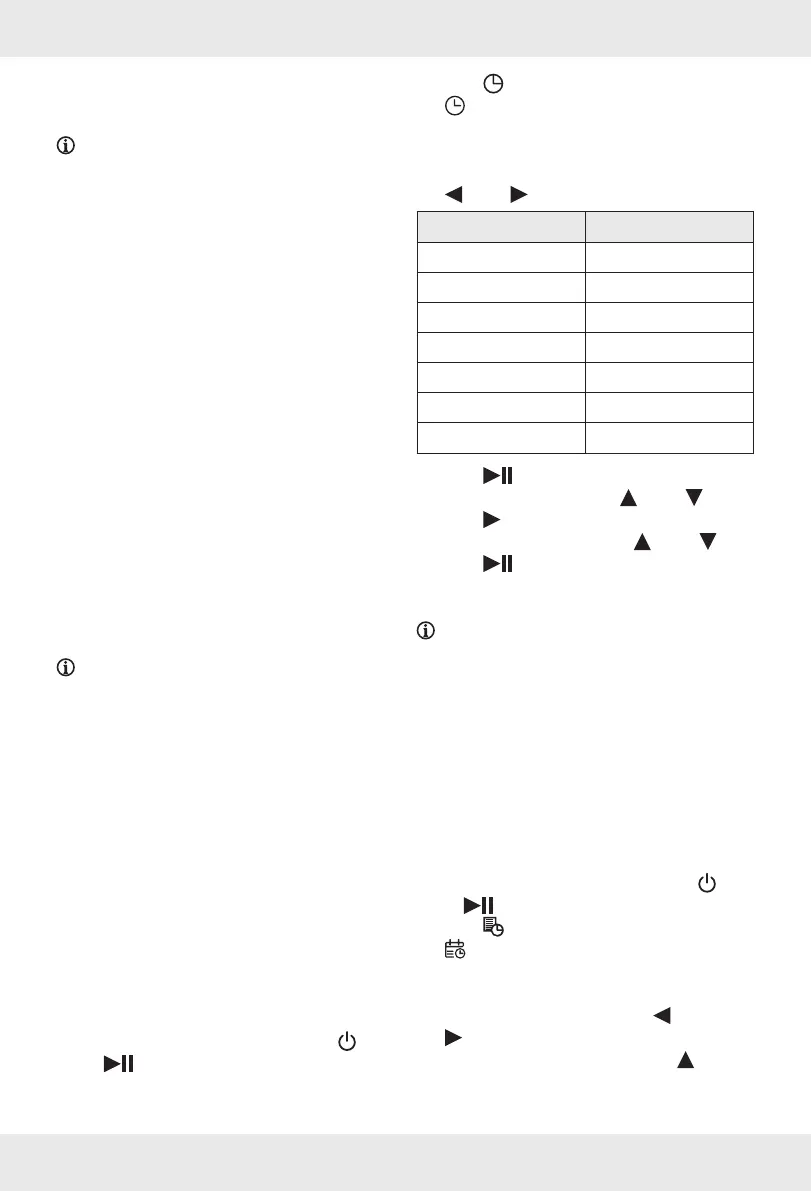
Setting a vacuuming schedule
NOTES:
o You can set a schedule so that the product
starts to clean automatically.
o Signal tones sound if the time and schedule
have been successfully set. If this does not
happen, the settings have not been stored.
o If you do not press any button within approx.
15seconds while setting the time or a
schedule, the setting ends automatically and
no information is stored.
o If you switch off the product by setting the
on/off switch
[] to Oposition (off), the time
setting and vacuuming schedule will be erased.
Setting the current weekday and time
1. Ensure the product is in standby mode (see
“Indicator lights on the product”).
If the product is in sleep mode, press
[2]
or [] to enter standby mode.
2. Press
[] to enter time setting mode.
[] lights up and the preset weekday[]
flashes on the display[]. The product emits
an acoustic signal for confirmation.
3. Select the current weekday by pressing
[] or [].
Display Weekday
SUN Sunday
MON Monday
TUE Tuesday
WED Wednesday
THU Thursday
FRI Friday
SAT Saturday
4. Press
[] to confirm the setting.
5. Set the hours by pressing
[] or [].
6. Press
[] to confirm the setting.
7. Set the minutes by pressing
[] or [].
8. Press
[] to store the setting.
Setting a schedule
NOTES:
o A specific cleaning mode cannot be
programmed. Programmed cleaning
processes are always executed in automatic
mode.
o If you switch off the product by setting the
on/off switch
[] to Oposition (off), the
time setting and vacuuming schedule will be
erased.
1. Ensure the product is in standby mode (see
“Indicator lights on the product”).
If the product is in sleep mode, press
[2]
or [] to enter standby mode.
2. Press
[] to enter schedule setting mode.
[] lights up and the weekday[] flashes
on the display
[]. A placeholder for the time
is displayed.
3. Select a weekday by pressing
[] or
[]. The selected weekday flashes. To
store the selected weekday, press
[].
4. Optional: Repeat the previous step for all
desired days of the week.