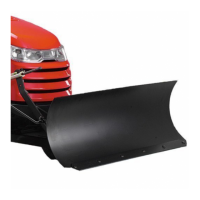
5
Initial Hitch Installation
Models with 3-Point
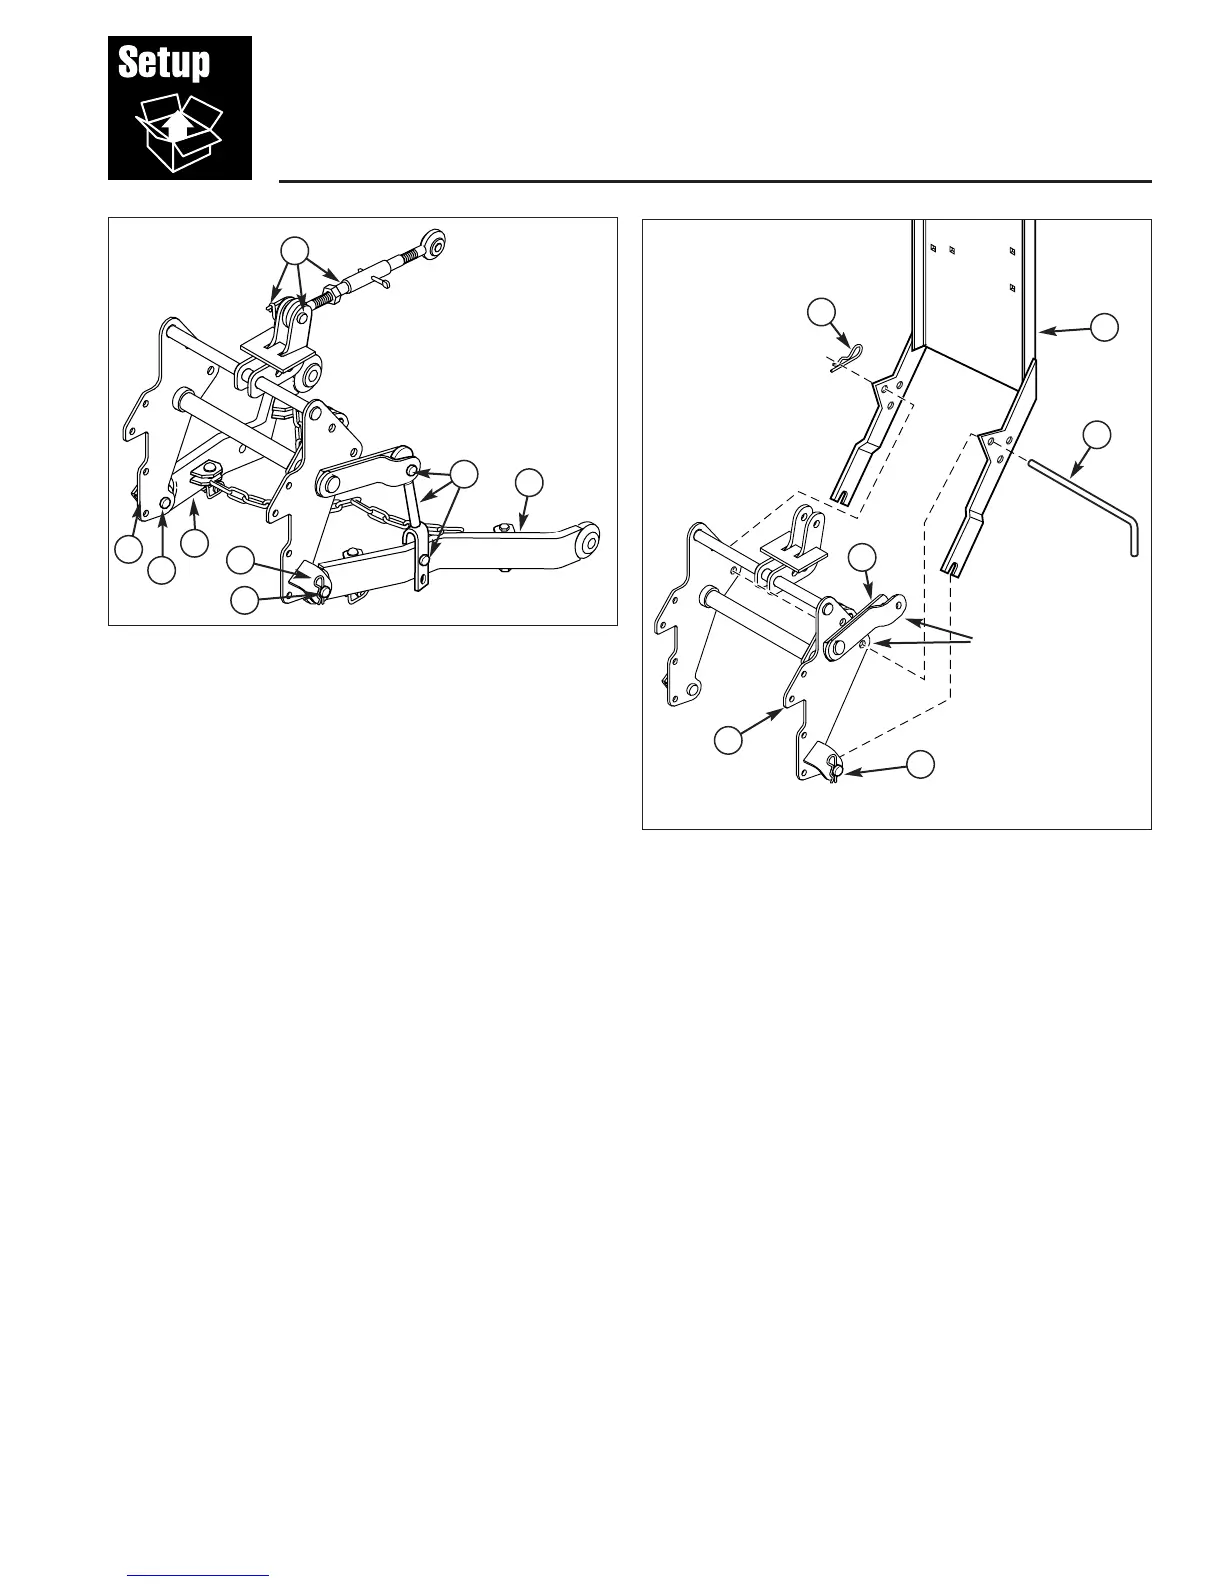
Figure 4. Install Side Brackets
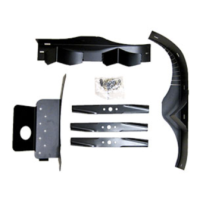
A. Tube Assembly & Mounting Hardware
B. Clevis Assembly & Mounting Hardware
C. Lower Link & Chain Assembly
D. Hair Pin
E. Clevis Pin
D
B
C
C
Figure 5. Install Side Brackets
A. Hair Pin Clip
B. Back Plate
C. Hitch Pin
D. Clevis Pin
E. Lift Arm
F. 3-Point Hitch
A
B
D
INITIAL HITCH INSTALLATION -
MODELS WITH 3 POINT HITCH
Install Hitch
1. Remove the tube assembly & mounting hardware (A,
Figure 4).
2. Remove the two clevis assemblies & mounting hard-
ware (B, Figure 4).
3. Remove the two lower link & chain assemblies (C,
Figure 4) by removing hair pins (D) and clevis pins
(E). Reinsert clevis pins (E) and hair pins (D)
4. Raise the lift arm (E, Figure 5) up above the lower
hole of the 3-point hitch (F). Install the back plate (B,
Figure 5) on the clevis pins (D) and secure to the
hitch with the long hitch pin (C) and hair pin clip (A).
E
A
D
E
C
Lift arm must
be above lower
hole.
F
E