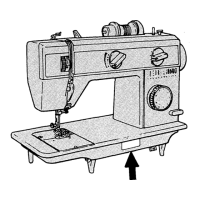
WINDING
THE
BOBBIN
Fig.
10
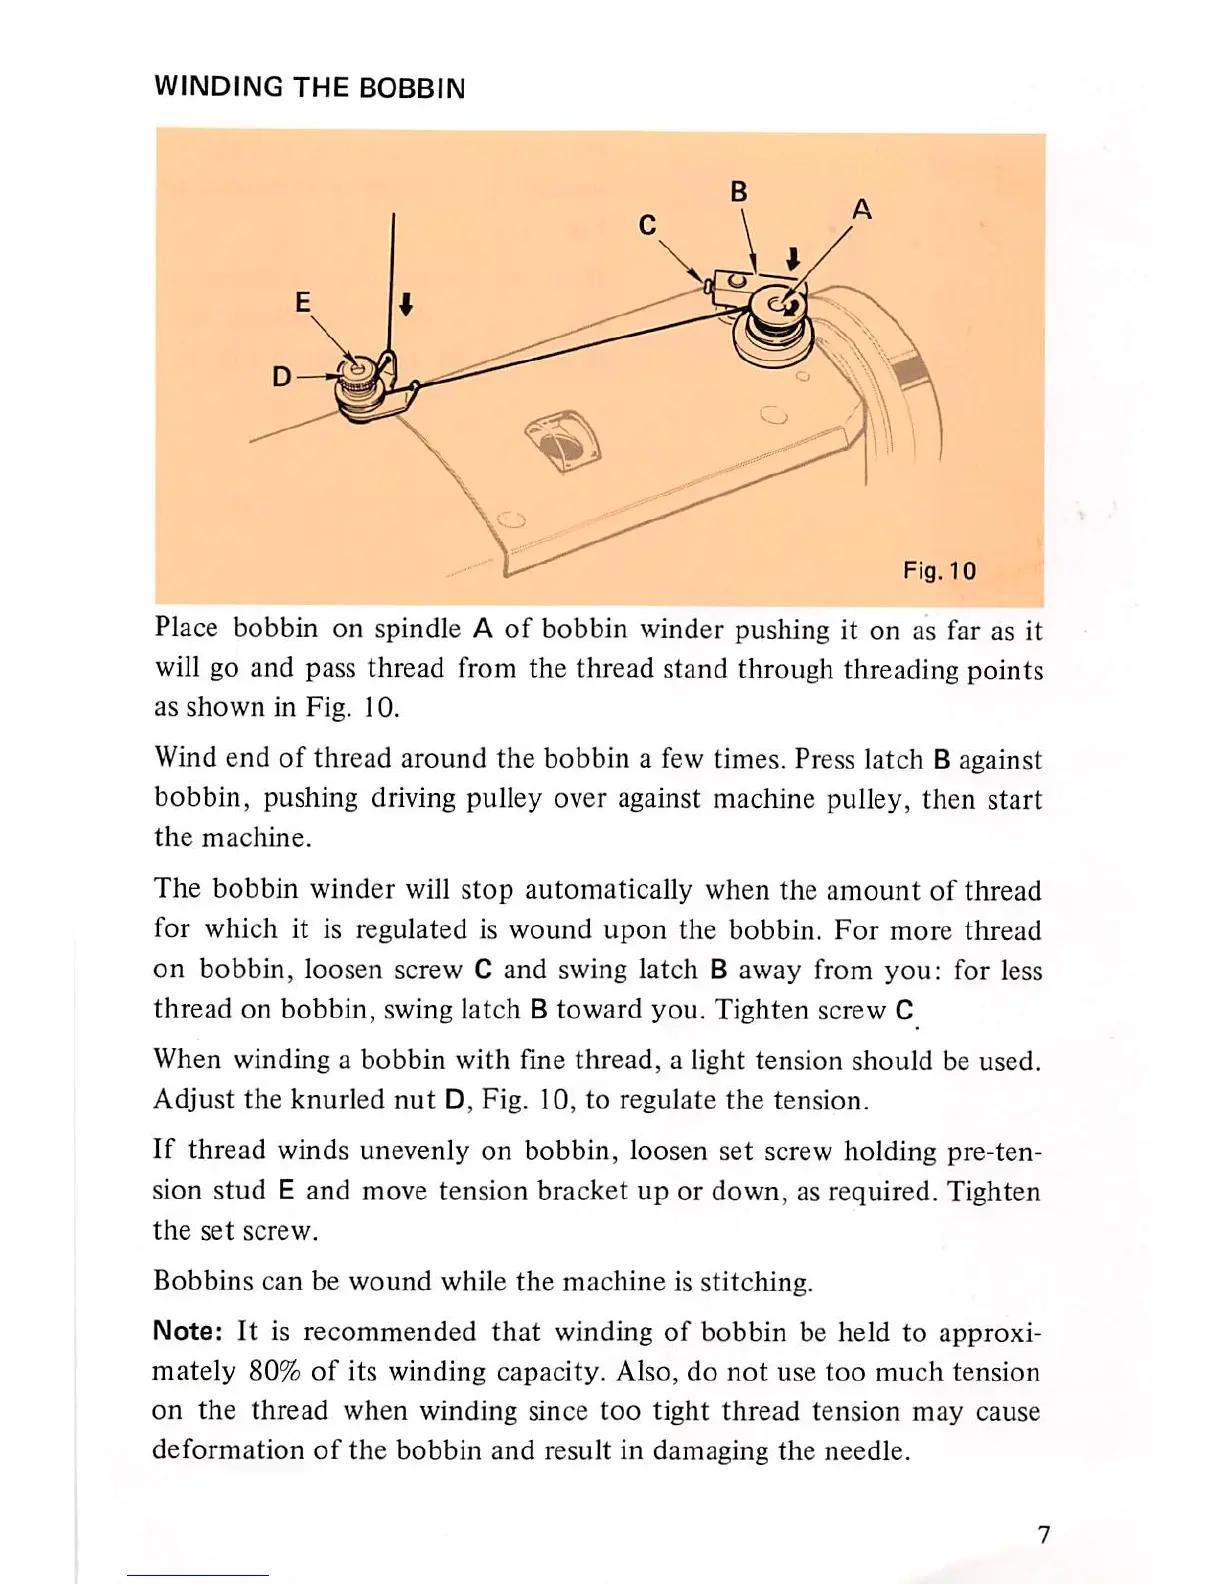
Place bobbin on spindle A
of
bobbin winder pushing it on as far as it
will go and pass thread from the thread stand through threading points
as
shown
in
Fig.
10.
Wind end
of
thread around the bobbin a few times. Press latch B against
bobbin,
pushing driving pulley over against machine pulley,
then
start
the
machine.
The
bobbin
winder
will
stop
automatically when the
amount
of
thread
for which it is regulated is
wound
upon
the bobbin.
For
more
thread
on
bobbin,
loosen screw C and swing
latch
B away from
you:
for less
thread
on
bobbin,
swing
latch
B
toward
you.
Tighten
screw C
When
winding
a
bobbin
with
fine
thread,
a light
tension
should
be used.
Adjust
the
knurled
nut
D,
Fig.
10,
to
regulate
the
tension.
If
thread
winds unevenly on bobbin, loosen set screw holding pre-ten-
sion
stud
E and move tension
bracket
up
or
down,
as required. Tighten
the
set
screw.
Bobbins can be
wound
while
the
machine is stitching.
Note:
It
is
recommended
that
winding
of
bobbin
be
held
to
approxi
mately
80%
of
its
winding
capacity.
Also,
do
not
use
too
much
tension
on
the
thread
when
winding
since
too
tight
thread
tension
may
cause
deformation
of
the
bobbin
and
result in damaging
the
needle.