2 APPLIANCE
4. Press the
CAL
button in Tango-Utilities. “Calibration activated” appears in the status bar. To cancel
the calibration procedure, press the stop button.
5. Having finished you are asked to adopt the new calibration values. If something went wrong, an error
message appears.
2.5.2 Calibrate Tango_Plus directly
1. Switch on the device.
2. Press the Setup-Button and navigate to the calibration menu.
3. Adjust the calibration level and execute “Start Calibration”. The reference calibration level will be
blinking on the display (e.g. 94 dB). You may adjust this value with the Scroll-Button (94 dB, 104 dB
or 114 dB).
4. Switch on the calibrator (select the correspondig level on the calibrator, if necessary) and insert the
microphone into the calibrator.
5. Press the OK-Button and Calibration starts. First, the noise level of the device is measured and second
the calibrator signal. During calibration, is blinking on the display. When stops blinking, the
calibration is finished. The measured level is displayed enabling you to check the calibration result.
6. Press the OK-Button to save the new sensitivity value or press the Setup-Button to reject.
7. You have left the calibration menu and the device is in STOP-Mode.
If the calibration has been affirmed the symbol is shown on the display until the next start of Tango_Plus.
NOTICE! If the new value deviates more than 3 dB from the old one, it is not ac-
cepted. The message “Error” is displayed in this case.
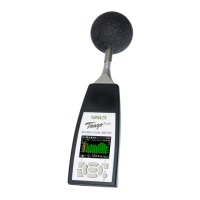
Figure 2.12: Calibration menu
Manual Tango_Plus 20 of 30 SINUS Messtechnik GmbH