22
OPERATING INSTRUCTIONS….cont
Changing the blade speed:
• Release the belt tension fully by turning the belt tension hand-wheel anti-
clockwise.
• Open the bottom drive-wheel door.
Changing from low speed to high speed:
⇒ The band-saw is set in low speed when the drive belt is in the small Ø channel
on the motor pulley and on the large Ø pulley on the Main drive-wheel.
• Slowly rotate the main drive-wheel by hand and at the same time ease the drive
belt from the large Ø pulley (front) and onto the smaller Ø pulley (rear) on the
main drive-wheel.
• Continue to slowly rotate the main drive-wheel whilst easing the drive belt from
small Ø (front) pulley channel onto the larger Ø (rear) pulley channel on the mo-
tor pulley.
• Fully re-tension the drive belt by turning the belt tension hand-wheel clockwise.
Changing from high speed to low speed:
⇒ The band-saw is set in high speed mode when the drive belt is in the large Ø
channel on the motor pulley and on the small Ø pulley on the main drive wheel.
• Slowly rotate the main drive-wheel by hand and at the same time ease the drive
belt from the large Ø channel (rear) and onto the small Ø channel (front) on the
motor pulley.
• Continue to slowly rotate the main drive-wheel whilst easing the drive belt from
the small Ø (rear) pulley and onto the large Ø (front) pulley on the main drive
wheel.
• Fully re-tension the drive belt by turning the belt tension hand-wheel clockwise.
Belt tension hand-
wheel
Main drive wheel
Motor pulley
Drive belt
Tension assembly
19
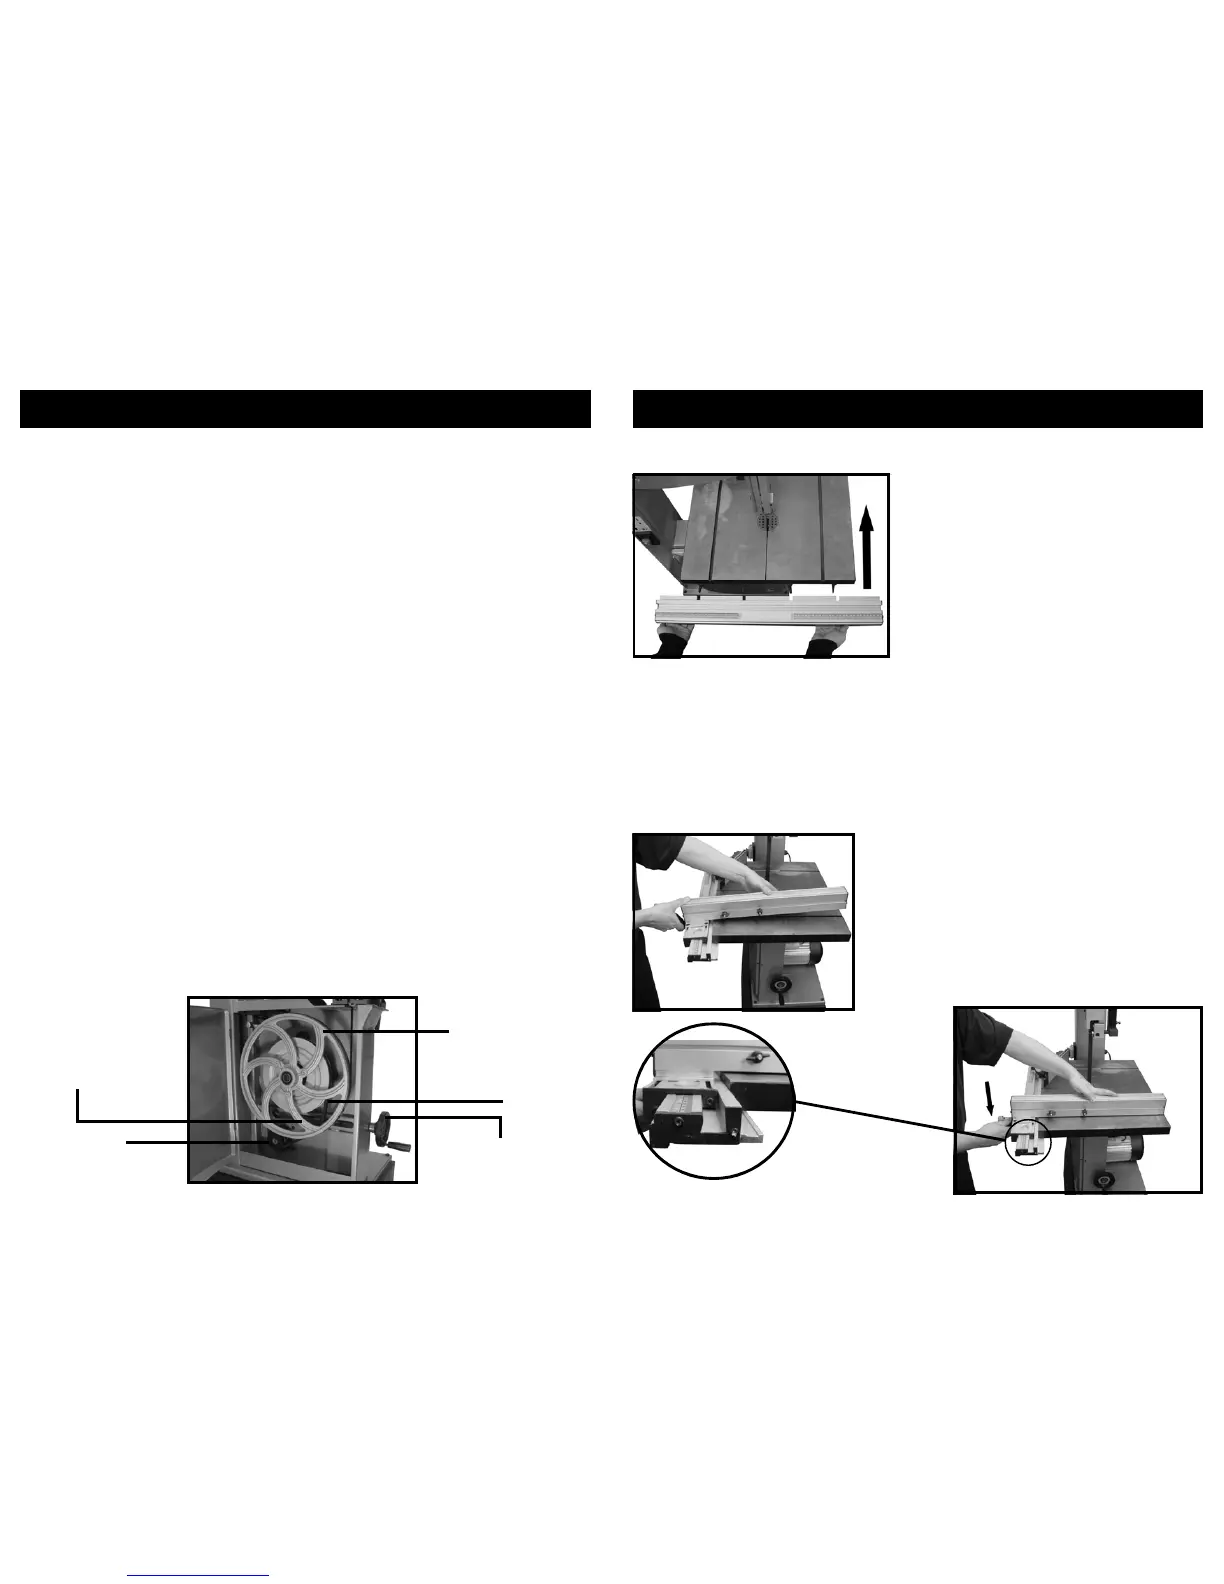
ASSEMBLY INSTRUCTIONS….cont
• Line the cut-outs on the fence guide with the thumbscrews earlier fitted to the
bottom of the main table.
• Push the fence rail forwards against the front edge of the main table.
• Fully tighten the thumbscrews to secure.
Fitting the Rip-fence:
• Fit the profile of the rip-fence carrier into the opposite profile on the rip-fence
rail.
• Secure it in the desired position by simply pressing down on the rip-fence locking
handle.