The planers weigh approximately 24 & 28Kgs respectively, when completely assembled.
The planer must be installed in a place with ample lighting and correct power supply. To install planter:
1. Make sure there is plenty of room for moving the work-piece through the entire cut. There must be
enough room that neither the operators nor the bystanders will have to stand in line with the wood while
using the tool.
2. Planer should be installed on a workbench using bolts, Locking Nuts and Hex nuts.
3. The planer must be bolted to a firm, level surface.
4. Make sure the planer does not rock and the tables are level.
ASSEMBLY
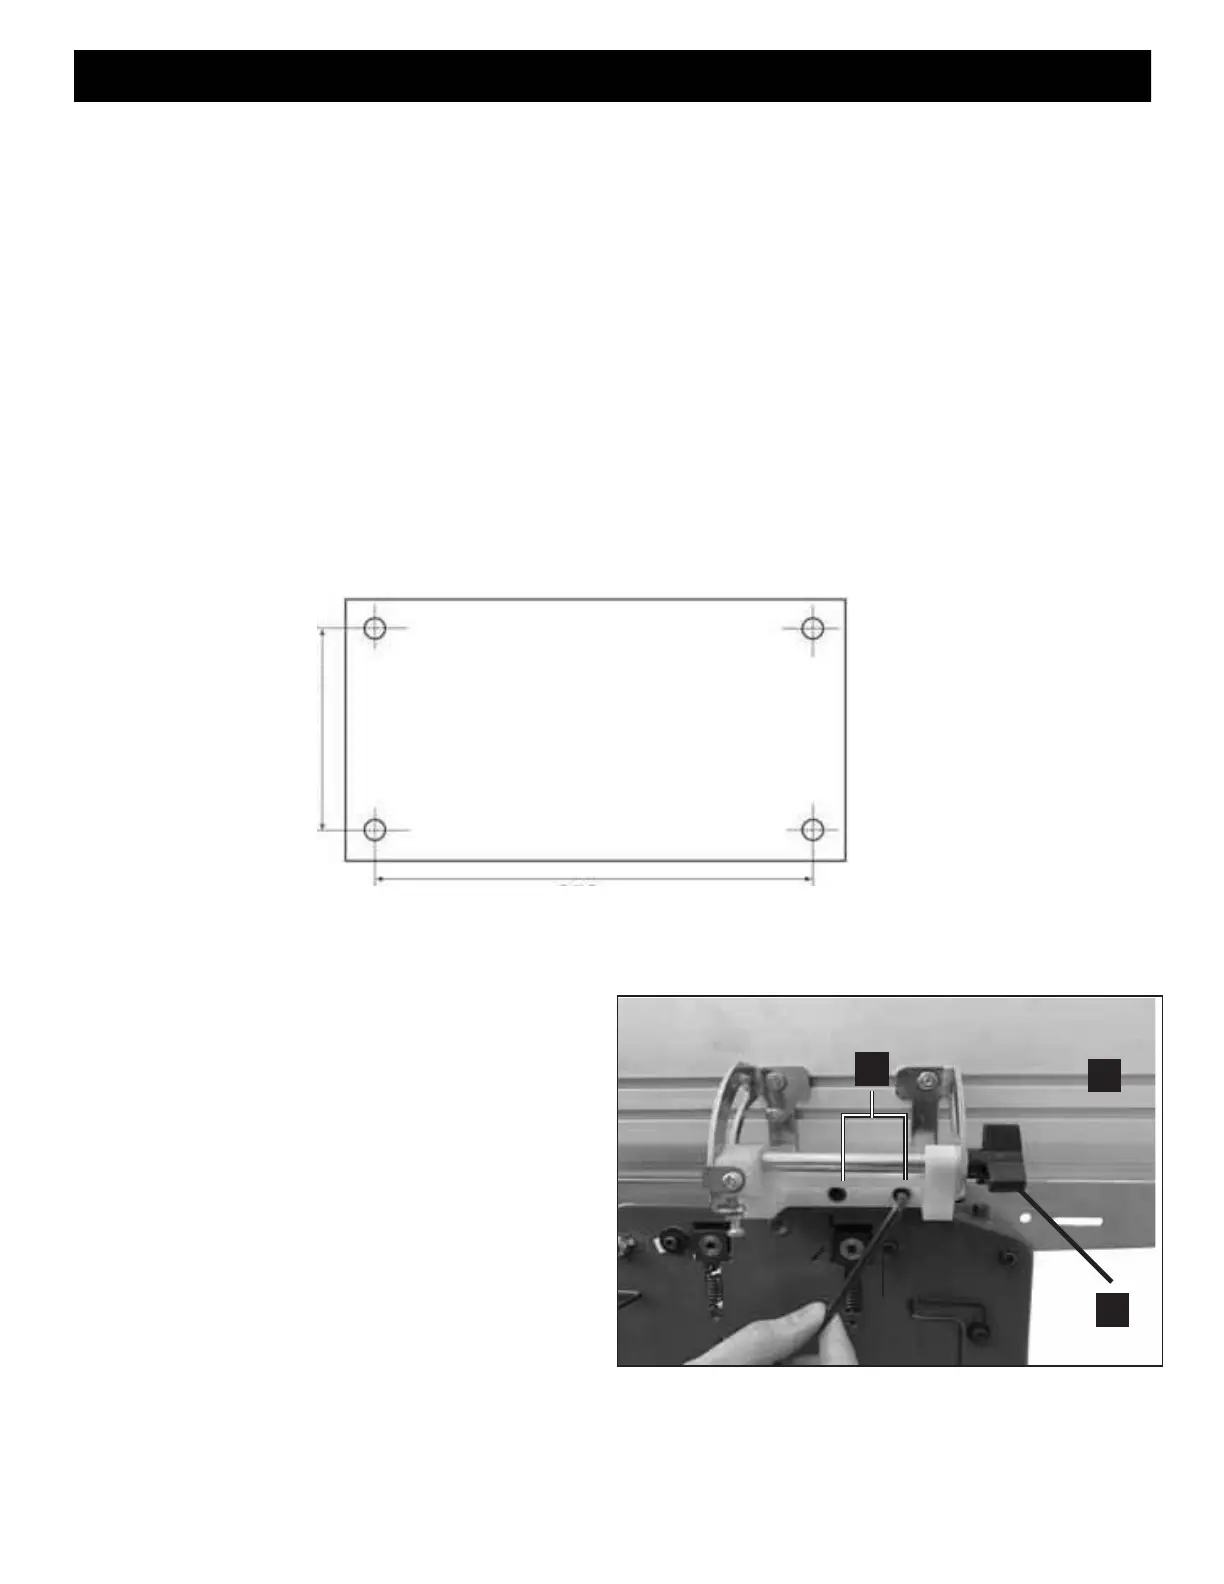
Alternatively, mount the planer on a strong piece of plywood of at least 20mm in thickness, with length
550mm and width 400mm minimum. The plywood platform, with planer mounted, is then clamped firmly to a
workbench when required.
550mm
400mm
Fig.1
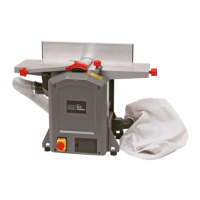
1. Attaching the Angle Fence
Insert the screws (C) into the holes in the Fence (8), then
tighten.
Loosen the lock handle (E) to adjust the fence angle.
Fig.1
8
C
E
10
Fig.1