SKS-Kinkel Elektronik GmbH
Support-Hotline: +49 (0) 2661 98088 112
E-Mail: support@sks-kinkel.de
Document art. no. 97011300
3.2 Mounting an flush mounted or cavity wall box
We recommend installing a flush-mounted or cavity wall box before
mounting the supporting frame so that it is possible to use the screws
to attach the supporting frame to the flush-mounted or cavity wall box.
Use the fastening holes in the center area of the supporting frame for
this installation.
We recommend additional fixation of the supporting frame with screws
in all four corners of the device.
Pay particular attention to the installation cable when mounting
the supporting frame!
Connect the terminals to the previously installed cable. The terminals
are located at the back of the indoor station.
The pre-assembled cables are then connected to the indoor station.
To avoid errors when connecting cables please use the planning
guide or the wiring diagram.
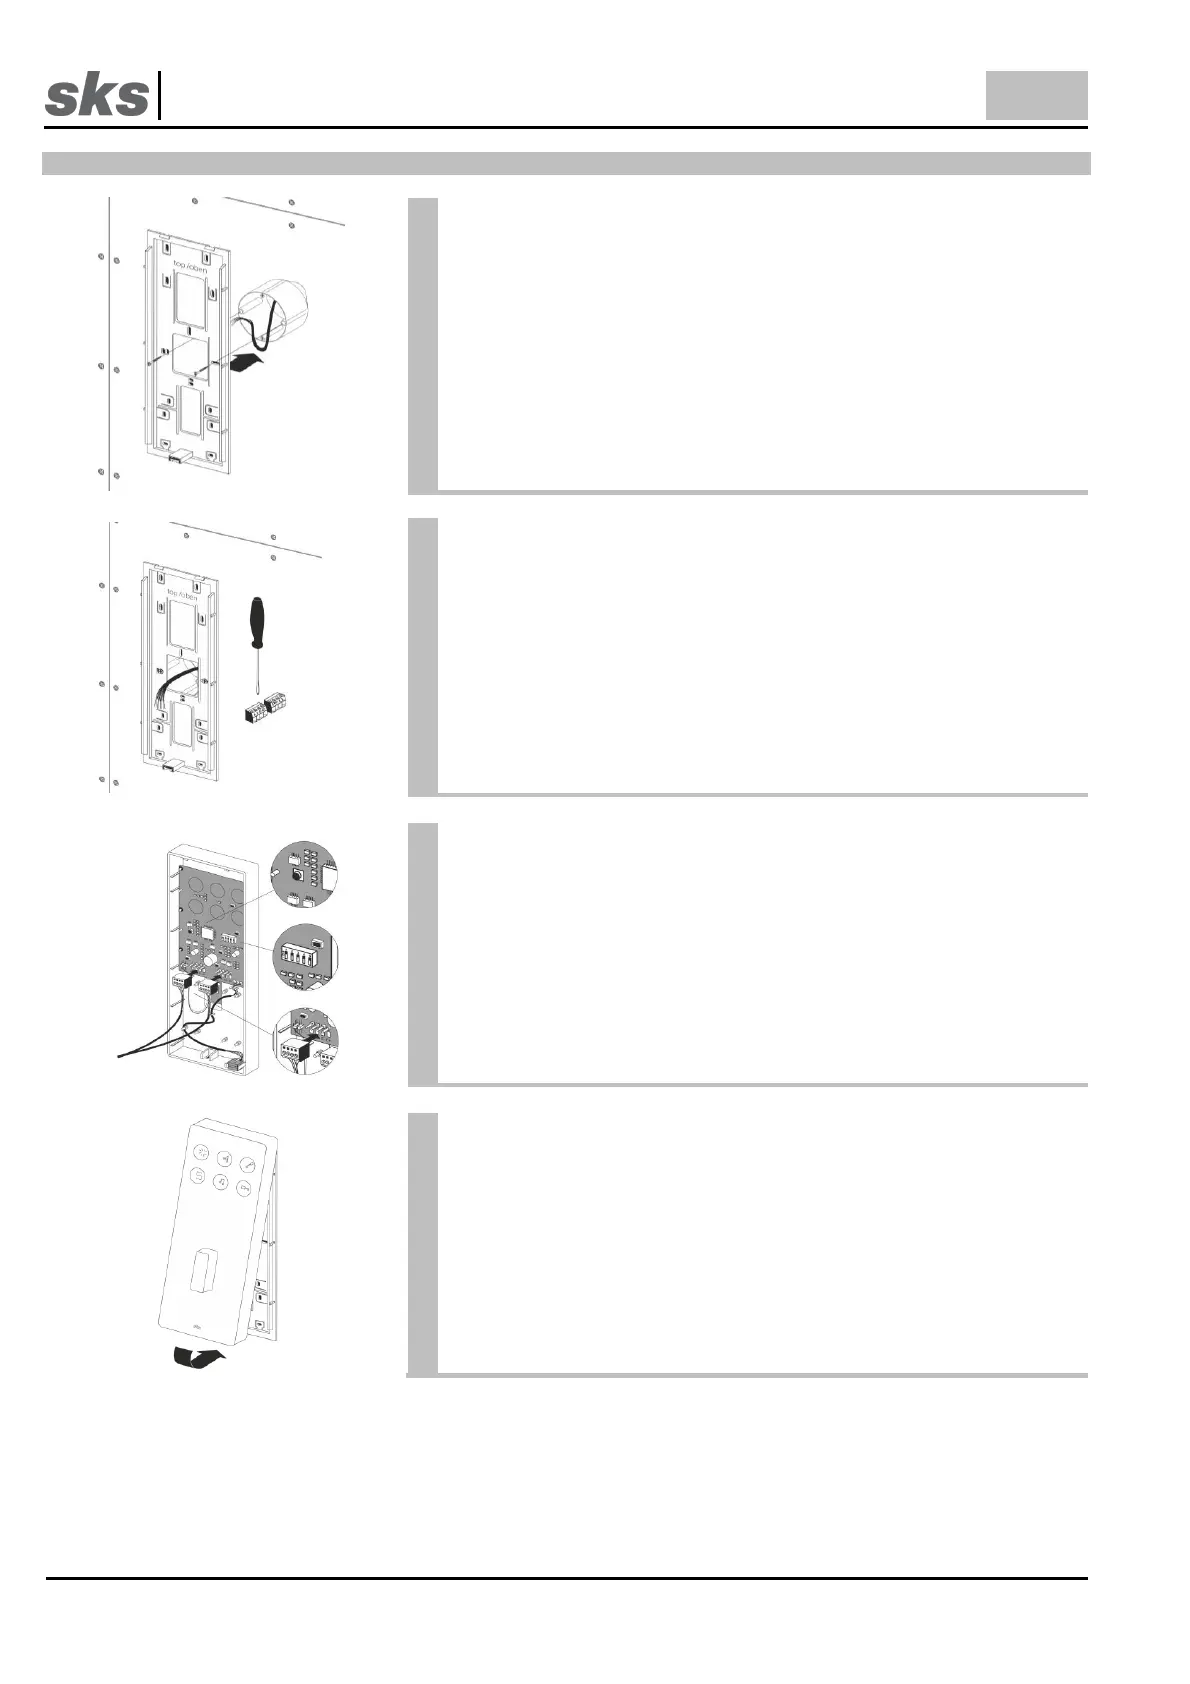
Set the SKS bus call address at the DIP switch on the back of the
indoor station. Each address is assigned to a bell button at the door
station. The SKS bus table of call addresses can be found in the
appendix.
Pay particular attention to the setting of the DIP switch when the
indoor station is replaced!
Subsequently plug the terminals into the indoor station.
Remount the indoor station in the upper part of the supporting frame.
Subsequently press the indoor station onto the frame until it clicks into
place.