5
PART I : SETTING UP THE AZ-GTix MOUNT
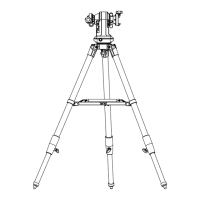
1.1 Setting up the Tripod
Fully expand the three legs of the tripod on level ground
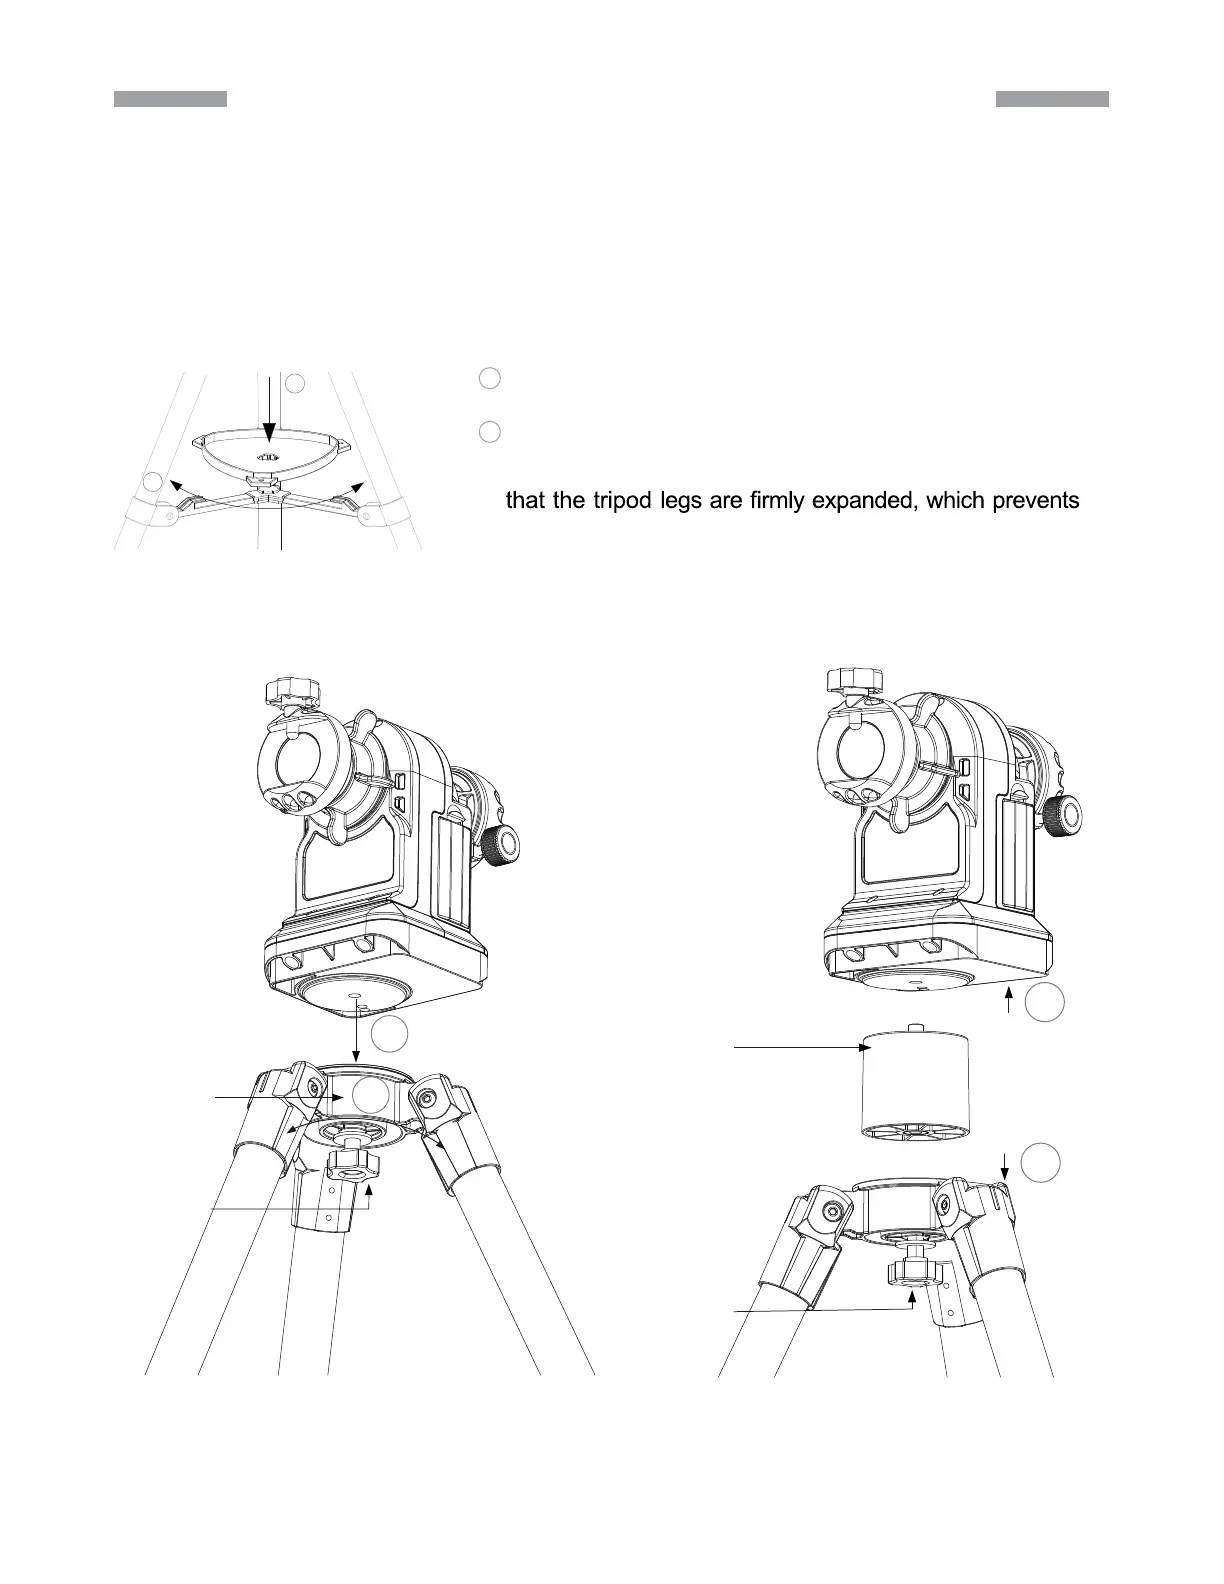
Install the accessory tray on the tripod as shown in (Fig. 1.1a).
If using a short tube telescope, which does not hit the tripod legs when it points high up,
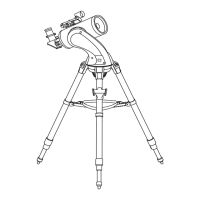
with the AZ-GTix mount, the mount can be installed onto the tripod directly. Align the
3/8” socket at the base of the mount with the locking bolt on the tripod head. Lock the
mount on the tripod by tightening the bolt (Fig. 1.1b).
WARNING:The accessory tray of the tripod ensures
the tripod from accidentally tipping over. When using the
AZ-GTix mount on the tripod, an accessory tray should
always be used to ensure stability.
Align the accessory tray and push down on it while holding onto
the bottom supports.
Rotate the tray to lock it into place.
1.
2.
3.
1
2
1
2
Fig. 1.1a
Tripod Head
Locking Bolt
2
1
Extension Pier
Locking Bolt
1
2
Fig. 1.1b Fig. 1.1c
TIP:Completely tightening the azimuth
clutch knob would prevent the mount
from rotating around its azimuth axis
and make it easier to screw the mount
onto the tripod.