6
PART I : SETTING UP THE AZ-GTix MOUNT
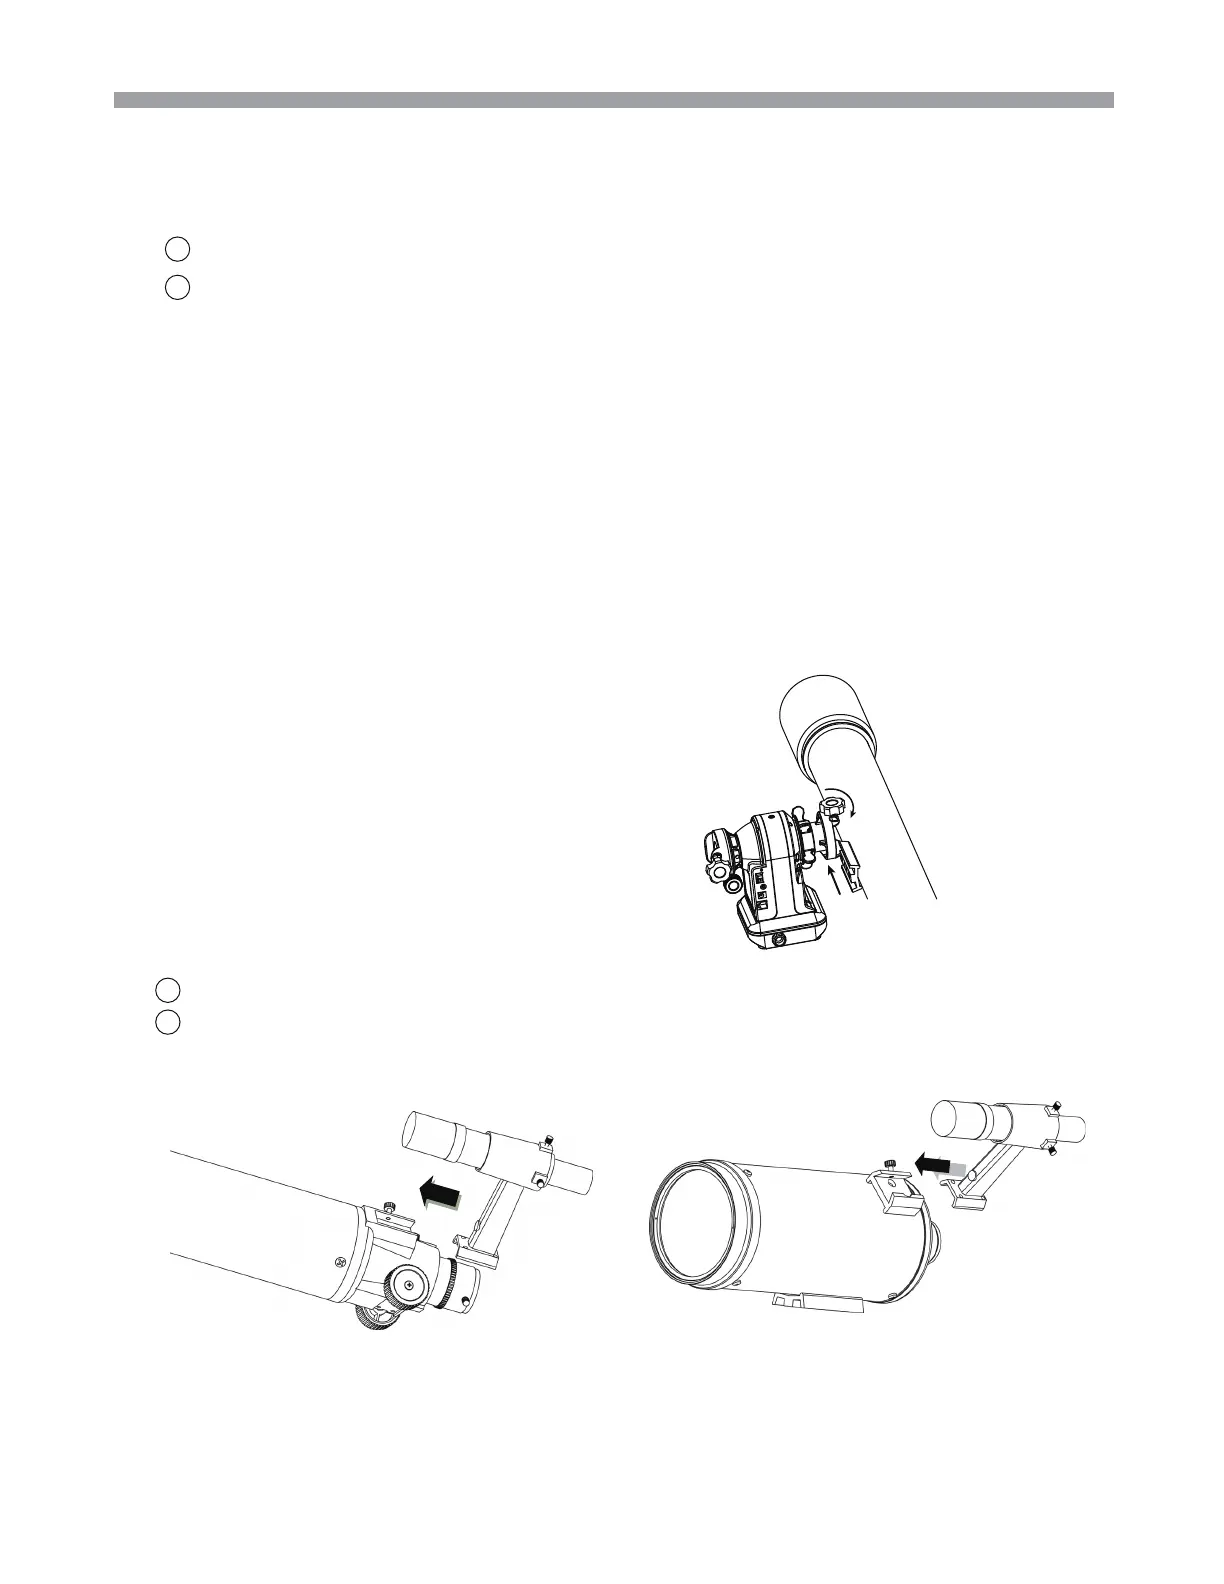
If using a long tube telescope with AZ-GTix mount, an extension pier should be insert-
ed between the tripod and the AZ-GTix mount to prevent the telescope from hitting
the tripod legs when it points high up (Fig. 1.1c).
Attach the extension pier to AZ-GTix Mount
Attach the extension pier to tripod and tighten the locking knob.
4.
1
2
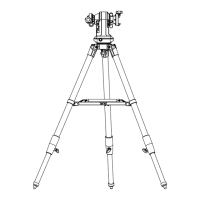
1.2 Attaching the AZ-GTix Mount to the Tripod
Fully expand the legs of the tripod on level ground. Make sure that the tripod is stable.
Screw the AZ-GTix mount to the 3/8” bolt on the tripod head’s mounting plate, tighten
the bolt MODERATELY
.
Caution: Over-tightening the mount may cause damage to the internal mechanical
parts.
Most tripods’ mounting plate comes with 1 to 3 locking screws. Firmly tighten the locking
screws from underneath the plate to secure the AZ-GTix mount in place.
Raise the tripod’s central pole to the desired height, and make sure that it also prevents
the telescope from hitting the tripod legs when the telescope points high up.
Adjust the lengths of the legs to center the bubble level on the mount.
1.
2.
3.
4.
5.
1.3
Telescope Assembly
1.4
Finderscope Assembly
Attaching the finderscope bracket
(Fig.1.4a ).
Locate the finderscope optical assembly
Slide the finderscope bracket into the rectangular slot and tighten the screw to hold the
mount in place.
1.Attach the dovetail to the Dovetail Groore (Fig.1.3a).
2.Tighten OTA Lock Knob to lock the OTA in place.
Fig.1.3a
1
2
Fig.1.4a
refractor
Maksutov