5
Fig. 1.1e
PART I: SETTING UP THE CQ350-PRO MOUNT
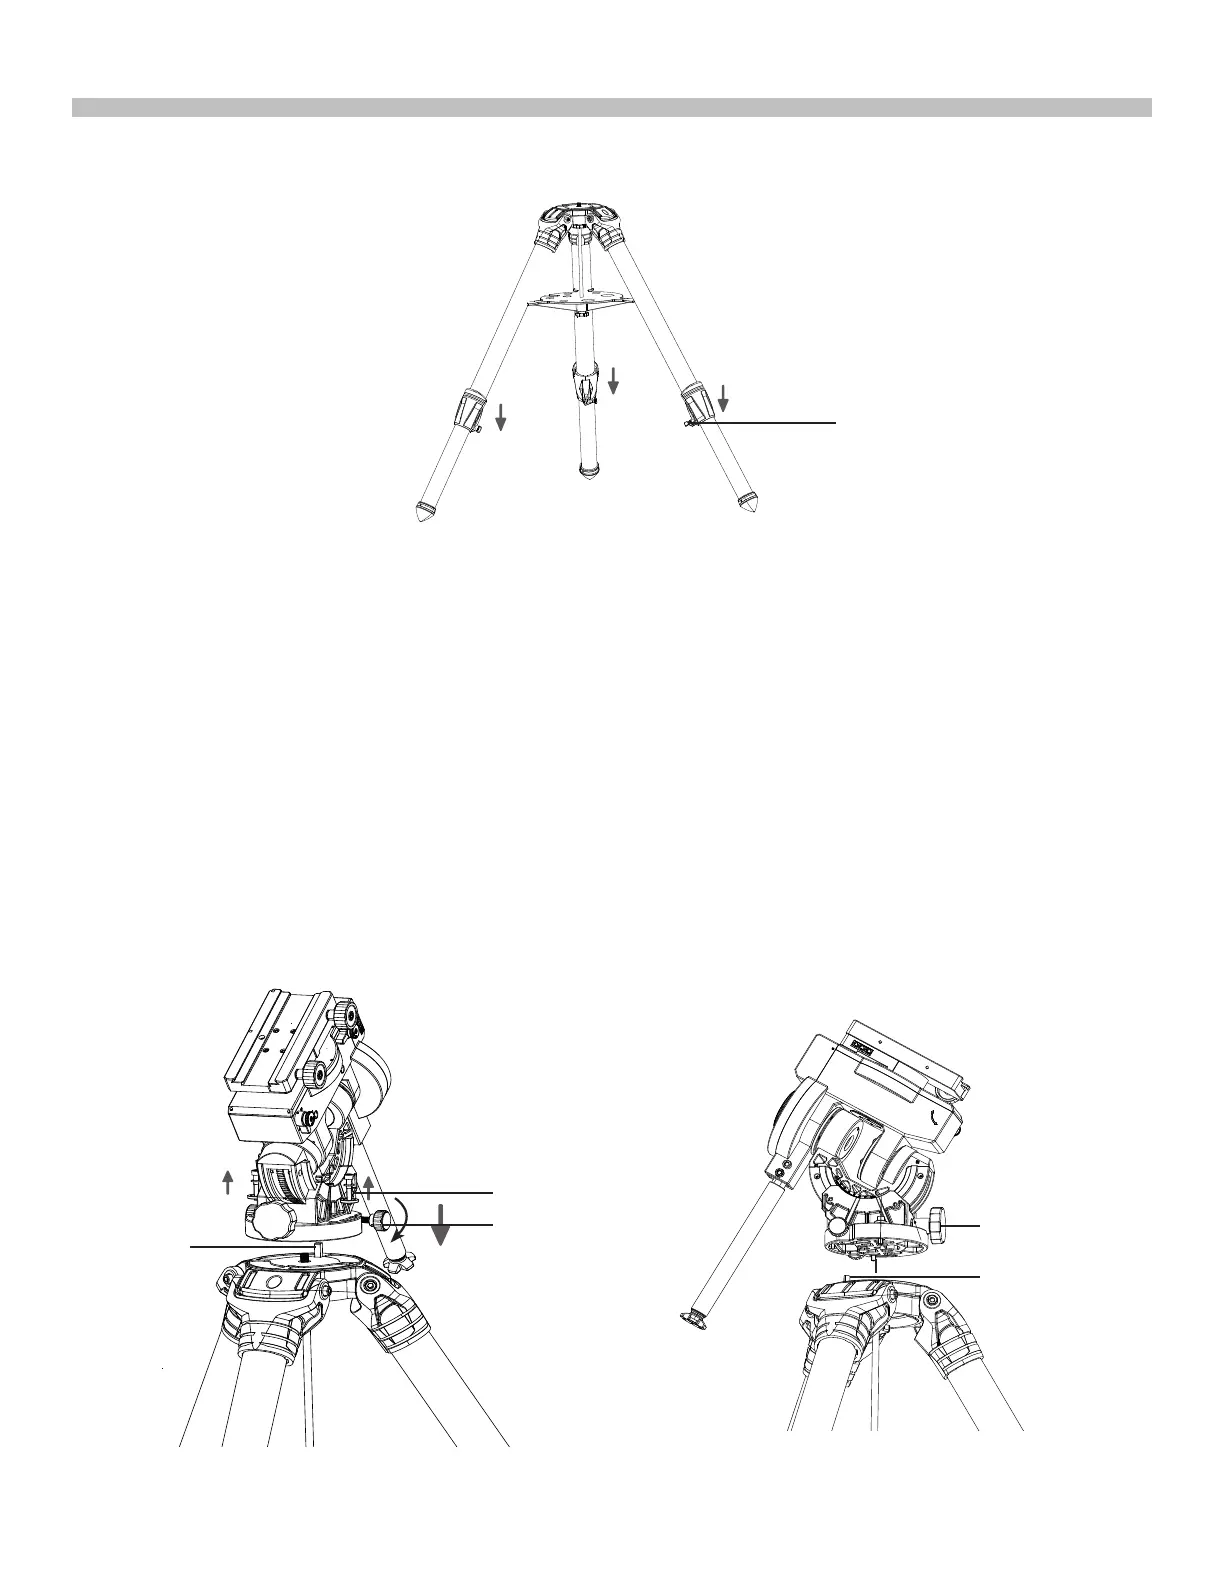
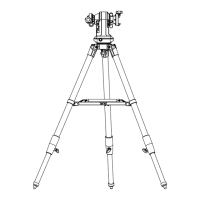
3. Loosen the 3 clamp levers on the tripod legs to extend the tripod legs to the desired length
(Fig 1.1d).
1.2 Installing the CQ350-PRO Mount on the tripod
Fig. 1.2a
Fig. 1.2b
tripod leg tightening lever
Azimuth
Adjustment
Knobs
*
Pin
Latitude
Adjustment
Knob
Loosen
Azimuth Locking
Screw
pin
1. Screw the two separately supplied azimuth adjustment knobs in the CQ350-PRO mount,
but keep sufcient space between the two knob screws to allow for the tripod pin (Fig.
1.2a, 1.2b). Remove the two pre-installed azimuth lockingscrews and washers from the
tripod top plate.
2. Align the metal pin on the tripod top with the gap between the two azimuth adjustme knobs
while putting the mount on the tripod top. (Fig 1.2b)
3. Pass the 2 azimuth lockingscrews (rst through a metal washer and a plastic spacer)
through the curvedslots on both sides of the equatorial mount base and tighten them
loosely onto the tripod platformto secure the mount on the tripod(Fig. 1.2a) .
4. Engage the tripod central rod in the CQ350-PRO mount by turning the tripod upper knob.
Turn the knob until it is moderately tightened (*) (Fig 1.2c) If necessary, re-adjust the
tripod legs using the bubble level on the mount as a refer-ence.