PANORAMIC PhOTOgRAPhy
The Virtuoso can also be used with a camera or cell phone camera to capture panoramic images. If you want
the mount to trigger the shutter of the camera, the camera used for this application must have an external
shutter control port that can connect to the Auto Image port on the Virtuoso. Otherwise, you can trigger
the shutter manually when the mount comes to a stop. The Auto Image port uses a 2.5 mm, three segment
stereo jack connector; the trigger signal connects to the tip and base segments.
To attach a camera to the mount:
1. Insert the dovetail of the camera mounting bracket into the dovetail clamp on the altitude axis of the
mount and tighten the locking knob to hold it in place.
2. Attach your camera to the mounting bracket by inserting the ¼-20 hand bolt into the camera’s tripod
socket.
3. If you want the camera to trigger automatically, attach the
shutter release camera cable to the camera and the Auto
Image port of the Virtuoso mount.
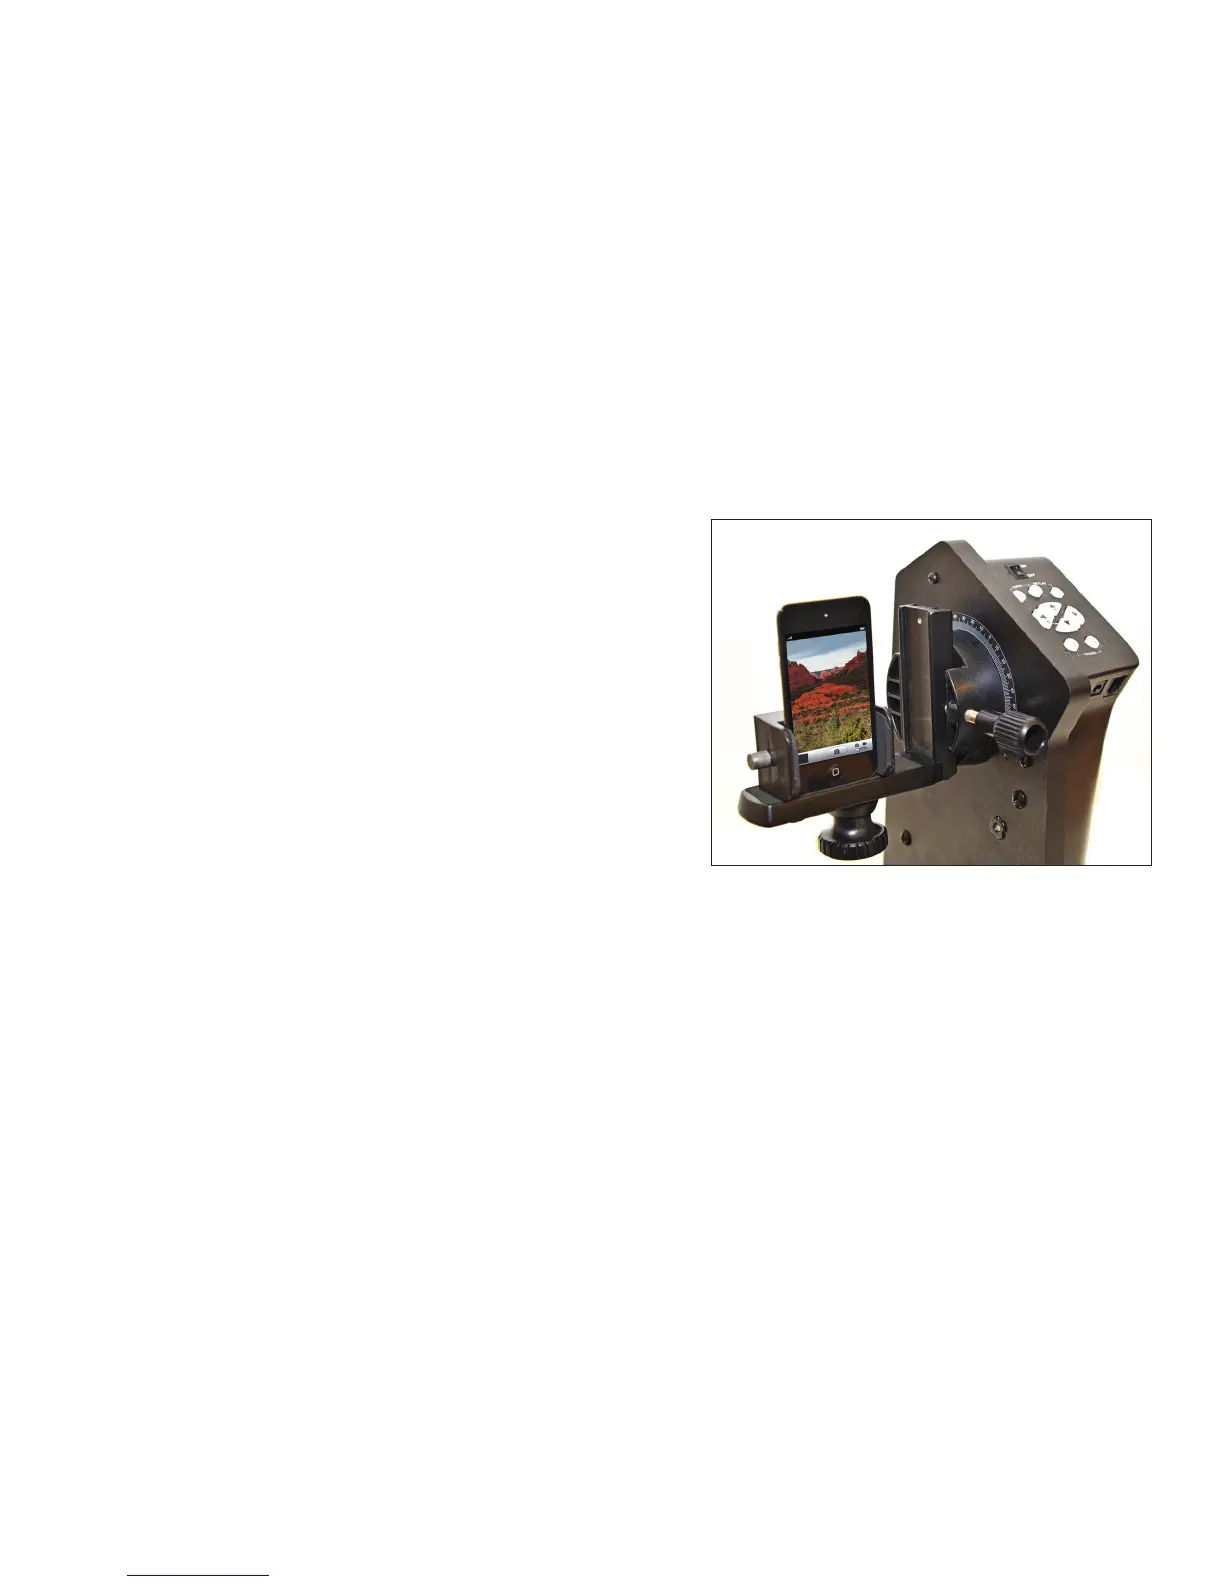
To attach a cell phone to the mount (Figure 9):
1. Attach the cell phone clamp to the camera mounting
bracket. It can be attached to hold the phone in portrait or
landscape mode.
2. Loosen the knob on the side of the bracket to open the
clamp.
3. Insert your cell phone into the clamp, making sure to have
the camera pointing the correct direction.
4. Tighten the knob to close the clamp until your phone is
secured (do not over tighten).
To use the panoramic photography mode:
1. Set the field of view (FOV) of the camera lens
a. Level the camera by hand or by using the motor drive.
b. Turn the power off and then turn it on again.
c. Look through the viewfinder (or the live view LCD display) of the camera and find an object at the
corner of the image. Remember this object.
d. Move the mount so that the object that was in the corner of the viewfinder is now in the center of
the field of view. Press the buttons “SET/5” and “1/a” simultaneously to record this movement. The
mount will now be able to calculate the field of view of your camera’s lens. The mount will use this
information to apply a 30% overlap between the images.
2. Set the upper limit of the panorama that you want to take:
a. Look through the viewfinder (or the live view LCD display) of the camera and use the “UP” and
“DOWN” directional buttons to move the mount to the lowest angle you want included in your
panorama.
b. Press the buttons “SET/5”and “2/b” simultaneously to record this setting.
3. Set the lower limit of the panorama that you want to take:
a. Look through the viewfinder (or the live view LCD display) of the camera and use the “UP” and
“DOWN” directional buttons to move the mount to the highest angle you want included in your
panorama.
b. Press the buttons “SET/5”and “3/c” to record this setting.
4. Set the left limit of the panorama that you want to take:
a. Look through the viewfinder (or the live view LCD display) of the camera and use the “LEFT” and
“RIGHT” directional buttons to move the mount to the desired left-most point of the panorama you
want to take.
P.8
.:. Figure 9 - Cell phone mount in portrait
orientation