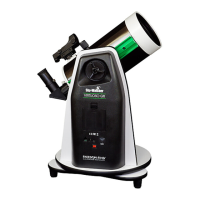
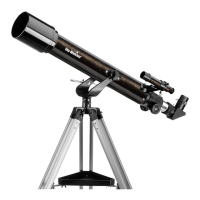
MOUNT SeTUP
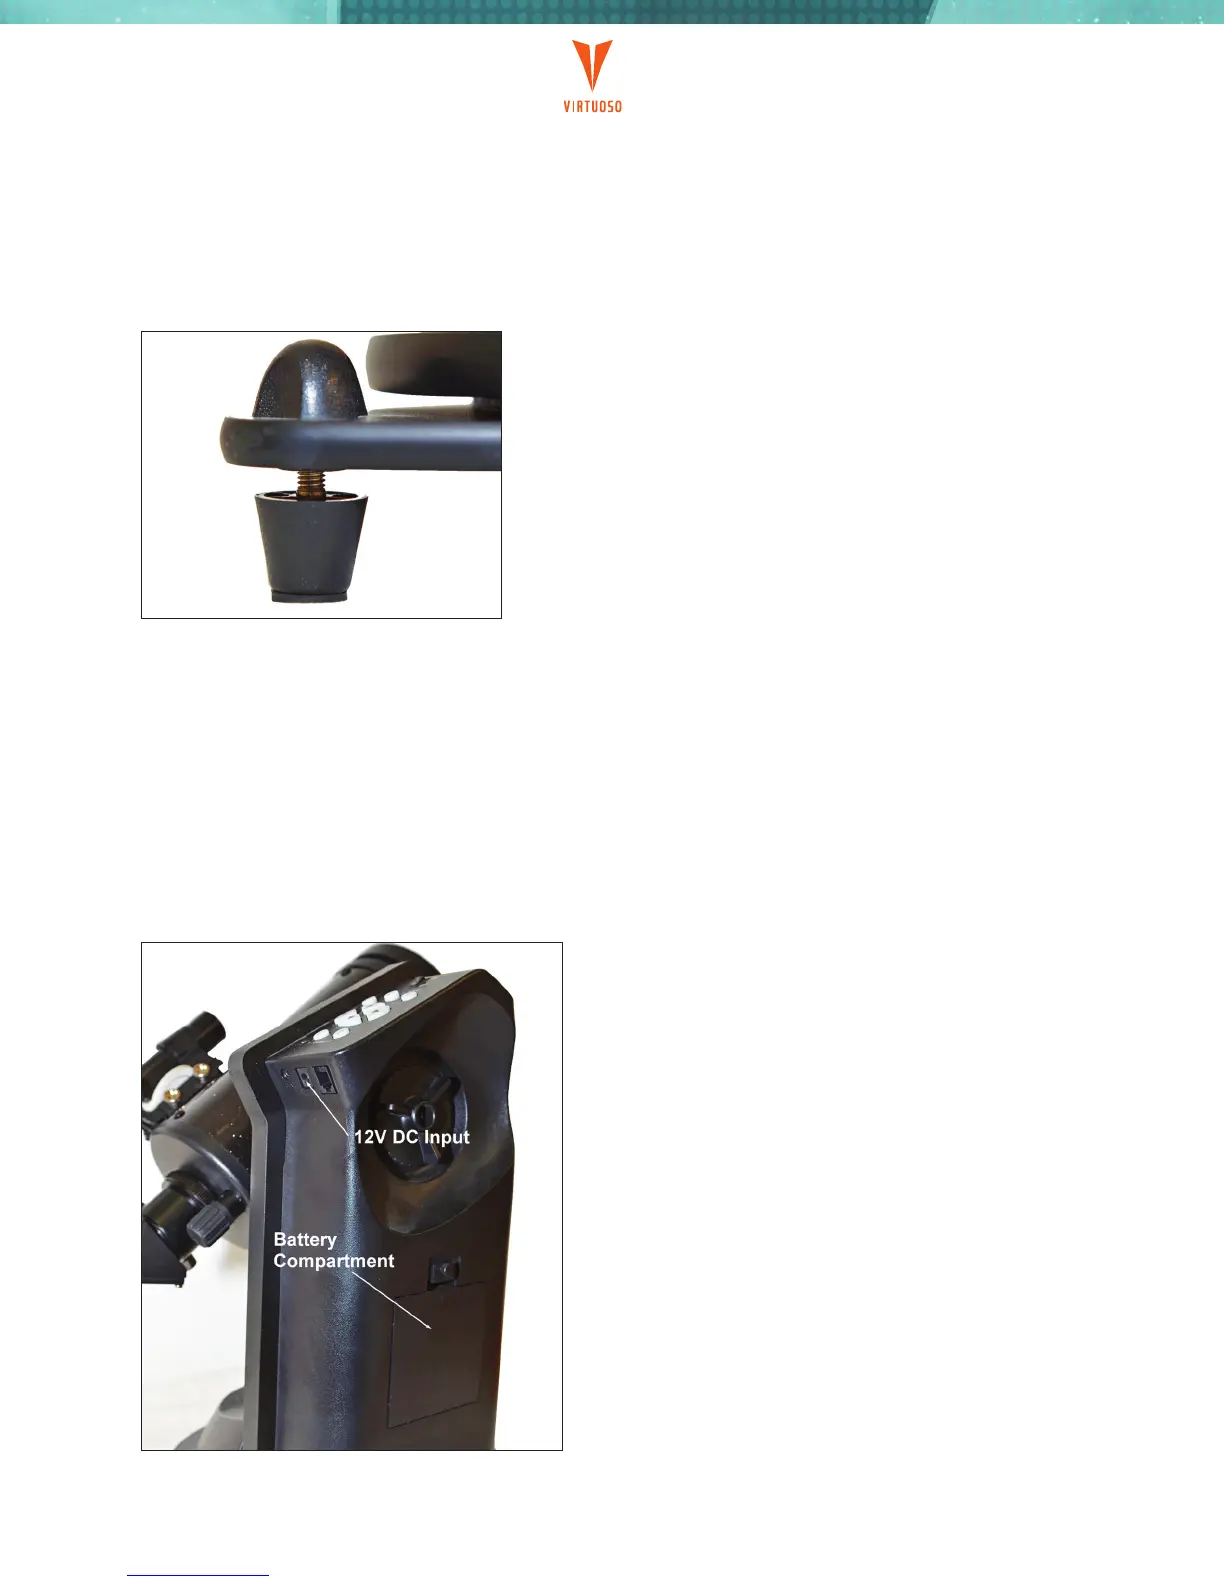
1. Place the mount on a flat surface. For astronomical observing, use the bubble level built into the base
on the two adjustable feet to level the base (Figure 2). You can adjust the extension of the feet by screwing
them in or out of the mount.
Note: If you wish, you may attach the base of the Virtuoso to a
photographic tripod. Simply use the threaded 3/8” hole in the
center on the underside of the base plate.
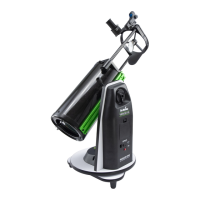
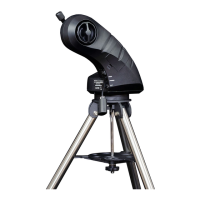
POWeRINg The MOUNT
The Virtuoso mount can be powered by the internal batteries or an optional external DC power supply.
The battery compartment is located on the fork arm (Figure 3) and holds eight (8) AA alkaline batteries
(not included).
An external power supply can be attached to the center
port under the keypad. Your optional external power
supply should have an output of 12V DC Nominal and be
able to supply at least 500mA of DC current. The cord
plug should have a female connector measuring 2.1 mm
I.D. x 5.5 mm O.D. x 12 mm and have a positive center
pin. The minimum voltage should be 7.5V and should not
exceed 14V.
Warning: Some inexpensive transformer style AC-DC
power adapters are unregulated and can have output
voltage considerably higher than what their labels claim.
Using this type of adapter can damage the electronics in
the mount. Please use regulated power adapters only.
.:. Figure 2 - Adjustable feet
.:. Figure 3 - Powering the Virtuoso
P.3