USINg The VIRTUOSO fOR ASTRONOMy
To setup the Virtuoso for astronomical use:
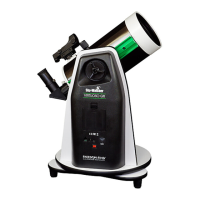
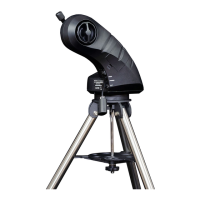
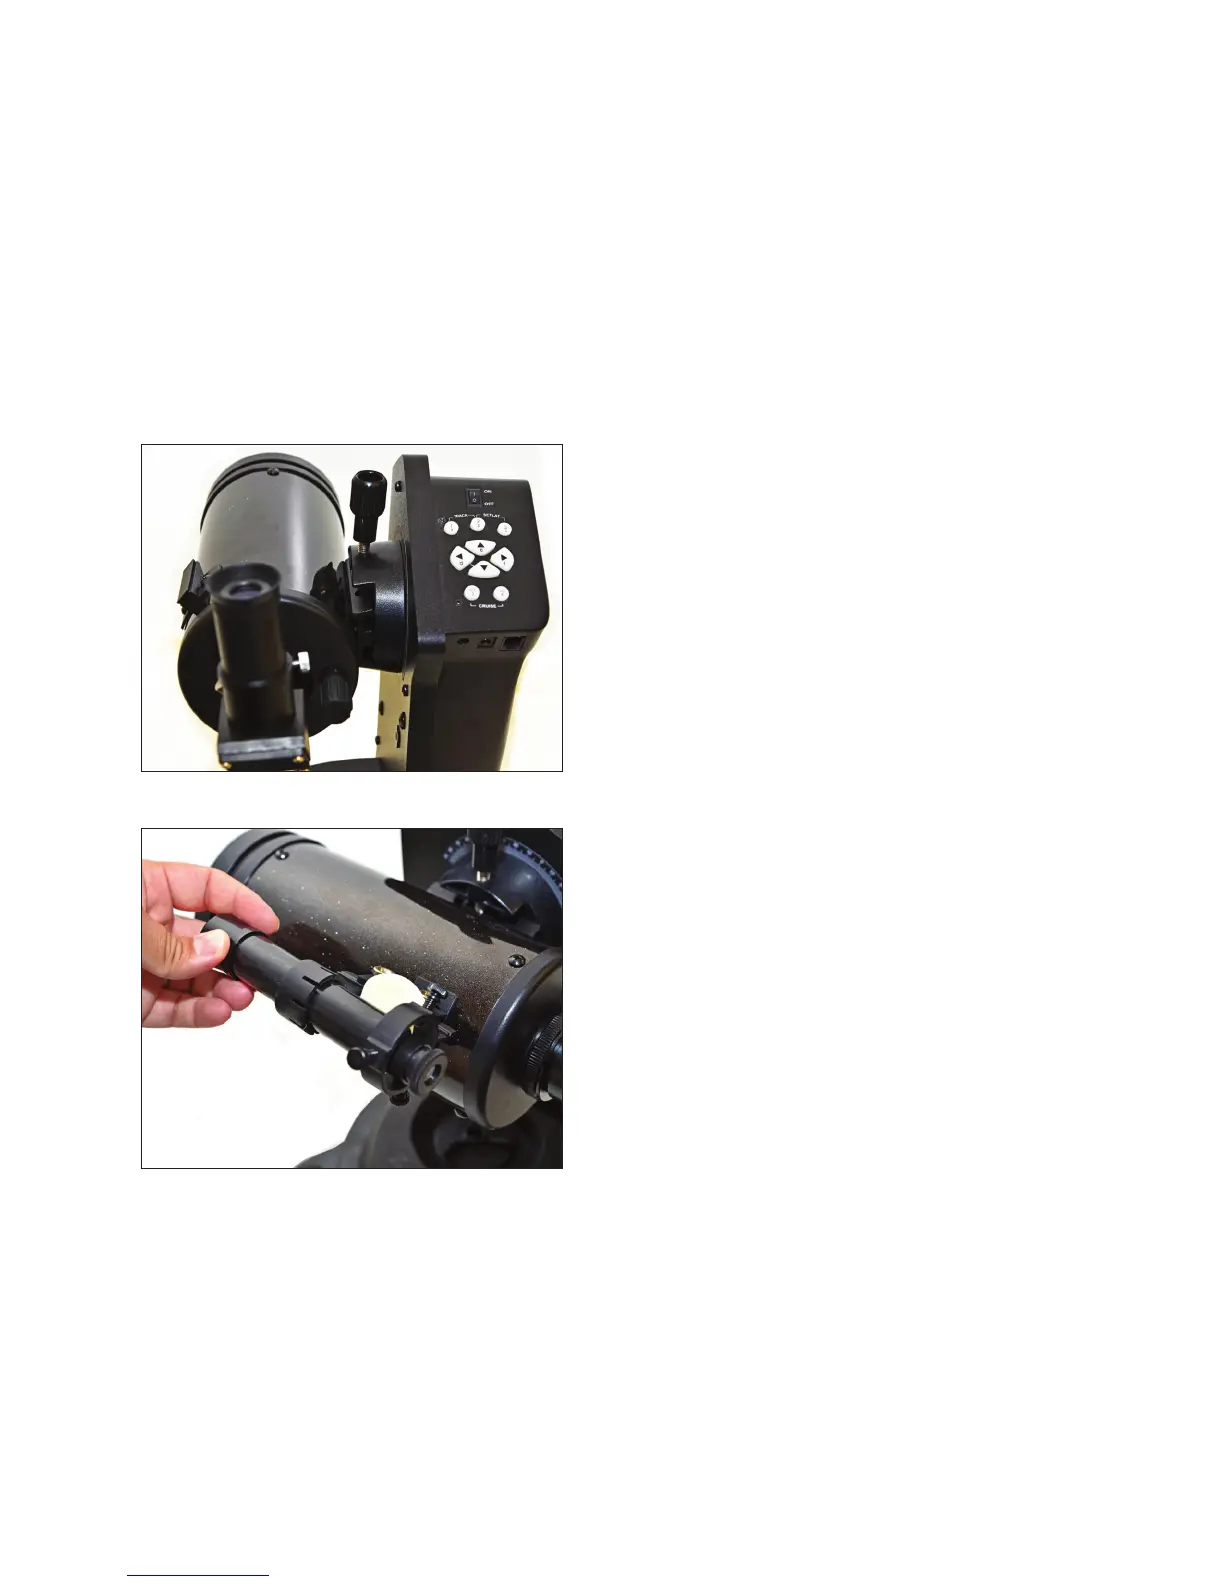
1. Loosen the locking knob on the mounting platform. Slide the dovetail bar on the telescope tube into the
slot of the mounting platform and tighten the locking knob. The fork arm should be at the right side of the
telescope tube when the telescope tube points forward (Figure 10)
Note: You must be careful not to use an optical tube that is too heavy or too big as the motor assembly will
not be able to operate properly and may damage the mount. As a guideline, do not use tubes that
exceed 4.5 lbs (2 kg).
2. Using the bubble level built into the base, adjust two of
the feet to level the mount.
3. Install the finderscope bracket on the optical tube:
a. Loosen the two silver setscrews located on the
base of the bracket.
b. Slide the bracket over the dovetail bar attached to
the tube and tighten the two silver setscrews to
secure it in place.
c. Insert the 5x24 finderscope into the bracket: slide
the eyepiece end through the rings of the bracket
so the eyepiece end of the finderscope is closest
to the ring with the three black adjustment screws
(Figure 11).
d. Adjust the three black screws until the finderscope
is held securely in place.
4. Align the finderscope with the main optical tube
a. Insert the star diagonal and 25 mm eyepiece into
the back of the scope and secure them with the
silver setscrews.
b. Loosen the altitude and azimuth clutches and
rotate the telescope to locate a distant object on
the ground. It should be at least a quarter mile
away for best results. Once centered, tighten both
clutches.
c. Focus the finderscope by turning the eyepiece of
the finder.
d. Using the three black setscrews on the finder
bracket, loosen and tighten them until the cross-
hair in the finderscope lie on top of the object that
is centered in field of view of the 25 mm eyepiece
in the main telescope.
e. Verify that all three of the setscrews are snug, but
do not over-tighten.
5. For observers in the Northern Hemisphere, loosen the azimuth and altitude clutch knobs and move the
telescope to center Polaris (the North Star) in the field of view. When it is centered, lock both of the
clutches. For observers in the Southern Hemisphere, center the scope on Sigma Octanis (near the South
Celestial Pole).
6. Verify that the clutches are locked and the power to the mount is switched off.
Note: After completing step 6, the mount is not in its proper “Power-On” position. Always place
the telescope in this position before you turn on the power.
P.10
.:. Figure 10 - Correct tube orientation
.:. Figure 11 - Installing the finderscope