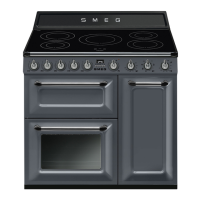
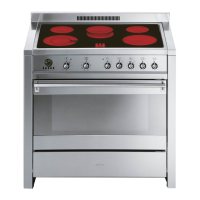
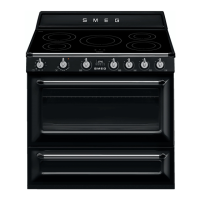
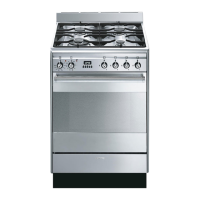
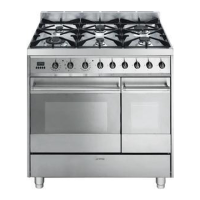
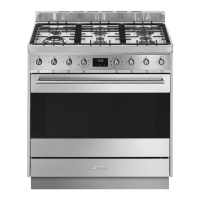
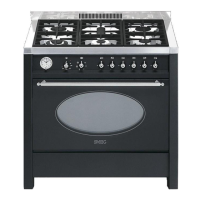
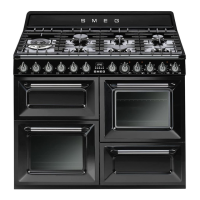
This document is a user manual for a cooking appliance, likely a freestanding cooker or range, that combines a hob (cooktop) with one or more ovens. It provides comprehensive instructions for its safe use, installation, operation, and maintenance.
Function Description
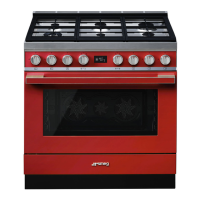
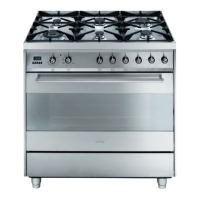
The appliance is designed for cooking food using both the hob and oven compartments. The hob features multiple burners (likely gas, given the "Gas connection" and "Gas types and Countries" sections) for various cooking needs, including semi-rapid and ultra-rapid options, as well as auxiliary burners. The oven section includes a main oven and an auxiliary oven, both capable of different cooking functions such as static cooking, fan-assisted cooking, grill, and lower element heating. A programmer clock allows for setting cooking durations and times.
Important Technical Specifications
Gas Connection:
The appliance requires a gas connection, with specific details provided for different gas types (Natural Gas G20, G25.3, G25, G2.350, LPG G30/31, G110) and corresponding pressures (mbar). Nozzle diameters vary depending on the gas type and burner (AUX, SR, UR2). The gas inlet connection is a ½” external gas (ISO 228-1) thread. The hose length should not exceed 2 meters for steel hoses and 1.5 meters for rubber hoses. A pressure regulator is required for LPG connections.
Electrical Connection:
The appliance can operate on different voltage configurations:
- 3 x 2.5 mm² three-core cable: 220-240 V 1N~
- 4 x 1.5 mm² four-core cable: 380-415 V 2N~
- 5 x 1.5 mm² five-core cable: 380-415 V 3N~
The appliance must be connected to earth and comply with electrical system safety standards. A multi-pole disconnection switch with a clearance allowing complete disconnection as per overvoltage category III is required.
Oven Specifications:
- Main oven: Offers various cooking functions including Circulaire (fan-assisted), with recommended temperatures and cooking times for different foods (e.g., roast veal, pork, salmon trout, pizza, bread, cakes).
- Auxiliary oven: Primarily offers Static cooking and Grill functions, with recommended temperatures and times for dishes like lasagne, pasta bake, short pastry, and sausages.
- Cookware diameters: Auxiliary: 12-14 cm; Semi-rapid: 16-24 cm; Ultra-rapid: 18-28 cm.
Dimensions (Installation):
The manual provides diagrams for installation, indicating minimum clearances. For free-standing appliances (Class 1), a minimum width of 600 mm is shown. For built-in appliances (Class 2 subclass 1), a minimum height of 750 mm from the worktop is indicated. The appliance must be positioned at a minimum distance of 50 mm from the side of the appliance to adjacent furniture.
Usage Features
Hob Operation:
- Control panel: Features knobs for main oven, main oven indicator light, auxiliary oven, auxiliary oven indicator light, and hob burner knobs.
- Ignition: The hob burners are ignited by pressing and turning the knob counter-clockwise to the maximum flame symbol, then holding for a few seconds until the flame is stable.
- Safety: In case of accidental switching off, a safety device will trip, cutting off the gas supply.
Oven Operation:
- Main oven functions: Includes fan with circulaire (fan-assisted heating), static, small grill, and grill. Fan with circulaire allows for cooking different foods simultaneously on several levels without odour or flavour mixing.
- Auxiliary oven functions: Includes static and lower element heating. Static cooking is suitable for cooking just one dish at a time, while the lower element provides bottom heat for dishes requiring a higher bottom temperature.
- Cooking advice: General advice includes using a fan-assisted function for even cooking, avoiding overcrowding, and using a meat thermometer. Specific advice is provided for cooking with the grill (preheating, placing food at the centre of the rack) and for defrosting/proving (placing food in the lidless container on the first shelf).
- Programmer clock: Allows users to set the time, cooking duration, and end of cooking time. It features keys for minute minder, cooking duration, end of cooking, value decrease, and value increase.
Safety Precautions:
- General safety: Emphasizes supervision of children, protecting hands with oven gloves, and ensuring proper ventilation.
- Risk of personal injury: Warnings against touching hot surfaces, using flammable materials, and overheating.
- Risk of damaging the appliance: Advice against harsh abrasive cleaners, sharp metal scrapers, steam jets, and obstructing ventilation openings.
- High temperature inside the oven cavity: Warnings about fire or explosion, not spraying products near the appliance, and not leaving unattended during cooking.
- Risk of damage to surfaces: Advice against covering the bottom of the oven cavity with aluminium or tin foil sheets, using greaseproof paper that interferes with hot air circulation, and placing pans or trays directly on the bottom of the oven cavity.
Maintenance Features
Cleaning and Maintenance:
- Hob: Remove components, clean with warm water and non-abrasive detergent, and dry thoroughly. Replace components on the hob.
- Oven compartment: Regular cleaning is recommended. Food residue should be removed to prevent damage to the enamel. The oven door can be removed for easier cleaning by following specific steps involving releasing hinges and removing glass panes.
- Oven light bulb: Instructions are provided for removing and replacing the oven light bulb.
- Hob grids, flame-spreader crowns and burner caps: Remove, clean with warm water and non-abrasive detergent, and dry thoroughly.
- Igniters and thermocouples: Clean with a damp cloth; remove any dry residue with a toothpick or needle.
- Rack/tray support frames: These can be removed for cleaning.
- Oven door glazing: The glass in the door should be kept thoroughly clean. Use absorbent kitchen roll with a damp sponge and neutral detergent.
- Extraordinary maintenance: Instructions for removing and installing the seal (gasket) and tips for seal maintenance (keeping it clean with a non-abrasive sponge and lukewarm water).
Installation:
- Gas connection: Detailed instructions for screwing the hose connector, placing the seal, and tightening. Specific guidance for steel hoses with bayonet fitting and LPG connections.
- Room ventilation: The appliance should be installed in rooms with adequate permanent air supply and good ventilation.
- Adaptation to different types of gas: Instructions for replacing nozzles and repositioning burners.
- Adjusting the minimum setting: Procedures for adjusting the minimum flame setting for natural or town gas and LPG.
- Lubricating the gas taps: Advises that gas taps may become difficult to turn and get blocked over time, and provides instructions for cleaning and lubricating them.
- Electrical connection: Details on connecting the power supply cable and securing the terminal board.
- Positioning: Instructions for positioning the appliance into the cabinet cutout, ensuring proper stability, and screwing/unscrewing the bottom part of the foot. The toe skirt must be positioned and secured correctly.
- Instructions for the installer: Emphasizes accessibility of the plug, correct installation according to diagrams, checking for gas leaks, and ensuring all burners operate correctly.