Do you have a question about the Snap-On MIG185i and is the answer not in the manual?
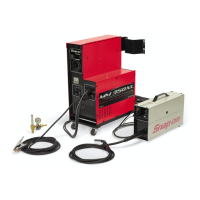
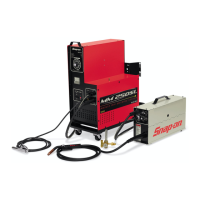
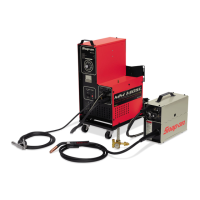
Overview of the MIG185i Pulse welder and its capabilities as a synergic inverter power source.
Explains signal words (Danger, Warning, Caution, Important) indicating hazard levels.
Details hazards from electric welding like UV rays, spatter, heat, sparks, and vapors.
Warns about electrical shock from live components, grounding issues, and servicing.
Covers hazards related to sparks, fuel vapors, and potential explosions during welding.
Addresses potential interference from magnetic fields with medical equipment.
Details interference caused by high-frequency radiation with electronic devices.
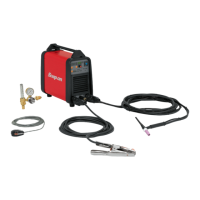
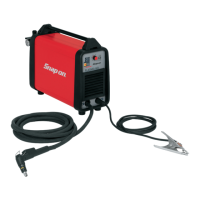
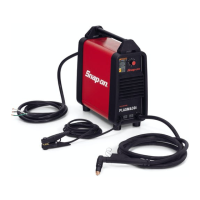
Lists essential equipment not provided with the MIG185i welder.
General overview of the welding machine as a synergic inverter power source.
Detailed technical parameters like voltage, current, dimensions, weight, and duty cycle.
Explains built-in protection mechanisms like block protection and thermal cutout.
Highlights key features such as inverter technology, LCD display, and synergic curves.
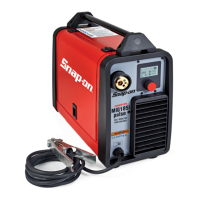
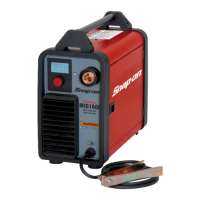
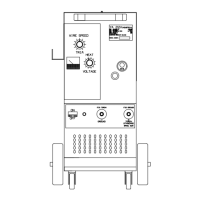
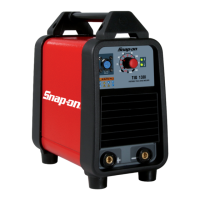
Identifies key components of the welding machine, including display, controls, and connections.
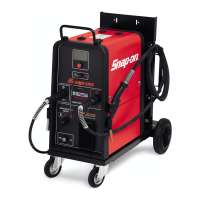
Instructions for positioning the welder and ensuring proper electrical supply and grounding.
Step-by-step guide for installing the wire reel, including polarity and unwinding direction.
Detailed steps for installing the wire, ensuring correct alignment with the roller.
Crucial safety warnings regarding electrical shock during assembly and maintenance.
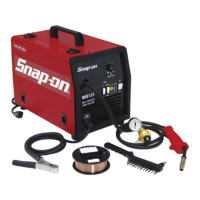
Guide for setting up the welder for steel welding, including roller and torch installation.
Procedures for MIG welding using flux-cored wire without shielding gas.
Details different types of welding wire like flux-cored and steel, and their applications.
Steps for powering on the welder and understanding the initial display information.
Guide to selecting synergic curves based on wire size and shielding gas.
Procedure to access and set wire size and welding gas parameters.
Comprehensive table for selecting synergic curves based on wire, thickness, and gas.
How to set the metal thickness parameter using the control knob.
Adjusting welding voltage to control arc length and stick out.
How to select and confirm welding processes like Short or Pulsed.
Guide to selecting welding start modes (2T, 4T, 3L) and their operation.
Instructions for adjusting spot weld time and pause time between welds.
How to enable and adjust the Automatic Hot Start (HSA) function.
Adjusting crater filler settings like slope time and crater current.
How to adjust inductance to modify arc characteristics (harder/softer).
Adjusting the burnback function to control wire protrusion after welding.
Configuring the Soft Start function for improved weld starts.
Adjusting pre-gas and post-gas timings for optimal shielding.
Adjusting the brightness of the LCD display screen.
How to reset the welder settings to factory defaults using the 'Factory OFF' function.
Safety warnings and general precautions for performing maintenance on the welder.
Steps to follow after making repairs, focusing on insulation and component security.
Detailed list of replacement parts for the main welding unit with part numbers.
List of consumable parts for the MIG185i torch assembly, including contact tips and nozzles.
Details the two-year limited warranty terms and conditions for the equipment.
Outlines limitations, exclusions, and conditions that void the warranty.
Provides contact details and service information for warranty claims and technical support.
| Output Current Range | 30-185A |
|---|---|
| Wire Feed Speed Range | 50-700 IPM |
| Duty Cycle | 20% at 185A |
| Wire Diameter/Size | 0.023-0.035 inches |
| Gas Type | Argon/CO2 Mix |
| Input Current | 20 A |