54
|
3D Printing
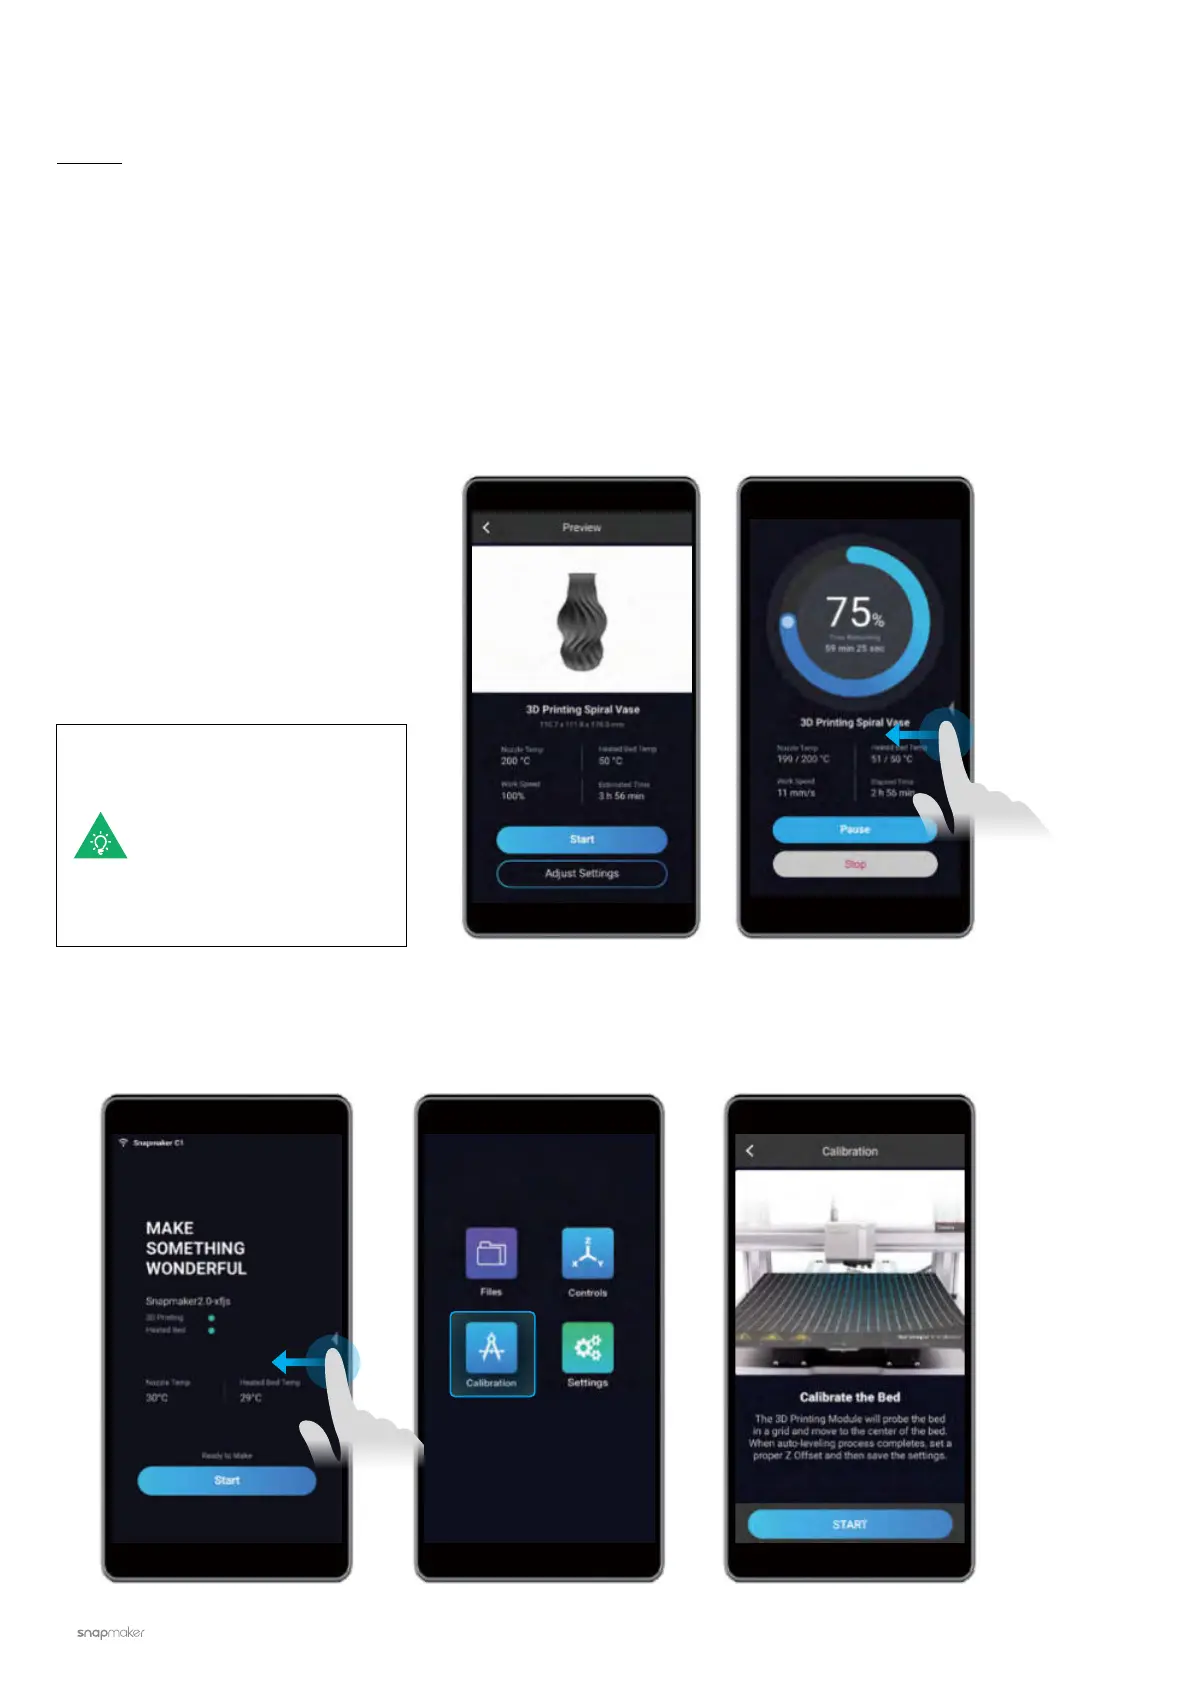
After receiving the G-code file, tap Yes
and Start on the Touchscreen to start
printing. The first layer of the print
is key to print success. To prevent
damage we recommend that you keep
an eye on your print, especially while
the first layer is being laid out.
If you need to adjust
settings, you can either
tap Adjust Settings
prior to printing or swipe
left on the printing
progress screen.
3.3.2 Start Your First Print
Guides & Pictures / Snapmaker
If poor adhesion occurs, swipe left on the printing progress screen and try adjusting the Z Offset. Or you can
try leveling the Heated Bed again by selecting Calibration. Make sure the tip of the nozzle is clean before you
calibrate the bed.
 Loading...


