4
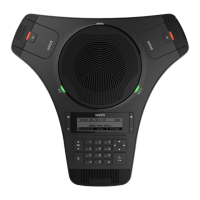
Getting Started
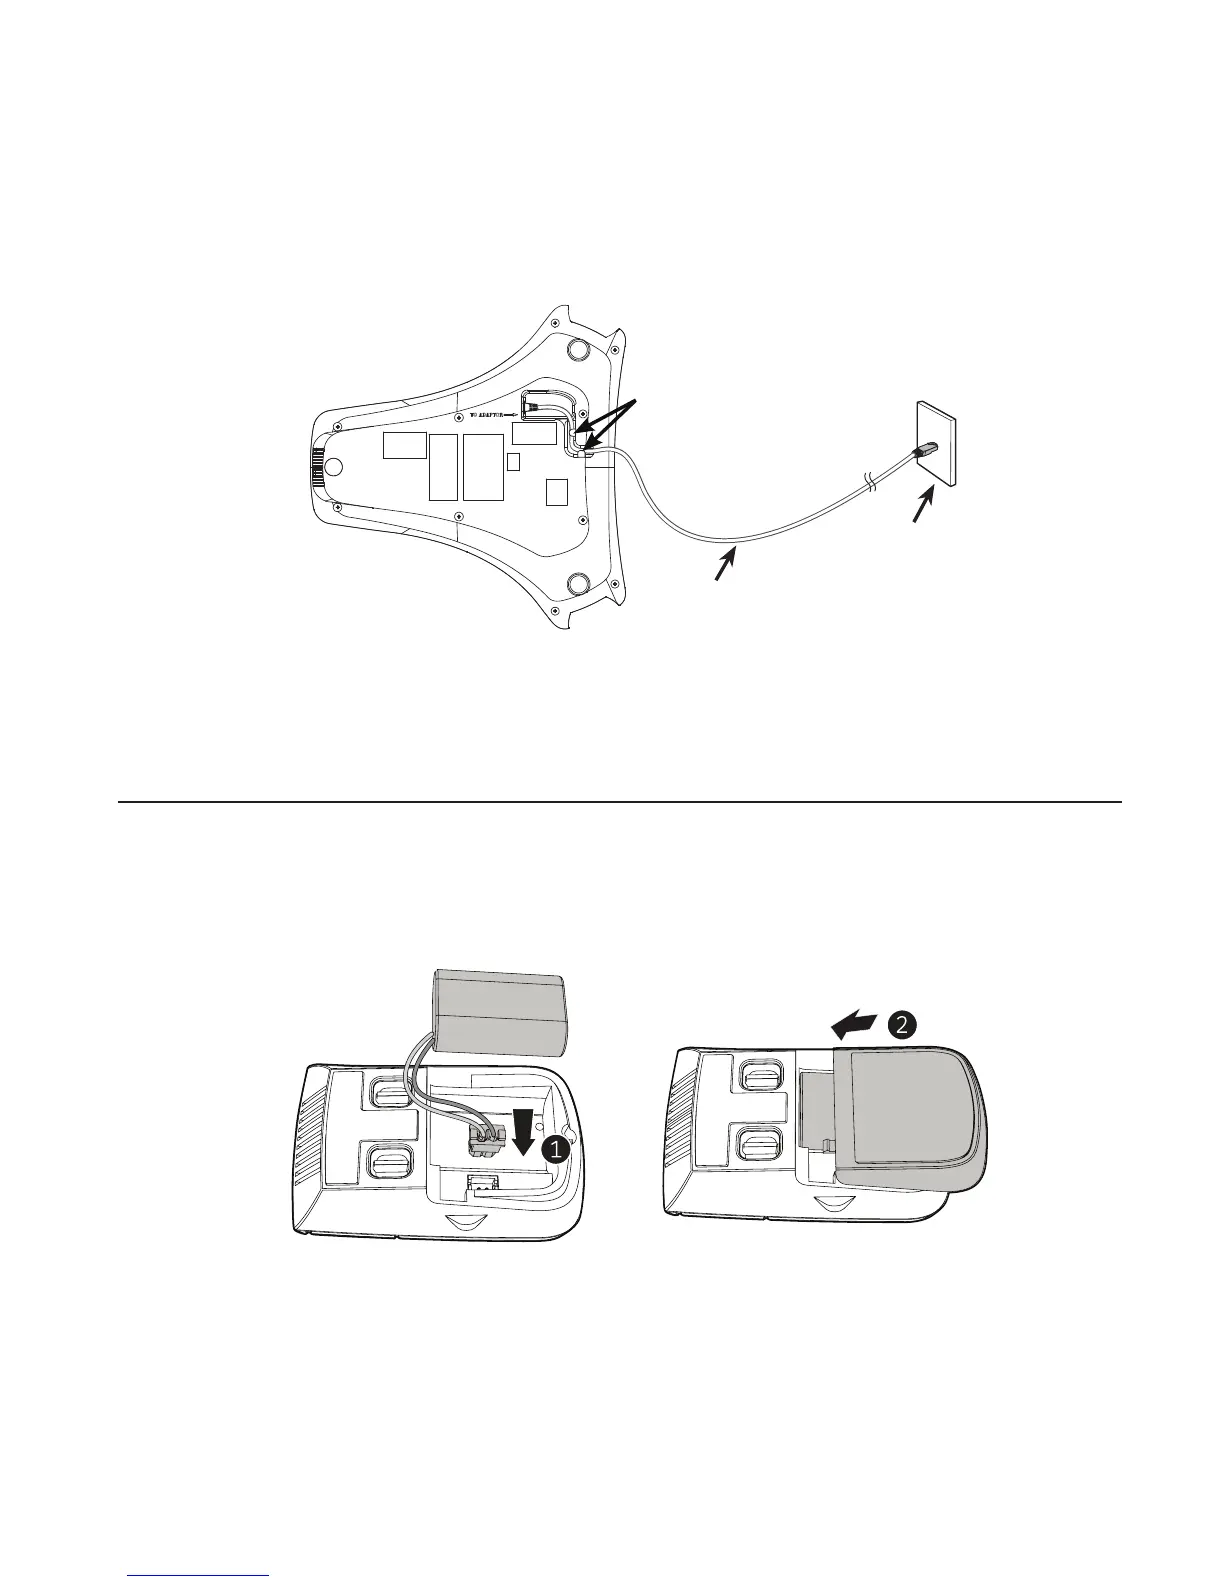
To power the C520-WiMi using PoE:
1. Plug one end of the Ethernet cable into the Ethernet port on the bottom of the unit.
2. Plug the other end of the cable into your network router or switch. When the base
unit is powered up, the status indicators turn green for about two seconds.
Note: You can connect the C520-WiMi to both PoE and AC power. Ensure that you
connect the cables in the order shown in the diagram on page 2. The phone will use
PoE; if PoE fails, the phone will use AC power as a backup.
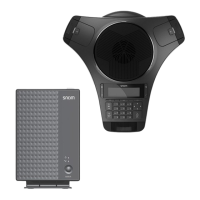
Install the wireless mic battery
1. Plug the battery connector securely into the socket inside the battery compartment.
Insert the battery (with the label THIS SIDE UP facing up) into the battery
compartment.
2. Slide the battery door until it clicks into place.
3. Place the wireless mic onto the charging cradle.
Note: The status indicator on the wireless mic turns orange when charging, and
turns o when the wireless mic is fully charged.