Chapter 9 – Stowing and Transporting
SL30SL – 8210037 43
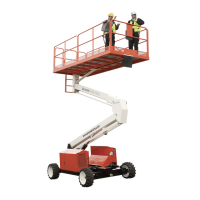
Figure 9.4 – Front Tie-Down/Lifting Lugs
9. Remove the wheel chocks and use the winch to
position the aerial platform on the transport vehicle.
Warning
The aerial platform is free to move when the brakes
are released. Death or serious injury could result.
Re-enable the brakes before operating the aerial
platform.
10. After moving the aerial platform, turn the free-wheel-
ing valve counterclockwise until the valve is fully
open. Refer to Figure 9.3.
11. After unloading the aerial platform from the transport
vehicle, verify that the drive system and brakes oper-
ate properly before operating the aerial platform.
Hoisting
Use a four point sling arrangement attached to the lifting
lugs when hoisting the aerial platform. Machine damage
can occur if the sling is attached anywhere else.
Warning
The potential for an accident increases when the ae-
rial platform is lifted using improper equipment and/
or lifting techniques. Death or serious injury could
result from such accidents. Use proper equipment
and lifting techniques when lifting the aerial platform.
Know the weight of the aerial platform and the capacity
of the lifting devices before hoisting.
y Lifting devices include the hoist or crane, chains,
straps, cables, hooks, sheaves, shackles, slings, and
other hardware used to support the machine.
y The empty vehicle weight is stamped on the serial
number placard and is listed in Chapter 2.
The user assumes all responsibility for:
Tie-Down/Lifting Lugs
y Making sure the equipment used is capable of sup-
porting the weight of the aerial platform.
y Making sure all manufacturer’s instructions and warn-
ings, regulations and safety rules of their employer
and/or any state or federal law are followed.
Use the following procedure to hoist the aerial platform
onto the transport vehicle:
1. Properly stow the aerial platform.
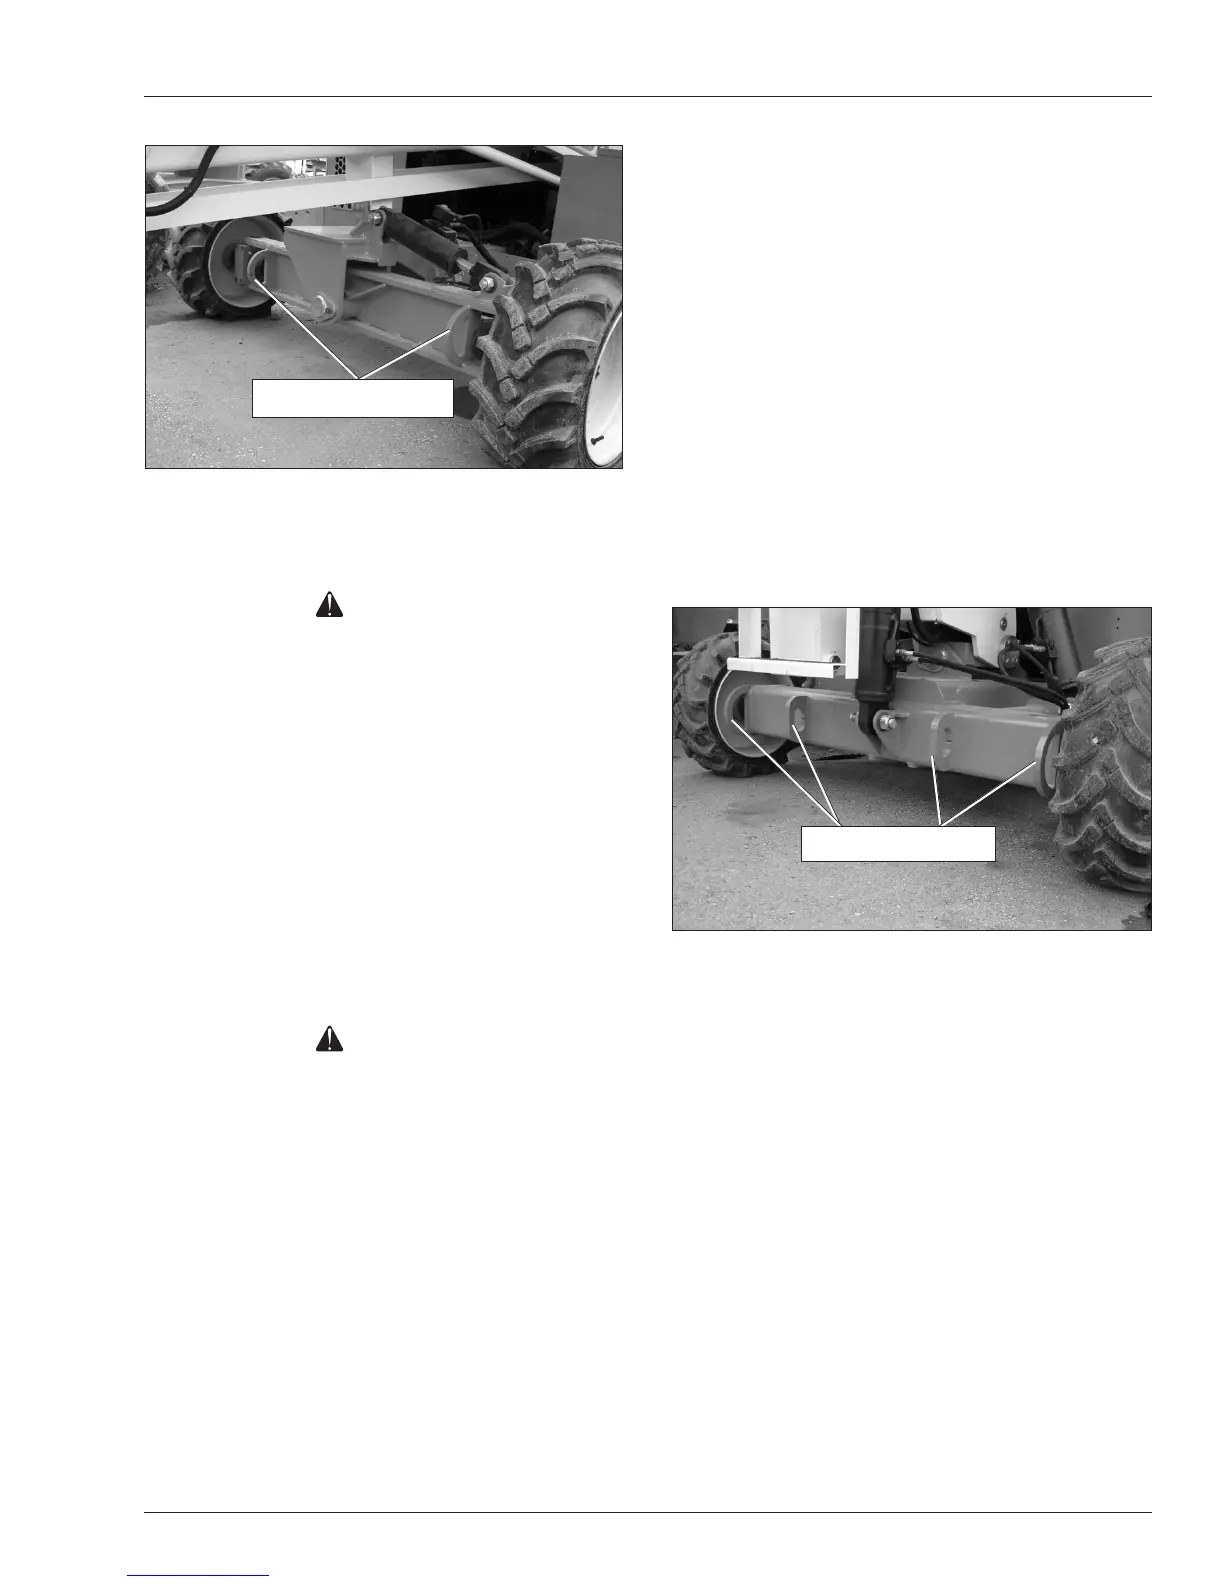
2. Inspect the front lifting lugs and the rear lifting lugs
(refer to Figures 9.4 and 9.5) to make sure they
are free of cracks and are in good condition. There
are four lugs on the rear of the chassis and two on
the front. Have any damage repaired by a qualied
service technician before attempting to hoist the
machine.
Figure 9.5 – Rear Tie-Down/Lifting Lugs
3. Remove all personnel, tools, materials, or other loose
objects from the platform.
4. Connect the chains or straps to the lifting lugs using
bolted shackles. Hooks that t properly in the lugs
and that have latching mechanisms to prevent them
from falling out under a slack line condition may also
be used.
Do not run the sling cable through the lifting lugs.
y Cable damage and/or failure can result from the
cable contacting the sharp corners of the lug.
y There is no effective way of putting a corner
protector in the hole of the lug.
5. Use spreader bars of sufcient length to keep the
chains, straps, or cables from contacting the elevat-
ing assembly or platform.
y When using cables, use rigid corner protectors
Tie-Down/Lifting Lugs
 Loading...