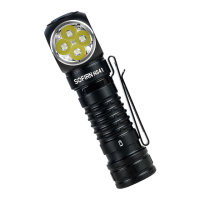
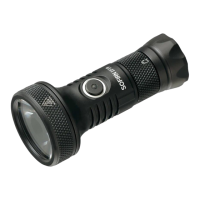
Operation Instructions
The switch controls all headlamp functions as follows:
Group 1 (Stepped Mode)
ON/OFF: One click to turn on/off
Change brightness: While on, press and hold to cycle through the modes: Low/Med/High
Shortcut to Moonlight: While off, hold 1 second to moonlight. Release and hold again to select standard
levels: Low/med/High
Turbo: No matter while on or off, double click to Turbo, another click to previous mode.
Strobe: No matter while on or off, triple clicks to Strobe, double click to cycle through Strobe-SOS-Beacon.
One click to previous mode
Electronic Lockout:
HS40 comes with a lockout function to prevent accidental activation, e.g. while off, 4 fast clicks to lock the lamp,
itblinks twice to indicate locked. You can only use moonlight by holding the switchwhile being locked. Another 4 fast
clickstodeactivate lockout. Ifyou insertUSB cable to charge it, this is another way to deactivatelockout.
Togglebetween Group1 and Group2:
Whileon, 4 clicks to change from Group1 to Group2, and vice versa.
Group 2 (Ramping Mode)
ON/OFF: One click to turn on/off
While on, press and hold to change brightness steplessly between Moon and Turbo. Press again within 1.5
seconds to change the direction. The light flashes once when it reaches highest/lowest level.
Other functions work the same as in Group1
Troubleshooting and Maintenance
Disassembling the sealed head can damage the headlamp and voids the warranty.
Sofirn Ltd. recommends using high-quality brand batteries. Damage by battery leakage voids the
warranty.
Remove the battery if the headlamp will not be used for an extended period of time.
To prevent self-discharge or accidental activation during storage or transportation, unscrew the tailcap
by half a turn or remove the battery.
Every 6 months threads should be wiped with a clean cloth followed by a thin layer of siliconegrease.
To maintain a proper level of waterproofness, replace worn-out o-rings with an approved spare.
Troubleshooting: Clean battery contacts regularly as dirty contacts may impair the performance of the
headlamp. If you experience problems (flicker, shine intermittently or failure turn on) the following root
causes and solutions should be tried:
Reason A: The battery needs a replacement.
Solution: Replace the battery with an approved type of a fully charged battery.
Reason B: Threads, PCB board contact or other contacts are dirty.
Solutions: Please clean the contact points with a cotton swab soaked in rubbing alcohol.
Reason C: The headlamp will not turn on upon first use.
Solution: Please do not forget to remove the insulation sticker from the battery on first use.
If the above methods do not work please refer to the warranty policy before contacting your authorized
distributor.
Please contact us if you have any questions.
If your product is defective please contact us for replacement within warranty period

 Loading...