EasyManuals Logo
Home>SolaX Power>Inverter>X1 Series

SolaX Power X1 Series User Manual

SolaX Power X1 Series
63 pages
To Next Page IconTo Next Page
To Previous Page IconTo Previous Page
Page #26 background imageLoading...
Page #26 background image
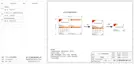
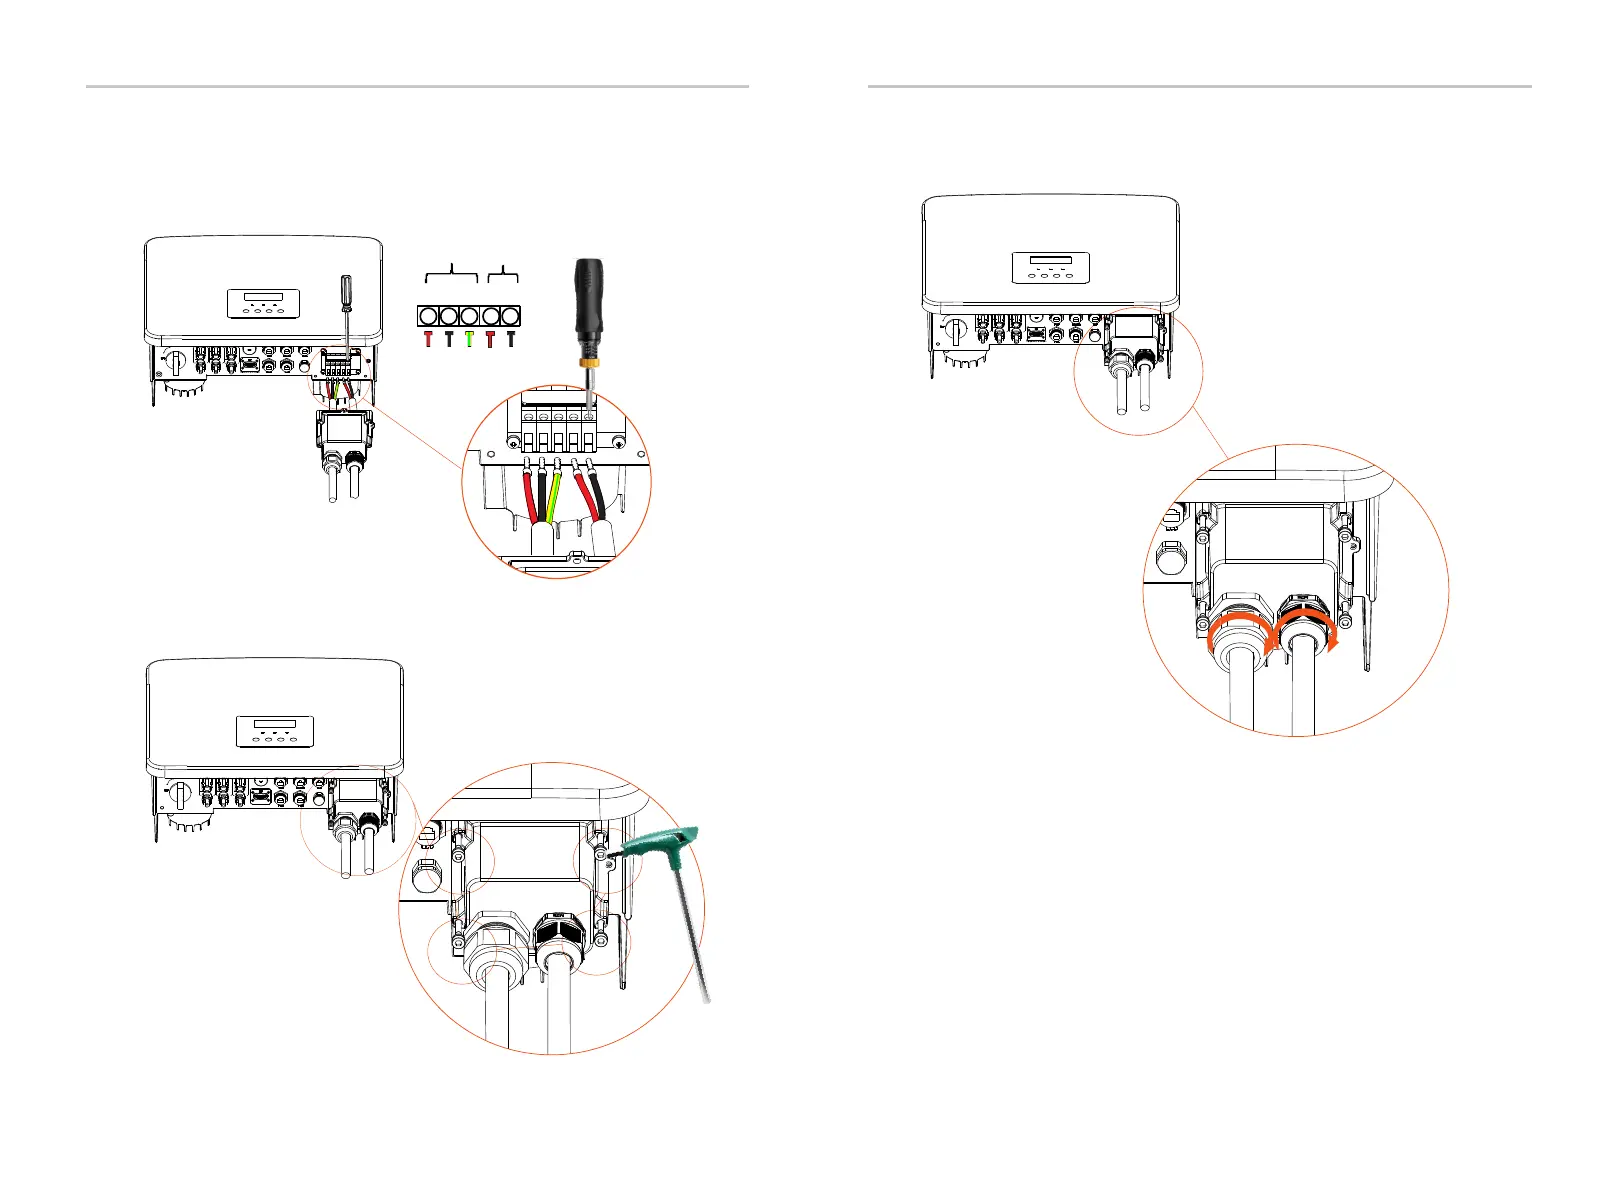
Step 6. Tighten the waterproof fastening head.
Step 5. Install the AC waterproof shield and tighten the screws on the four
sides of the waterproof shield with an Allen wrench.
Hexagon keys
(Torque: 0.8±0.1 N ·m)
Electrical Connection
46
47
Upgrade/Dongle
Step 4. Find the location of the AC interface on the inverter, insert the
crimped terminals into the UW10 terminals L, N, and P according to the wire
sequence, and use a flat-blade screwdriver to tighten the screws. (Torque:
1.5±0.1 N ·m)
Torque screwdriver
(Torque: 1.5±0.1 N ·m)
GRID
EPS(Off-grid)
L N PE L N

Other manuals for SolaX Power X1 Series

Questions and Answers:

Question and Answer IconNeed help?

Do you have a question about the SolaX Power X1 Series and is the answer not in the manual?

SolaX Power X1 Series Specifications

General IconGeneral
BrandSolaX Power
ModelX1 Series
CategoryInverter
LanguageEnglish

Related product manuals