


E
Erin SmithSep 3, 2025
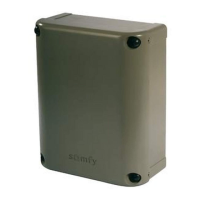
What does it mean if SOMFY SGS 501 control unit's indicator light flashes 2 times?
- JJames MorrowSep 3, 2025
If the control unit's indicator light flashes 2 times, the motor is waiting for auto-programming. Begin auto-programming of the gate leaf travel.