Introduction
Features
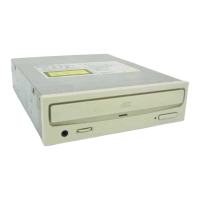
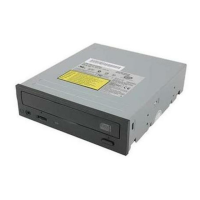
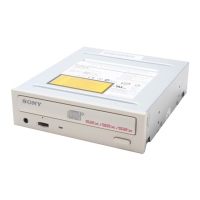
The CDU311 is an internal CD-ROM (Compact Disc Read-Only Memory)
drive unit designed for use with an IBM PC, HP Vectra, or compatible
computer. It can read as much as 650 Mbytes of digital data stored in a
single CD-ROM disc.
The CDU311 has the following features:
General
● 5 1/4 inch half-height drive form factor.
● ATAPI interface compliant (SFF-8020).
● Integrated buffer memory.
● Audio CD like drawer loading of a disc without using a caddy.
● Power loading and power eject of a disc. The disc can also be ejected
manually.
● Housed in an airtight frame casing.
Supported disc format
● Reads data in CD-ROM, CD-ROM XA, CD-I and CD-I Ready standard
formats.
● Reads data in CD-BRIDGE format including PHOTO-CD and VIDEO-CD.
● Reads standard CD-Digital Audio encoded discs.
● Reads CD-EXTRA (CD-PLUS) discs.
Performance
● Supports standard, quadruple and eightfold speed operations with real
time error correction.
● Fast access time ensuring reliable high-speed data access.
Audio
● Outputs 16-bit digital audio data over the ATAPI interface.
● Equipped with audio line output and headphones jack for audio CD
playback.
Note:
The CDU311 is not equipped with an ADPCM audio circuitry required to
support CD-ROM XA and CD-I compatible audio modes. In addition, the
unit does not support the CD-I graphic decoding function; it has to be
provided by the system.
Introduction 5
Contents
Introduction 5
Features...................................................................................................5
Software Requirement .............................................................................6
Example of System Setup .......................................................................6
Location and Function of Parts and Controls 7
Front Panel ..............................................................................................7
Rear Panel...............................................................................................8
Precautions 9
Installing the Drive in Your Computer 10
Preparation.............................................................................................10
Setting the Jumpers ...............................................................................11
Opening the Computer...........................................................................12
Preparing a Space for the Drive ............................................................13
Mounting the Drive.................................................................................14
Connecting the Drive .............................................................................15
Reassembling the Computer .................................................................17
Software Installation 18
Installing the Software Driver for DOS 6.X............................................18
Installing the Software Driver for Windows 95.......................................19
Operating the Drive 22
Starting the Drive ...................................................................................22
Ejecting the Disc ....................................................................................24
How to Use the Disc Locks....................................................................25
Specifications 27
4 Contents